Is your garage floor looking tired and worn out? Transforming it with a fresh coat of paint not only boosts your home’s curb appeal but also protects your floor from wear and tear while adding personality to your space. Whether you’re creating a functional workspace or just want a cleaner, more polished look, this step-by-step guide covers everything you need to know—from preparation to application and beyond.
Why Paint Your Garage Floor?
Painting your garage floor offers several benefits:
- Durability: Protects against stains, cracks, and moisture damage.
- Aesthetics: Enhances the overall appearance of your garage.
- Safety: Anti-skid additives can reduce slipperiness.
- Value: Improves the resale appeal of your home.
However, a durable finish depends on meticulous preparation and the right materials. Let’s dive in!
Tools and Materials You’ll Need
Having the right tools and materials on hand will make your garage floor painting project smoother and more efficient.
Safety and Comfort Gear
- Safety glasses and gloves
- Dust mask or respirator (for etching solutions)
- Knee pads and disposable coveralls
- Fans for ventilation
Cleaning Supplies
- Stiff-bristled broom
- Concrete degreaser and stain remover
- Neutralizing solution
- Shop vac (wet/dry)
- Rags or cloths
Surface Repair and Preparation
- Concrete crack filler
- Wire brush or scraper
- Putty knife or trowel
- Sandpaper or grinding stone
- Concrete etching solution
Painting Supplies
- High-quality epoxy floor paint
- Paint rollers (extendable handles recommended)
- Paint trays and liners
- Drop cloths or plastic sheeting
- Masking tape
- Decorative flakes or chips
- Epoxy sealer (optional for extra shine and protection)
Step 1: Prepare the Garage Floor
Preparation is key to achieving a professional, long-lasting finish.
1. Clear the Garage
- Remove all items, including furniture, tools, and vehicles.
- Sweep and vacuum thoroughly, paying attention to corners and cracks.
2. Clean and Degrease
- Use a concrete degreaser to remove oil stains and grime. Follow the manufacturer’s instructions for application and rinsing.
- Deep clean the floor with a concrete cleaner to eliminate dirt and contaminants.
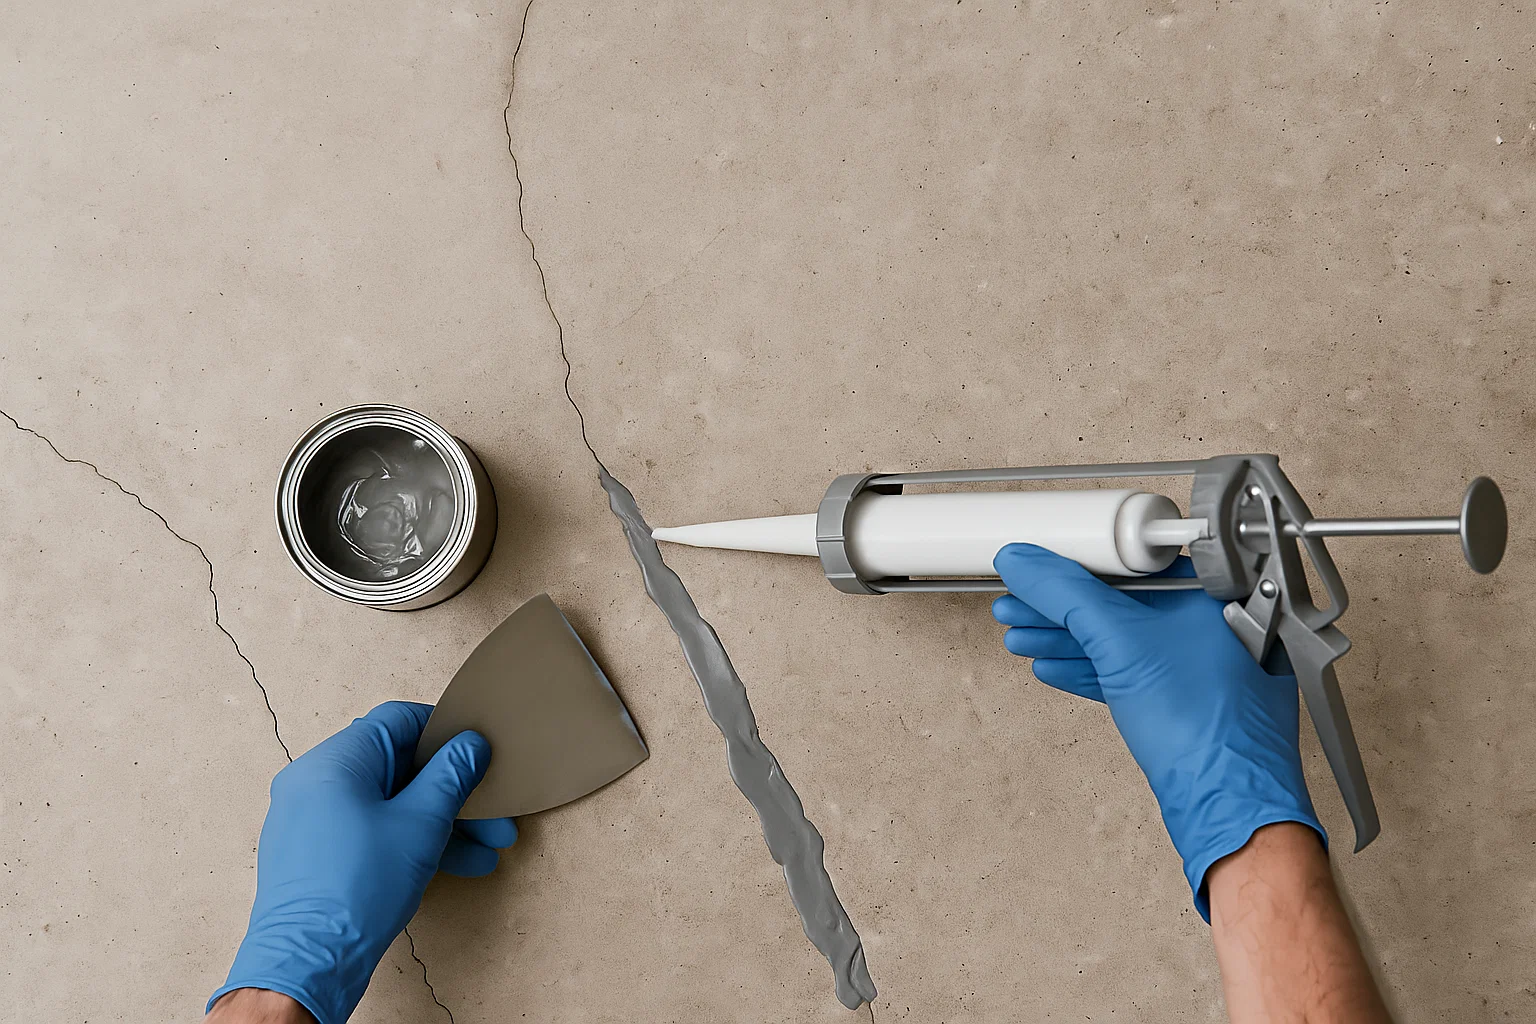
3. Repair Cracks and Imperfections
- Inspect the floor for cracks and chips. Use a concrete patching compound to fill them, ensuring it cures completely before proceeding.
4. Etch the Surface
- Concrete floors are naturally smooth, making it hard for paint to adhere. Apply a concrete etching solution to create a textured surface. Follow the product instructions carefully.
5. Neutralize and Rinse
- Neutralize the etched surface using the recommended solution to stop the etching process.
- Rinse thoroughly with clean water and let the floor dry completely—this can take 24-48 hours depending on weather conditions.
DIY Tip: Skipping thorough cleaning or drying can lead to peeling and uneven paint application later.
Step 2: Apply a Bonding Primer
Applying a bonding primer is essential for a durable and long-lasting finish.
- Use a paint roller with a short nap to apply a thin, even coat of primer.
- Allow the primer to dry completely, which typically takes 4-6 hours. This step ensures a strong bond between the paint and the concrete.
Step 3: Choose the Right Paint
Garage floors endure heavy use, so selecting the right paint is crucial. Here are the best options:
- Epoxy Paint: The most durable option, providing resistance to chemicals, hot tires, and heavy traffic. Epoxy paint requires meticulous preparation but delivers a professional-grade finish.
- Polyurethane Paint: A good balance between affordability and durability. It’s resistant to scratches but not as tough as epoxy.
- Acrylic Paint: Not recommended for garage floors due to its lack of durability and susceptibility to peeling.
Pro Tip: Epoxy paint is the go-to choice for garages, but it’s best applied by professionals if you’re unsure about the process.
Step 4: Add Texture and Safety
A freshly painted garage floor can become slippery, especially when wet. Add texture and traction with:
- Decorative Flakes: Sprinkle colored flakes into the second coat of paint for a decorative and textured finish.
- Anti-Skid Additives: Mix these into the paint for an invisible layer of grip without compromising the look.
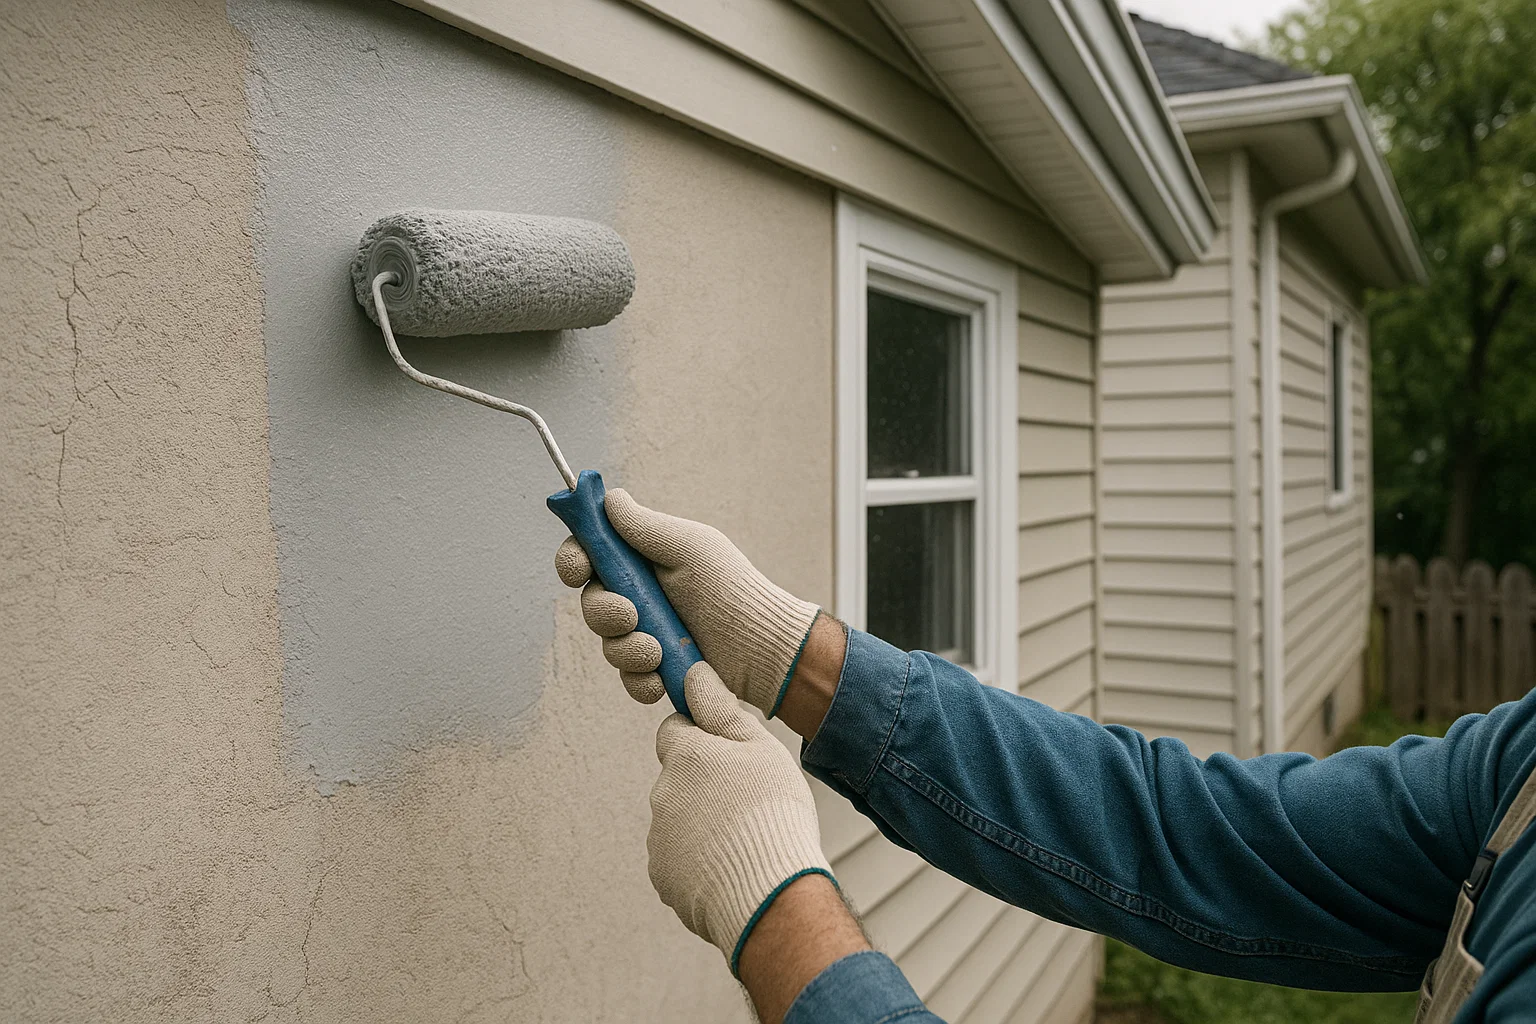
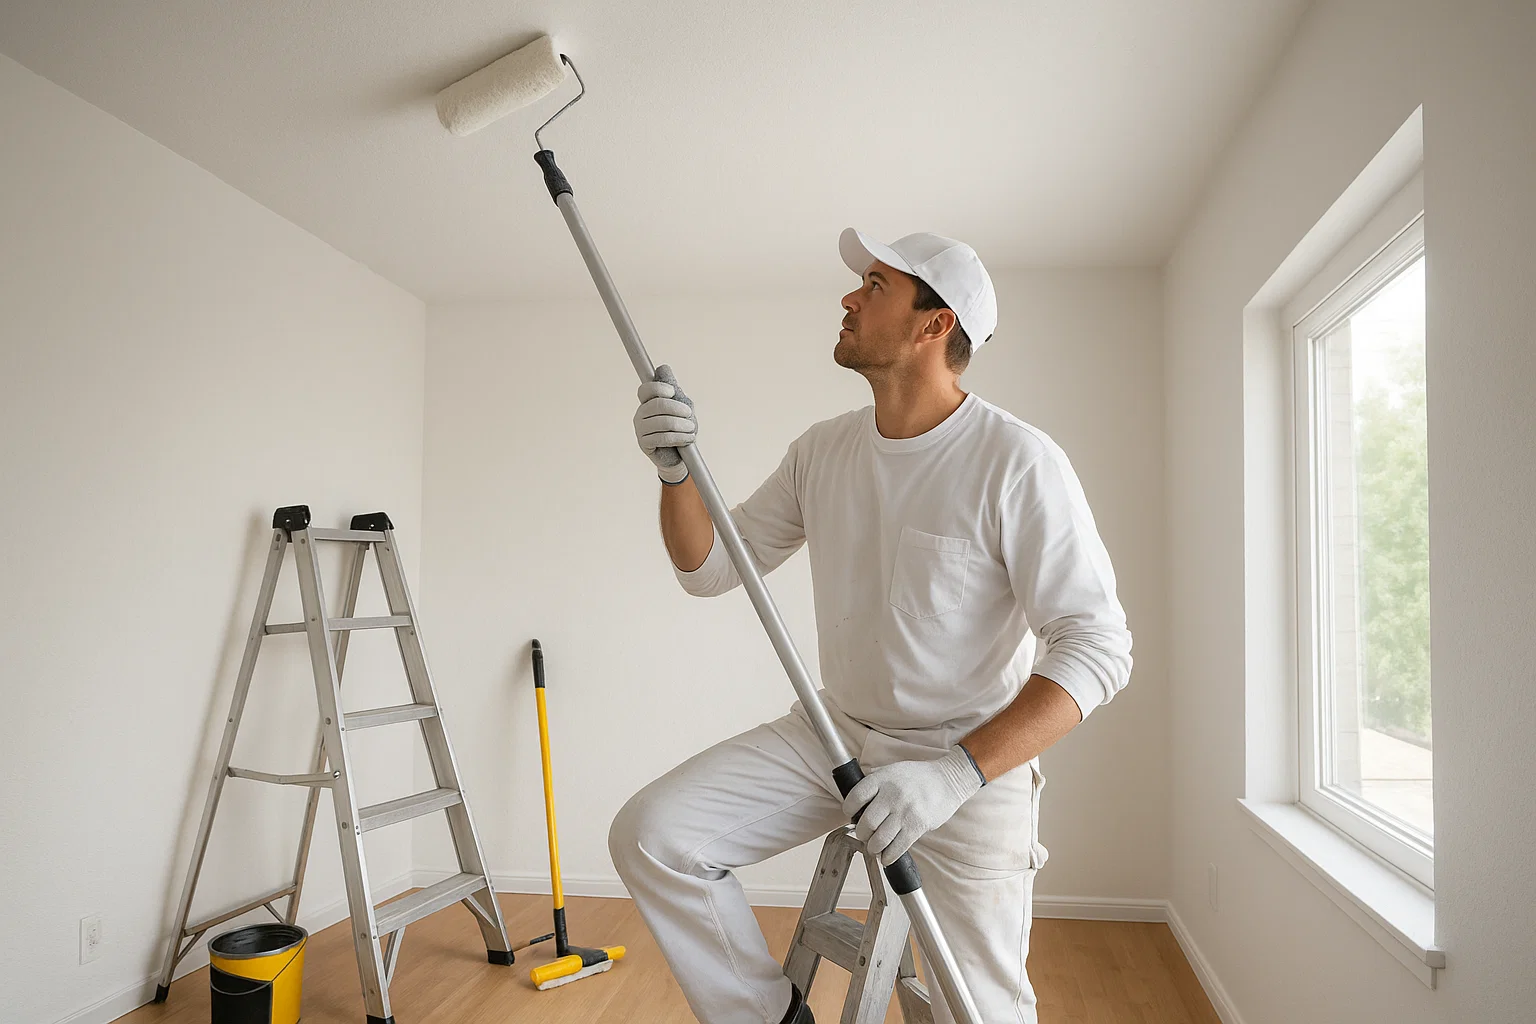
Step 5: Paint the Floor
1. Start with Edges
Use an angled brush to paint along the edges and corners, ensuring clean, sharp lines.
2. Roll the Paint
- Use a high-quality roller to apply the paint in smooth, even strokes. Work in sections, maintaining a wet edge to avoid lap marks.
- Apply multiple thin coats rather than one thick coat for a more even finish. Allow each coat to dry completely before applying the next.
3. Add Flakes (Optional)
If you’re using decorative flakes, sprinkle them onto the wet second coat for even distribution.
4. Seal the Surface (Optional)
For added durability and shine, apply an epoxy sealer after the paint has cured.
Troubleshooting and Finishing Touches
Dealing with Uneven Paint
- For minor imperfections, lightly sand uneven areas with fine-grit sandpaper and touch up with a thin coat of paint.
- For major issues, re-sand the entire floor and start over.
Preventing Problems
- Test for moisture: Tape a plastic sheet to the floor for 48 hours. If moisture appears, resolve it before painting.
- Use high-quality rollers and follow the manufacturer’s instructions for drying times.
Why Hire a Professional?
While painting your garage floor is a rewarding DIY project, it can also be time-consuming and challenging. Hiring professionals like Five Star Painting® ensures:
- Expert surface preparation for maximum adhesion.
- Use of premium epoxy paints for durability.
- Flawless application for a smooth, even finish.
- A clean and spotless workspace once the job is complete.
With the Neighborly Done Right Promise™, you’ll have peace of mind knowing your garage floor will look stunning and last for years to come.
Transforming your garage floor doesn’t have to be overwhelming. With proper preparation, the right materials, and attention to detail, you can achieve a durable, professional-looking finish that revitalizes your space. Whether you DIY or opt for professional help, your garage will thank you!
4o