When you walk into a room with walls that seem to come alive with color and texture, it’s hard not to feel the difference. That captivating look often comes from a skillful use of layering in decorative paint techniques. Layering in painting isn’t just about covering a surface with one color—it’s about building depth, creating texture, and transforming a flat surface into a work of art. In this article, we’ll dive deep into the art of layering, discussing how different techniques can change the feel and style of your space, why these methods work, and what you need to do to achieve a professional look at home.
Understanding the Basics of Layering in Decorative Painting
Layering means applying multiple coats of paint or decorative finishes on top of each other. Each layer has a specific purpose: the first layer might be a base color or primer, while the subsequent layers add texture, depth, and sometimes even pattern. By building up several layers, you create an effect that is rich and complex rather than flat and simple. This technique is popular in both modern and traditional design, and it allows homeowners to get creative without needing expensive materials.
At its simplest, layering starts with a good, clean, and properly prepared surface. Once you’re sure that your wall or piece of furniture is ready, you can experiment with different colors, glazes, and finishes to achieve that textured look. Many decorative painters believe that layering is like cooking—each ingredient (or layer) matters, and even small adjustments in timing or technique can change the final result.
The Benefits of Using Layering Techniques
Enhanced Depth and Texture
The primary advantage of layering is that it adds depth. A single, flat coat of paint can sometimes feel dull and lifeless, whereas multiple layers build up dimension and make the surface more interesting. Think about a sunset or the changing colors on a forest floor; natural scenes are rarely one flat color. By mimicking these effects, layered paint can make a room feel more dynamic and engaging.
Customization and Creativity
Layering gives you limitless opportunities to customize your space. You can experiment with various colors, create ombre effects, or even build patterns that give your walls a custom look. Because you control each layer, you can make subtle changes that add character and personal style to your home.
Hiding Imperfections
No wall is perfect. Small cracks, bumps, or uneven textures are common, especially in older homes. Layering can help hide these imperfections by breaking up the uniform look of a surface. The extra visual interest distracts from minor flaws and gives the overall finish a softer, more refined appearance.
Longevity and Durability
When applied carefully, multiple layers not only improve appearance but can also protect the underlying surface. A well-layered finish can be more durable and resistant to everyday wear and tear, making it easier to clean and maintain over time. This is especially valuable in high-traffic areas.
Techniques and Tools for Successful Layering
Achieving a well-layered finish requires some planning and the right set of tools. Whether you’re an experienced DIY enthusiast or just starting out, understanding these techniques can help you get a professional look without hiring an expert.
1. Priming and Base Coats
Every good painting project starts with the right foundation. Primer is essential for creating a uniform surface and ensuring that subsequent layers adhere properly. The base coat establishes the overall color scheme and should be smooth and even. For layering to work effectively, make sure your base is completely dry and free of any contaminants.
2. Glazing for Subtle Effects
A glaze is a thin, transparent layer that modifies the color beneath without completely covering it. Glazing can add depth by allowing the base coat to show through a tint of another color. This technique works well for creating an aged or weathered look. It is also versatile; you can use a glaze to smooth out harsh lines or to blend areas where two colors meet.
3. Sponging and Rag-Rolling
Two popular methods for adding texture are sponging and rag-rolling. With sponging, you use a sponge to gently dab the surface after applying a coat of paint or glaze. This creates a mottled, irregular pattern that mimics natural textures such as stone or fabric. Rag-rolling, on the other hand, involves dragging a crumpled rag over the wet paint to create a softer, brushed effect. Both methods require practice to master, and it’s a good idea to test on a piece of cardboard or spare material before working on a wall.
4. Stippling for a Fine Detail
Stippling is another technique to add texture. By using a stiff brush, you can apply small dots of paint over a larger area. This method creates a unique pattern that may evoke the look of pebbled surfaces or even natural foliage. Stippling can also break up the uniformity of a wall, especially when combined with other techniques like glazes or washes.
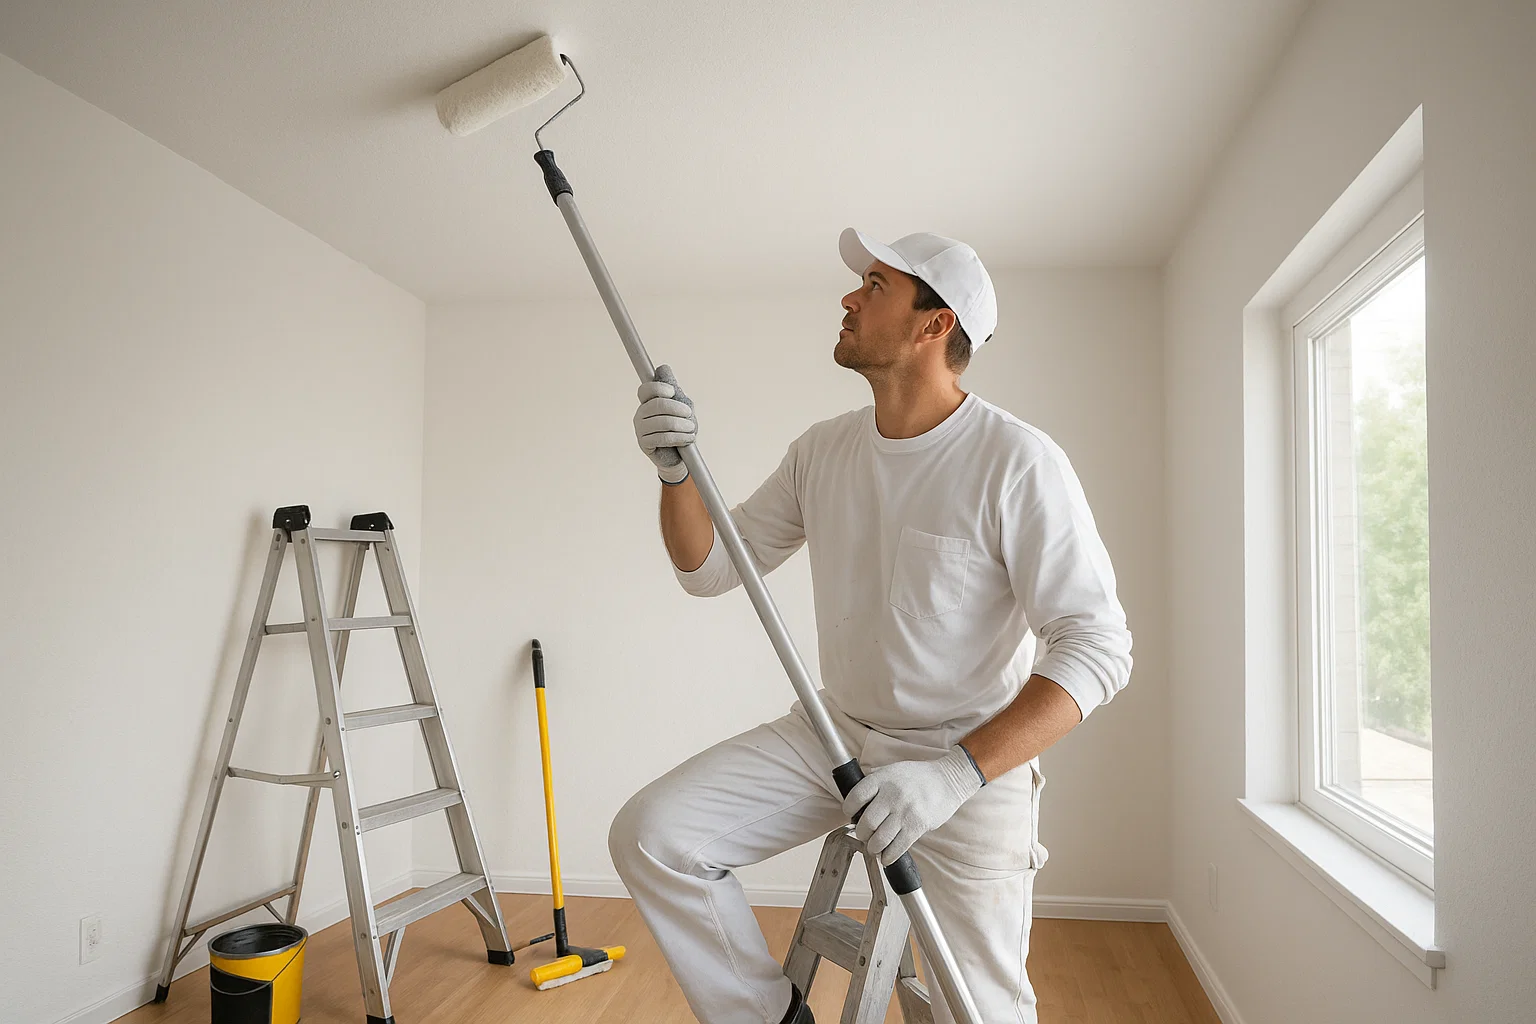
5. Using a Brush, Roller, or Trowel
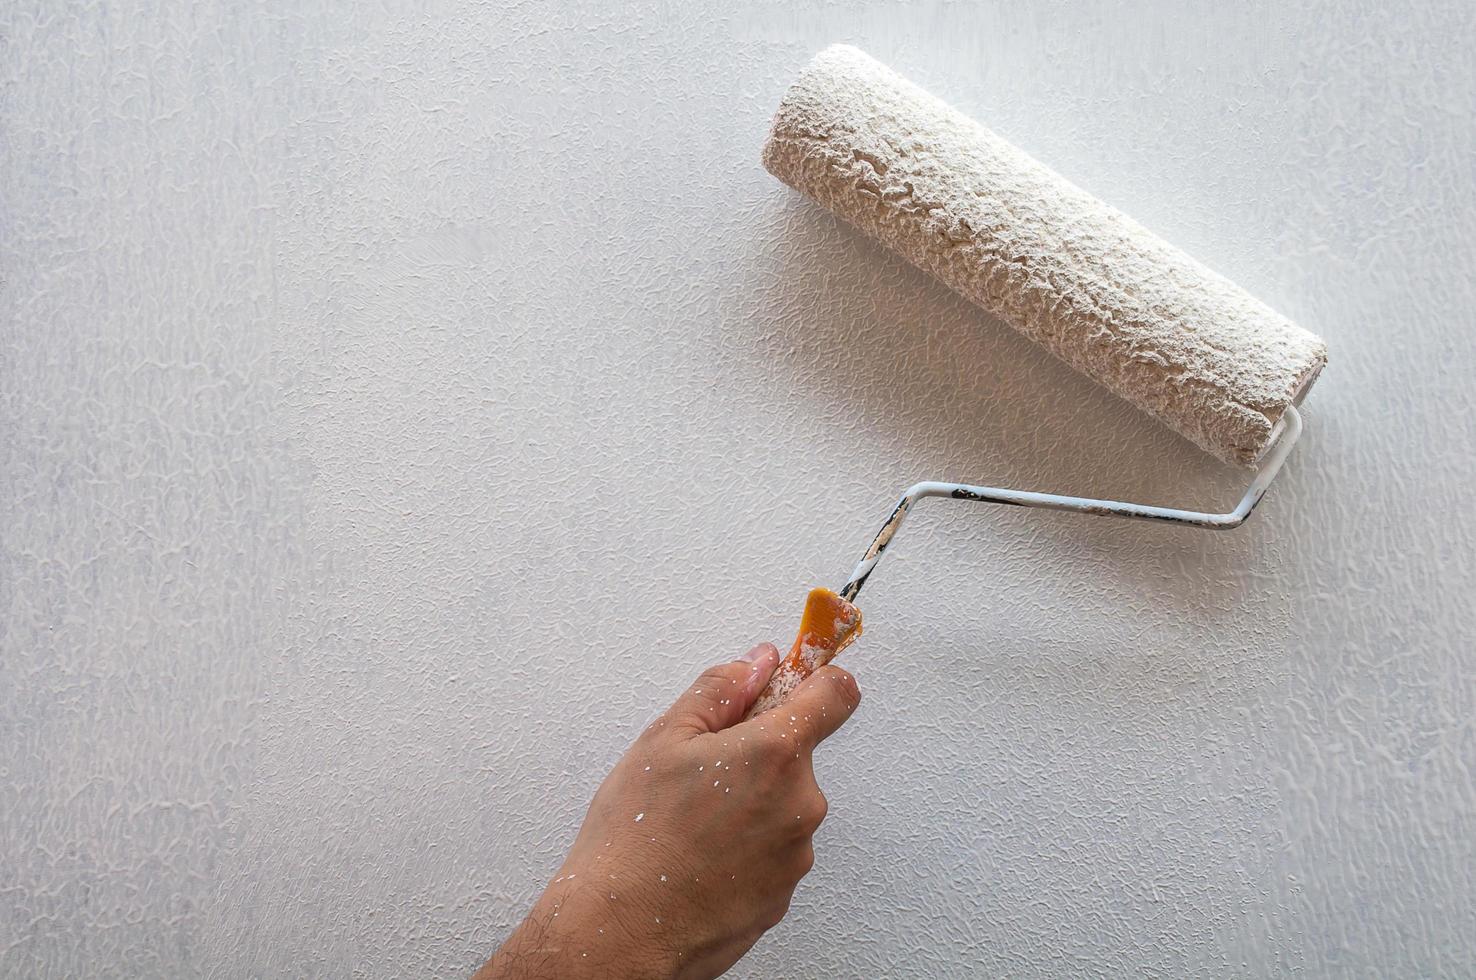
The tool you choose can greatly affect the final outcome. Brushes allow for precision and control, making them ideal for detailed work or when blending colors. Rollers can quickly cover large areas, but they may create a uniform texture that’s less distinctive. Trowels or palette knives are fantastic for a more contemporary, artistic look, as they can create raised patterns and dramatic swirls. Experiment with different tools to see which one suits your vision best.
Step-by-Step Guide to Creating a Layered Look
To help you get started, here is a step-by-step guide that walks you through a simple, yet effective, layering process:
Step 1: Preparation
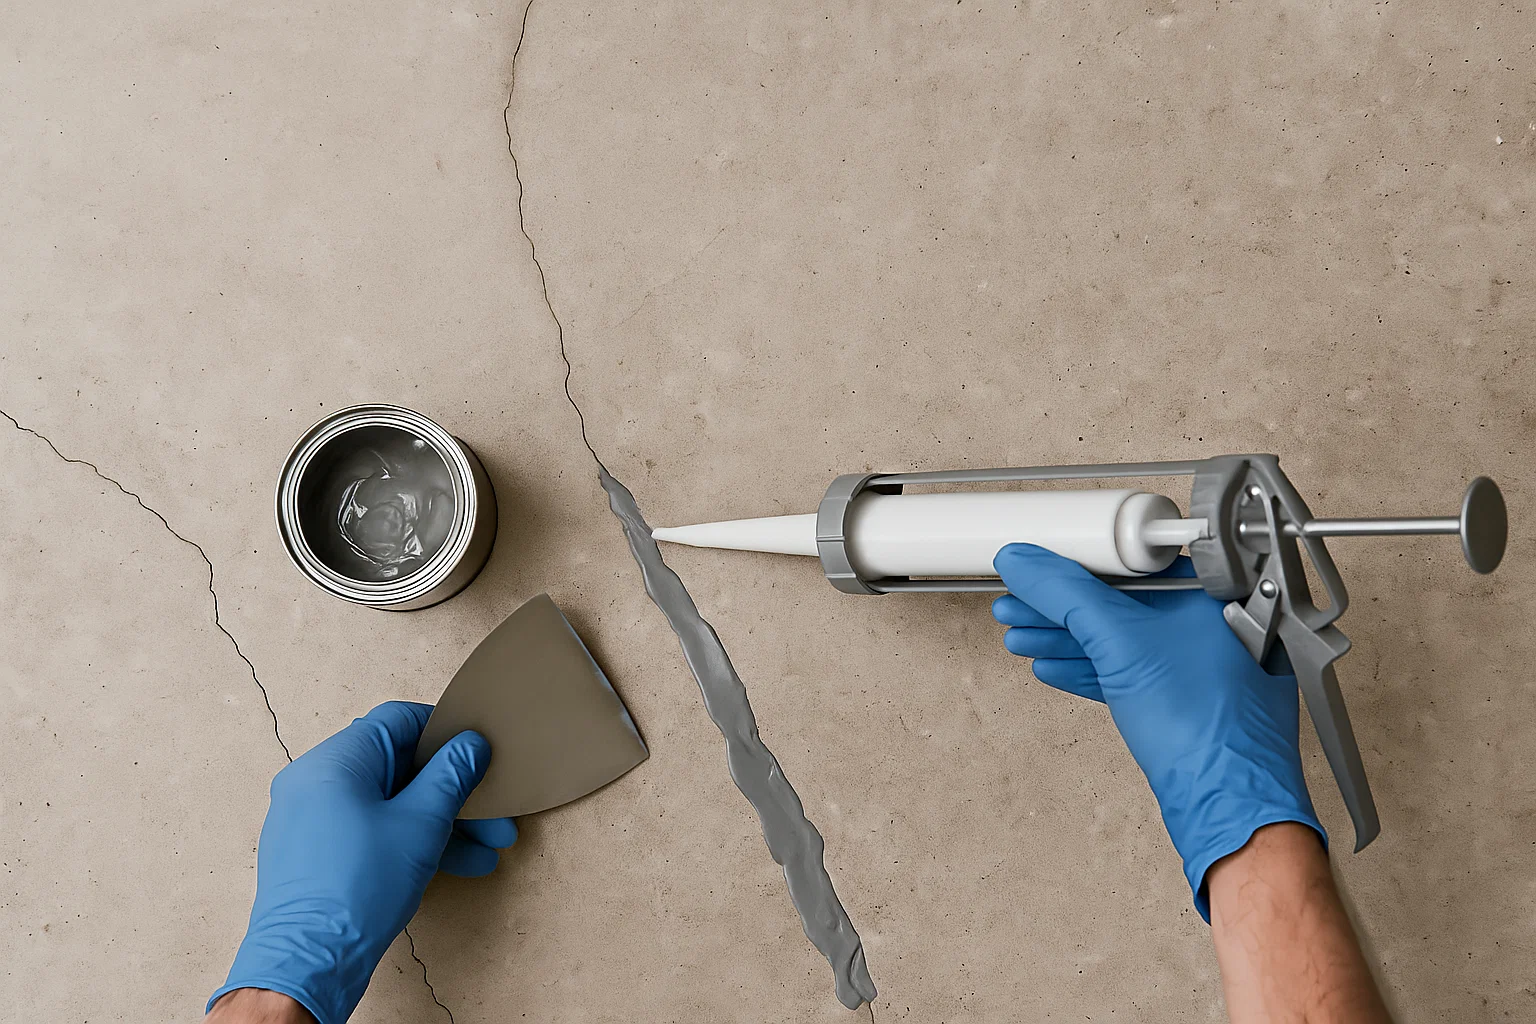
Before any paint touches your wall, proper preparation is crucial. Clean the surface thoroughly to remove dust, grease, or loose particles. Sand down any rough patches and apply a primer suited for your surface type. Allow each layer to dry completely before moving on to the next step; patience at this stage will pay off later.
Step 2: The Base Layer
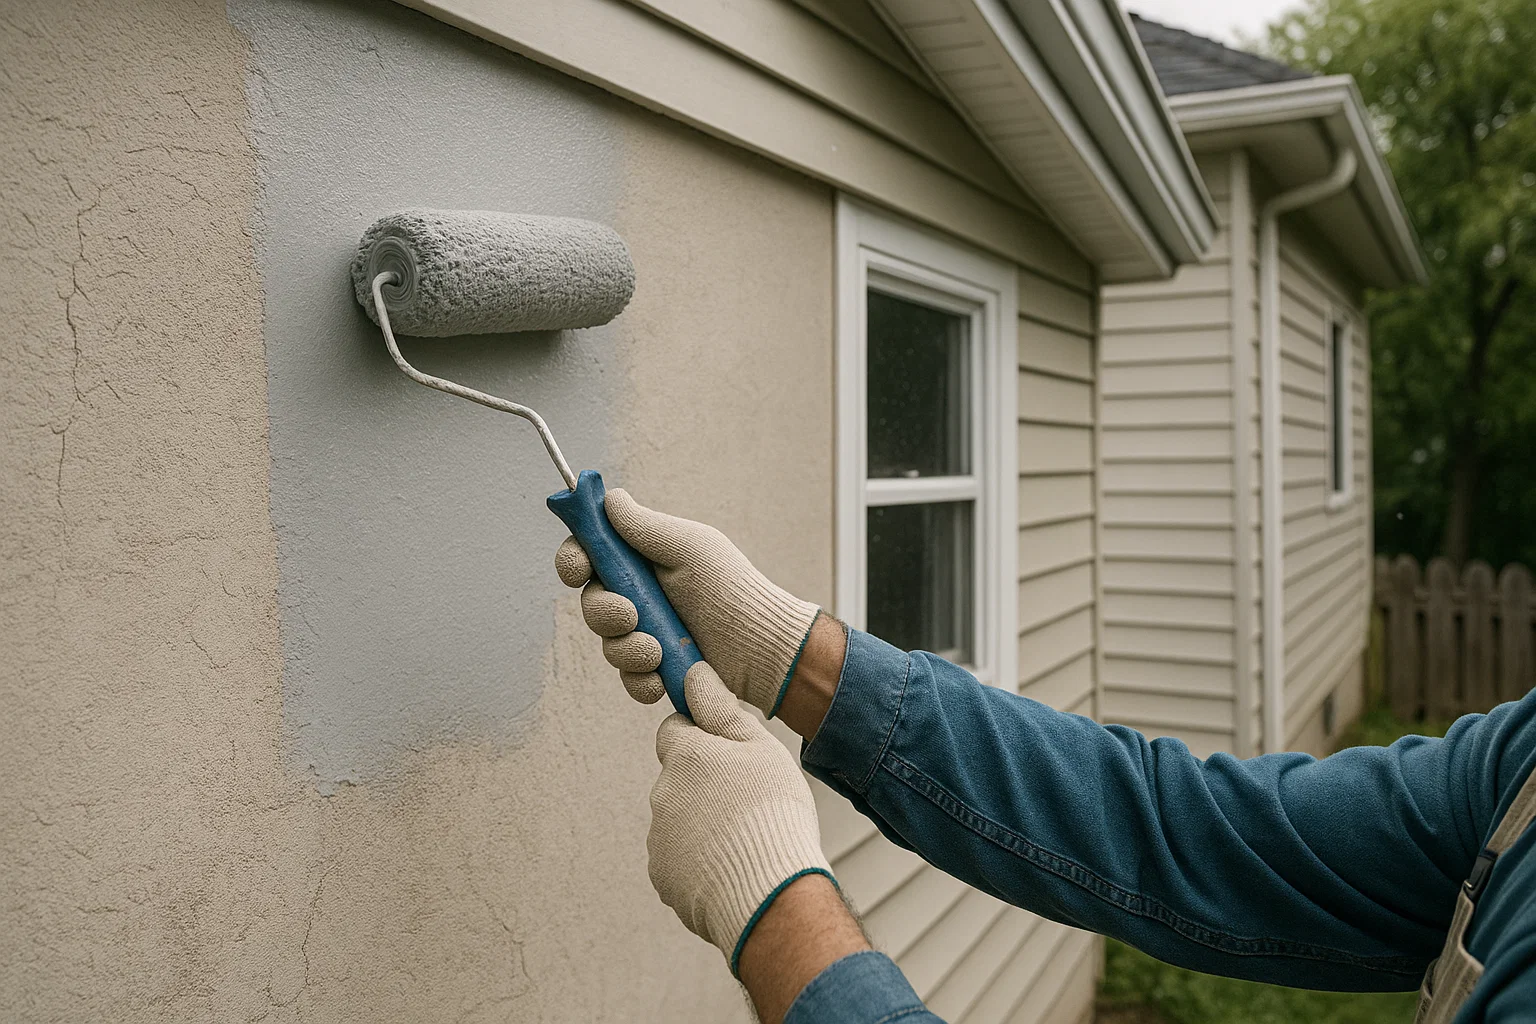
Choose a base color that will serve as the foundation for your layered effect. This color should be your dominant tone, and it will help set the mood for the entire space. Using a roller or brush, apply a smooth, even coat. Let this base layer dry fully—this may take several hours depending on the product and environmental conditions.
Step 3: Applying a Glaze
Mix your glaze by diluting a second color with a glaze medium or water (if it’s a water-based product). The goal is to create a transparent layer that allows the base to show through. Apply the glaze with a brush or cloth, and work in small sections. You can use a technique called “feathering” to blend the glaze into the base, creating soft transitions. Practice on a small area first until you’re comfortable with the effect.
Step 4: Adding Texture Through Tools
Now that your glaze is in place, it’s time to introduce texture. Decide if you want to use a sponge, rag, or even a stippling brush. Dip your chosen tool into another variation of your paint or a contrasting color if you want more depth. Lightly dab or roll over the surface, allowing some areas to absorb more of the underlayer. This step is where you can let creativity drive you—each pass with your tool adds tiny variations that build a unique texture.
Step 5: Highlighting and Finishing Touches
Once the texturing is complete, you might find that some areas benefit from a touch of highlighter or a second glaze for extra vibrancy. Adding a touch of a lighter color in some areas can enhance the effect of depth and dimension. Use a soft brush to apply these details sparingly, focusing on parts of the wall that might catch more natural light.
Step 6: Let It Cure and Protect
After you’re satisfied with the layered effect, allow the entire surface to cure as specified by your paint’s instructions. This is a crucial step, as rushing the process can lead to smudging or loss of texture. Once cured, consider applying a clear sealant or topcoat to protect your work. The sealant will help maintain the texture and ensure the finish lasts longer.
Creative Inspiration and Ideas
Layering in decorative paint is not just a technique—it’s an art form. Some people use layering to mimic the look of old-world patinas, while others might create modern geometric patterns that play with shadows and light. Here are a few ideas to spark your creativity:
- Rustic Farmhouse Look: Use earthy tones like soft browns, greens, and creams. Apply a base coat in a neutral color, followed by a glaze in a slightly darker shade. Then, use a sponge to add random, muted dots of an even darker tone for a weathered, vintage feel.
- Modern Industrial Style: For a more urban vibe, consider using shades of gray, black, and white. A base coat of light gray can be layered with a darker gray glaze. Use a stippling brush to add texture that gives the illusion of concrete. A final touch of a high-gloss sealant can add a modern, sleek finish.
- Coastal or Nautical Theme: To evoke the feeling of the beach, start with a base of soft white. Add layers of pale blue and hints of sandy beige using a roller or sponge. The layered effect here creates a breezy, relaxed look that works well in living rooms or bedrooms near the water.
- Bold Accent Wall: If you have a room that craves a focal point, consider an accent wall with multiple layers. Start with a deep, rich base color. Apply a contrasting glaze on top and then use tools like a trowel or even a comb to create interesting, linear textures. This not only adds depth but makes the wall stand out as a piece of art.
Common Challenges and How to Overcome Them
Even with careful planning, layering can sometimes be tricky. Here are some common challenges and tips on how to overcome them:
Inconsistent Texture
Sometimes the texture might look too heavy in one spot and too light in another. This is usually a result of uneven application of the glaze or texturing tool. To fix this, try working in smaller sections and blending the edges carefully. Practicing on a spare board or a hidden corner can help you get a feel for the right pressure and technique.
Long Drying Times
When working with multiple layers, drying time can be a challenge, especially if you’re in a humid or cool environment. Make sure you give each layer enough time to dry thoroughly. If the weather is not ideal, consider using a fan or dehumidifier to speed up the process without compromising the quality of your finish.
Overworking the Surface
It’s tempting to add more texture if you think the look isn’t pronounced enough, but overworking the surface can muddy the colors and blur the patterns. Sometimes less really is more. Keep an eye on the progress and trust that your initial layers will build the desired depth if applied correctly.
Final Thoughts: Bringing Your Walls to Life
Layering is more than a decorative technique—it’s a way to bring a whole new level of character and personality to your space. Whether you’re renovating an old home or simply looking to update a single room, mastering the art of layering can transform plain walls into visually rich canvases. Not only does it allow you to express your personal style, but it also offers practical benefits such as hiding imperfections and adding durability.
By taking the time to understand the basics—starting with proper surface preparation, choosing the right tools and products, and practicing layering techniques—you can achieve results that look like they were done by a professional. With each added layer, you’re not just painting a wall; you’re creating an environment that feels welcoming, warm, and uniquely yours.
Remember, every wall has a story, and with layered decorative paint, you get to tell that story in vivid detail. Whether you aim for subtle changes or bold, artistic expressions, the key is to be patient, experiment with different methods, and above all, enjoy the creative journey.
If you ever feel stuck or need guidance, don’t hesitate to look for inspiration online, join DIY forums, or even reach out to a local painting expert. The art of layering is as much about creativity as it is about technique, and every new project is an opportunity to learn and evolve your style.