If you share your home with furry friends, you know how hard it is to keep floors looking fresh. Dogs scuff their paws, cats sharpen their claws, and the occasional accident leaves a stain or odor behind. While replacing flooring can be expensive and time‑consuming, applying a durable, pet‑proof coating is a smart, budget‑friendly way to protect your floors for years to come. In this guide, we’ll explore the best coatings, walk through how to choose the right one, and give you simple, step‑by‑step instructions for prepping, applying, and maintaining a floor that stands up to paws, claws, and spills.
Why Pets Challenge Your Floors
Pets bring joy, but their daily habits can take a toll on even the toughest surfaces:
- Scratches and Scuffs
Claws on tile, hardwood, or laminate can leave fine scratch lines that dull the finish. - Stains and Spills
Accidents—whether it’s a dropped bowl of water or a surprise “oops”—soak into porous surfaces and leave rings or marks. - Odors and Bacteria
Pet messes carry odors that can linger in grout lines or tiny cracks, making rooms smell musty over time. - Heavy Traffic Areas
Doorways, feeding spots, and favorite napping places see constant wear and tear, wearing down the finish faster than other areas.
A quality floor coating creates a protective barrier that resists these common pet‑related problems, keeping your home cleaner and your flooring looking new.
Key Features of a Pet‑Proof Floor Coating
When shopping for a pet‑friendly floor coating, look for these must‑have qualities:
- Scratch Resistance
Coatings with hard, cross‑linked polymers fend off claw scratches. Look for products rated “commercial grade” or “high‑traffic.” - Stain and Chemical Resistance
Your coating should repel water, oils, and common household cleaners so accidents wipe right up without leaving rings. - Odor Barrier and Antimicrobial Properties
Some coatings incorporate antimicrobial additives that inhibit mold, mildew, and bacteria—helpful for accidental spills or pet dander. - Flexibility and Adhesion
Floors expand and contract with temperature and humidity. A good coating flexes slightly without cracking or peeling and bonds tightly to the substrate. - Easy Maintenance
A smooth, sealed surface cleans with a damp mop or cloth—no harsh scrubbing needed. - Low VOC and Safe for Pets
Choose low‑ or zero‑VOC (volatile organic compound) formulas so your pets aren’t breathing in harmful fumes during application or curing.
Top Pet‑Proof Coating Options
1. Two‑Part Epoxy Floor Coatings
Why It’s Great:
- Extremely durable and scratch‑resistant.
- Creates a hard, glossy finish that resists stains and moisture.
- Available in clear or tinted versions.
Considerations:
- Requires precise mixing of resin and hardener.
- Professional equipment or careful DIY technique is needed to roll on evenly.
- Cures in about 24–48 hours but needs 5–7 days before heavy use.
2. Polyurethane‑Modified Epoxy
Why It’s Great:
- Adds flexibility to standard epoxy, reducing the chance of cracking.
- UV‑resistant, so it won’t yellow in sunny rooms.
- Excellent chemical and abrasion resistance.
Considerations:
- More expensive than plain epoxy.
- Dry time is similar—allow at least 48 hours before walking and a full week for heavy traffic.
3. Polyaspartic Coatings
Why It’s Great:
- Dries in as little as 1–2 hours, letting you use the room again quickly.
- Very high chemical and scratch resistance, ideal for garages and mudrooms.
- Can be applied in a wider temperature range.
Considerations:
- High cost compared to epoxy or polyurethane.
- Application requires careful timing and proper safety gear because it cures so fast.
4. Acrylic Floor Sealers
Why It’s Great:
- Budget‑friendly and easy to apply with a roller or sprayer.
- Clears and protects concrete, tile, or pavers in basements and patios.
- Fast drying—often within an hour.
Considerations:
- Lower scratch resistance than epoxy or polyaspartic.
- Usually needs annual reapplication if in heavy‑use areas.
How to Choose the Right Coating for Your Home
- Assess Traffic and Use
- High‑traffic zones (entryways, kitchens, dog run areas): Choose epoxy or polyaspartic.
- Moderate traffic (living rooms, hallways): Polyurethane‑modified epoxy or high‑grade acrylic.
- Outdoor or basement: Acrylic sealers work well if durability needs are lower.
- Consider Curing Time
If you need quick use, polyaspartic cures rapidly. For weekend projects, acrylic or standard epoxy may fit your schedule better. - Match Your Substrate
- Concrete: All options work—epoxy gives the hardest finish.
- Wood: Polyurethane‑modified epoxy adds needed flexibility.
- Tile: Acrylic sealers or thin epoxy primers plus topcoat.
- Budget
- Under $5/sq ft: Acrylic or basic epoxy.
- $5–$8/sq ft: Polyurethane‑modified epoxy.
- $8+/sq ft: Polyaspartic or custom commercial systems.
- Finish Preferences
- High gloss: Epoxy or polyaspartic.
- Satin or matte: Polyurethane blends or matte sealers.
Step‑by‑Step Application Guide
Follow these steps for a long‑lasting, pet‑proof floor:
1. Clear and Clean
- Remove all furniture, rugs, and pet bowls.
- Sweep and vacuum to remove loose debris.
- Scrub with a degreasing cleaner or TSP (trisodium phosphate) solution to remove oils and grime.
- Rinse thoroughly and let the floor dry for at least 24 hours.
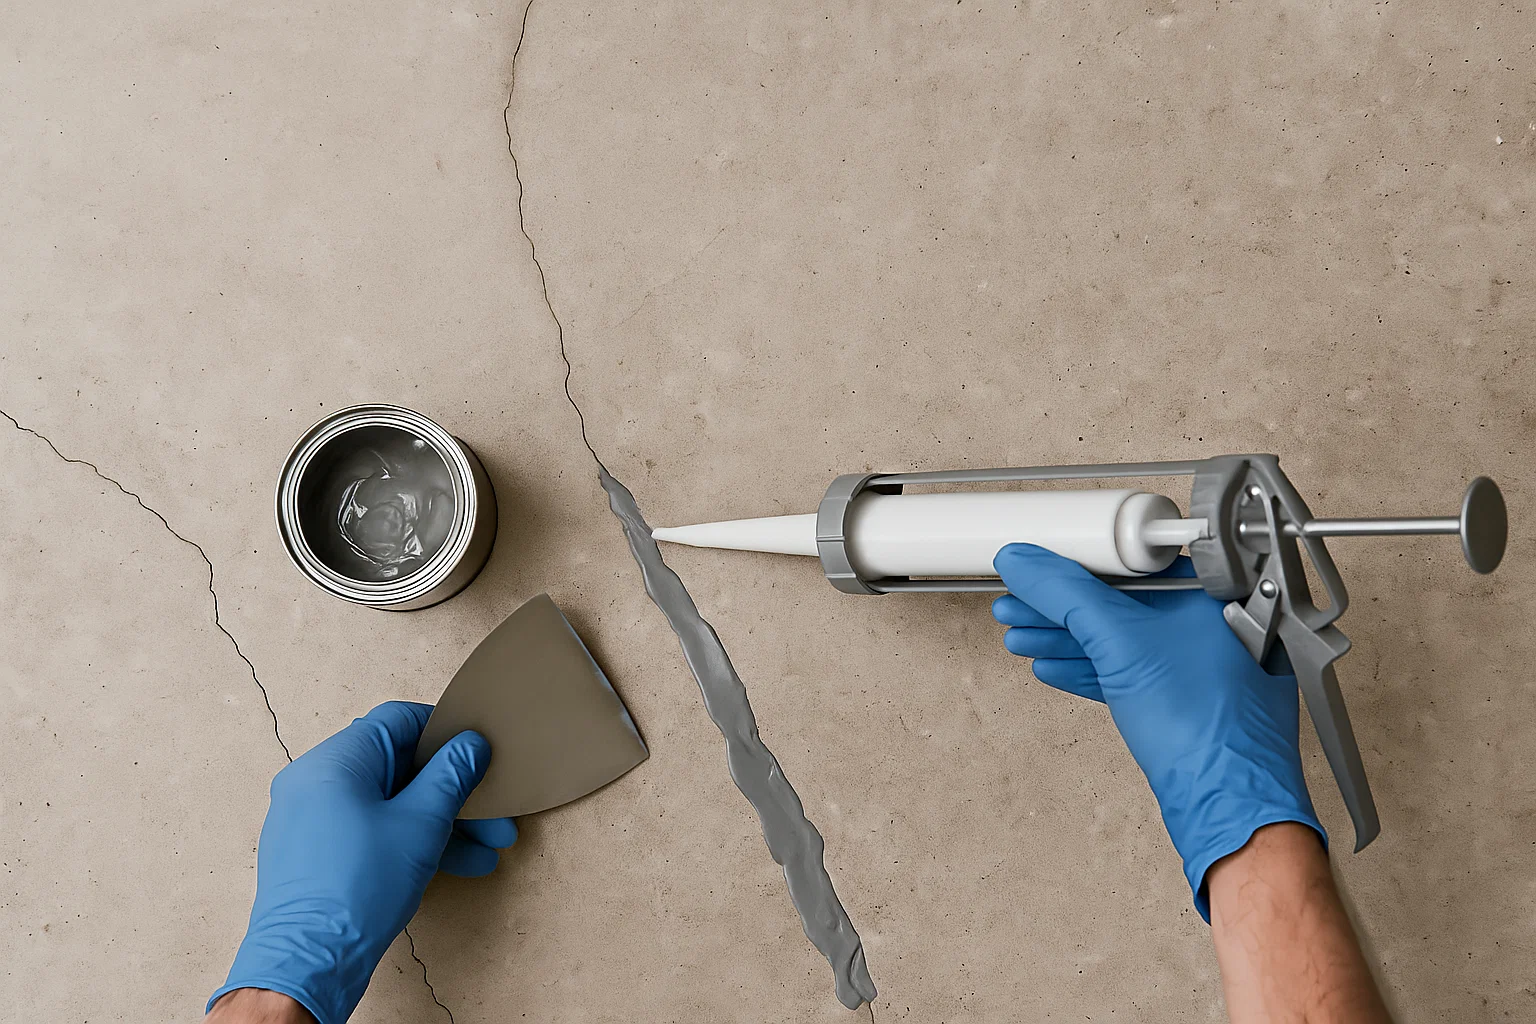
2. Repair and Profile
- Fill cracks or pits with a concrete patch or wood filler—depending on your floor material.
- Sand or grind smooth so the coating bonds evenly.
- For concrete, use an acid etch or mechanical grinder to create a “profile” (tiny roughness) for better adhesion.
3. Prime (If Recommended)
- Some systems—especially epoxy—require a primer coat.
- Roll or broadcast the primer per the manufacturer’s instructions.
- Allow proper dry time (usually 4–6 hours).
4. Mix Your Coating
- Follow exact resin-to-hardener ratios for two-part systems.
- Stir slowly and thoroughly to avoid air bubbles.
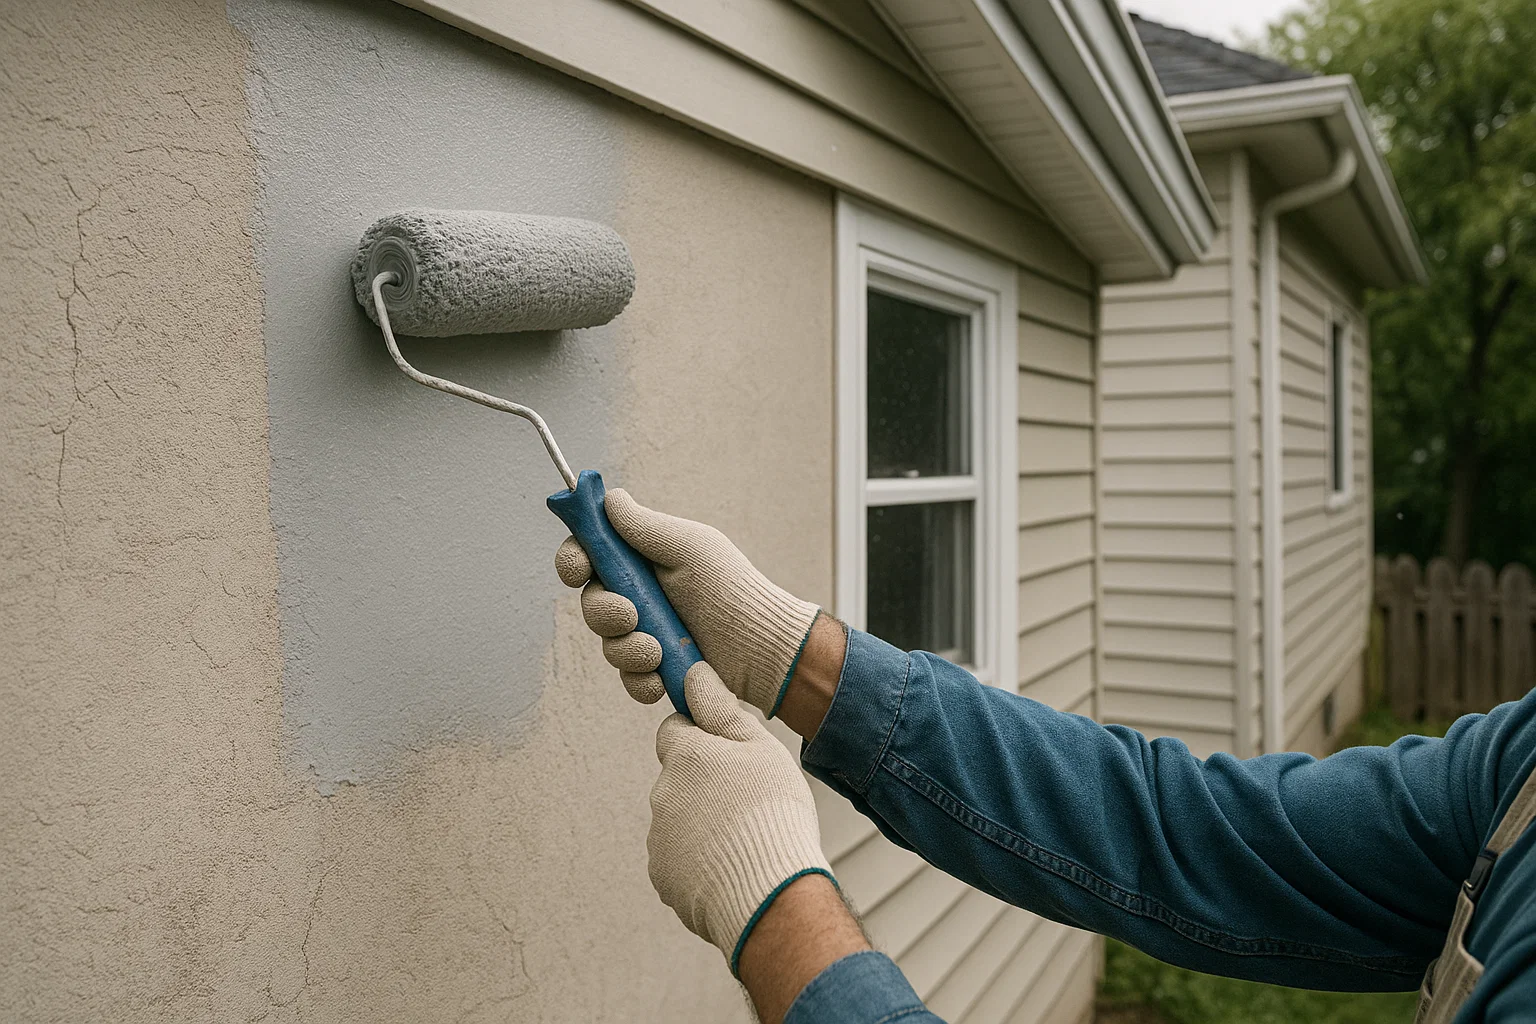
5. Apply the First Coat
- Cut in edges with a brush.
- Use a roller for large areas, applying in a “W” pattern for even coverage.
- Don’t overspread—maintain a wet edge.
6. Optional Decorative Flakes
- While the first coat is still wet, broadcast color flakes or quartz sand for traction and visual interest.
- Let the coating self‑level for 10–15 minutes, then back roll gently to seat flakes.
7. Second Coat
- After the first coat cures (per label), apply the second coat just like the first.
- Keep thickness within recommended limits to avoid cracking.
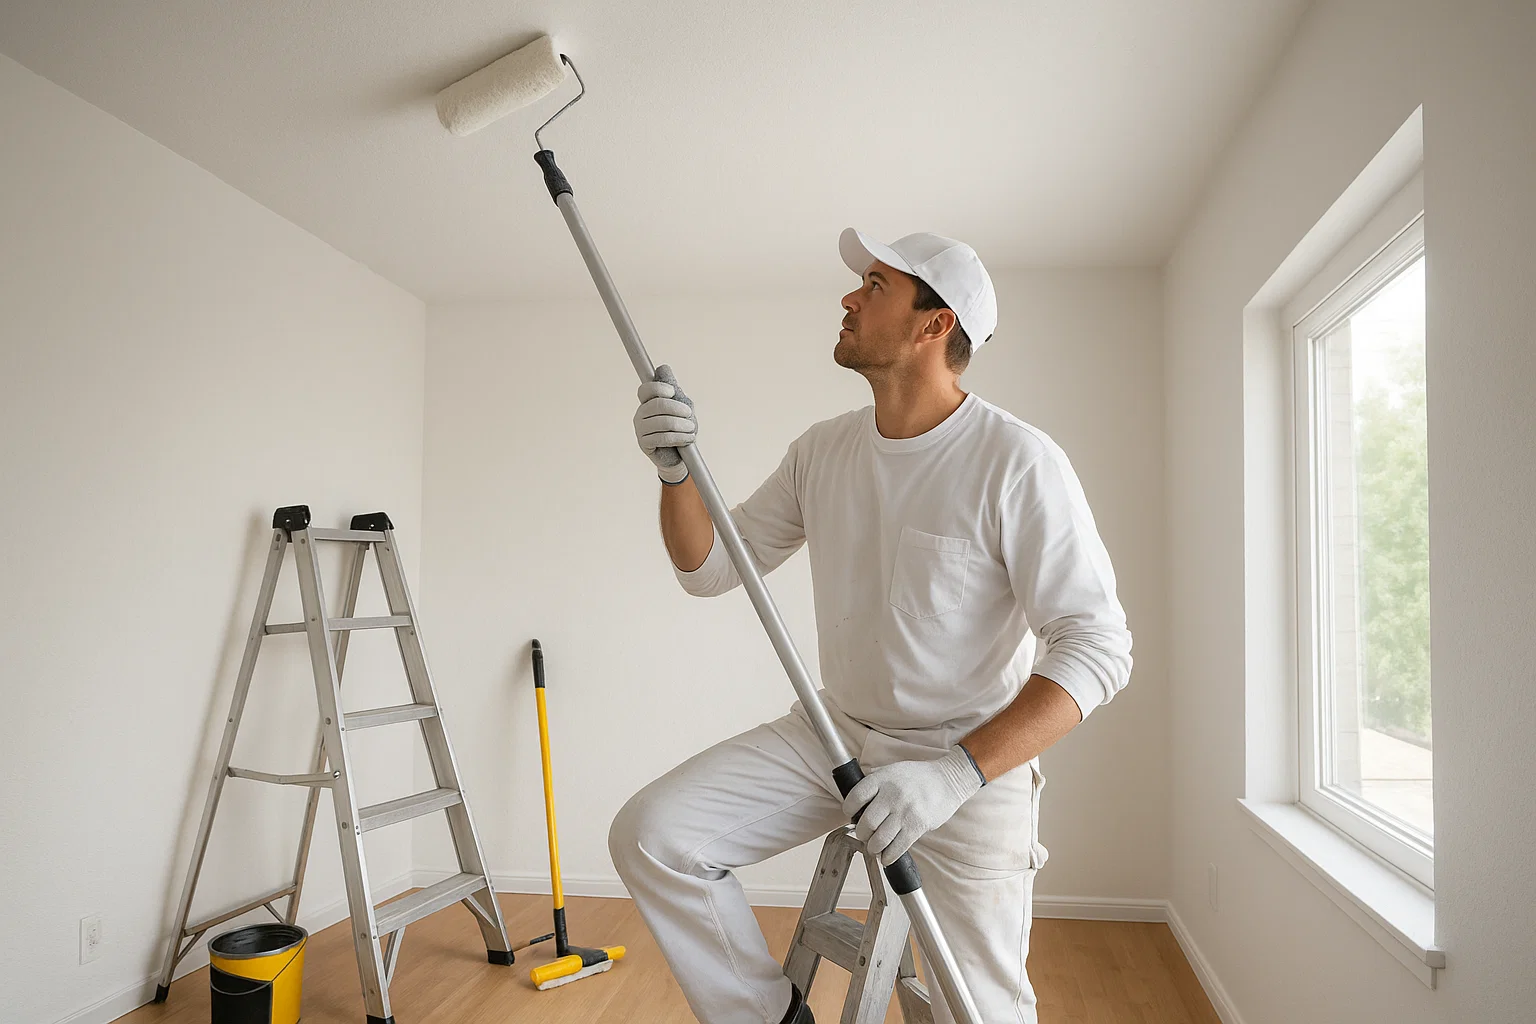
8. Topcoat (If Required)
- Some systems benefit from a clear polyurethane or epoxy topcoat for extra scratch resistance.
- Roll on thin, even layers and allow full cure before permitting pet traffic.
Pet‑Friendly Maintenance Tips
- Daily Sweep or Vacuum
Remove dirt and pet hair that can act like sandpaper under paws. - Spot Clean Spills Immediately
Wipe up accidents with a damp cloth and mild cleaner. The sealed surface prevents staining. - Use Rug and Mat Zones
Place washable mats under food bowls and pet bedding to catch moisture and debris. - Inspect Annually
Look for wear spots or dull areas. Touch up with leftover coating or apply a fresh topcoat if needed.
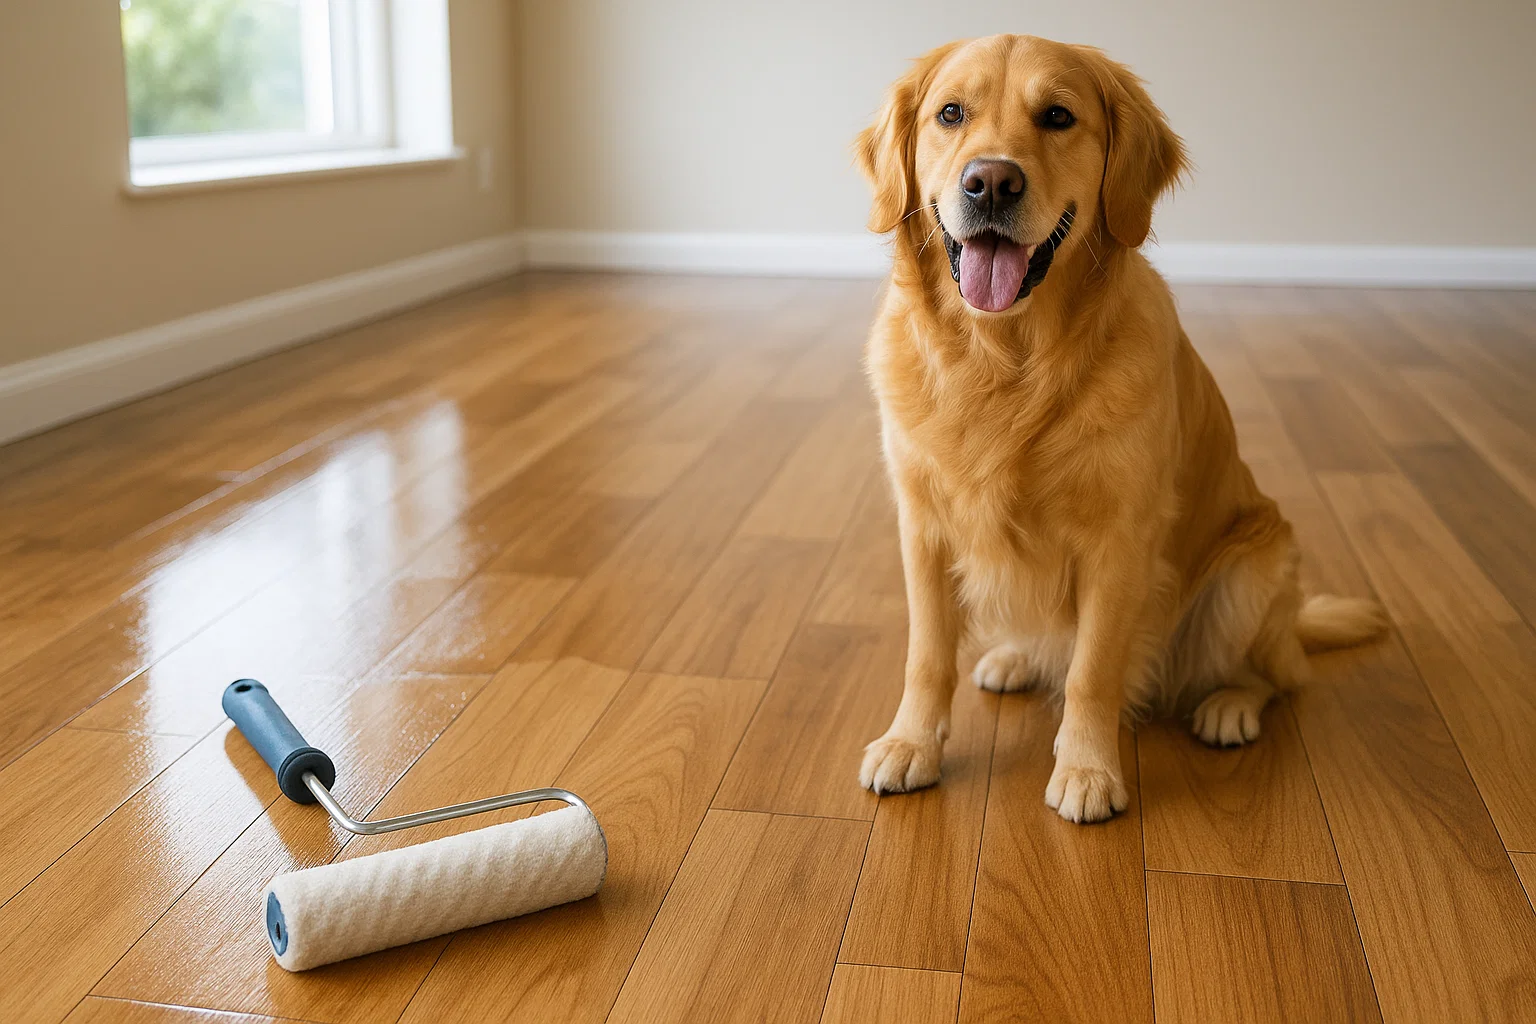
Conclusion
Protecting your floors from the wear and tear of pets doesn’t have to be a constant battle. By choosing a pet‑proof floor coating—whether it’s tough epoxy, quick‑curing polyaspartic, flexible polyurethane blends, or easy acrylic sealers—you can keep claws from scratching, spills from staining, and odors from lingering. With proper prep, careful application, and routine maintenance, your floors will stay beautiful and resilient, even in the busiest pet households.
Ready to transform your floors into a pet‑proof haven? Paint Top Tier offers expert guidance, top‑quality materials, and professional installation to ensure your floors look and perform their best. Visit PaintTopTier.com or give us a call to schedule your consultation today!