Replacing old tile can be expensive, messy, and time-consuming. But what if you could give your tiled surfaces a fresh, modern look—without pulling up a single piece? Painting over tile is a cost-effective, DIY-friendly way to update bathrooms, kitchens, laundry rooms, and more. In this guide, you’ll learn why and when to paint tile, the tools and materials you need, and a step-by-step process that even beginners can follow. By the end, you’ll have the confidence to transform your space with paint—no demolition required.
Why Paint Over Tile?
- Cost Savings: New tile, grout, and installation labor add up quickly. Paint and supplies are a fraction of that cost.
- Speed and Convenience: No need to rip out existing tile. A weekend project can give your room a fresh look in days, not weeks.
- Customization: Choose any color or finish—matte, satin, or semi-gloss—to match your style.
- Less Mess: No dust, debris, or loud noise from hammering. Painting is cleaner and quieter.
- Eco-Friendly: Reusing existing materials reduces landfill waste and keeps your renovation green.
Before diving in, let’s explore the benefits of painting tile instead of removing it:
Painting tile works best on well-bonded, intact tile surfaces—cracked or loose tiles should be repaired or replaced first.
Tools and Materials You’ll Need
Gathering the right supplies is key to a smooth project. Here’s what you’ll need:
- Degreasing Cleaner (trisodium phosphate or a non-toxic tile cleaner)
- Fine-Grit Sandpaper (180–220 grit) or Sanding Sponge
- High-Adhesion Primer (specifically labeled for tile or glossy surfaces)
- Tile-and-Surface Paint (water-based epoxy or acrylic enamel designed for tile)
- Quality Paintbrushes (angled sash brush and small detail brush)
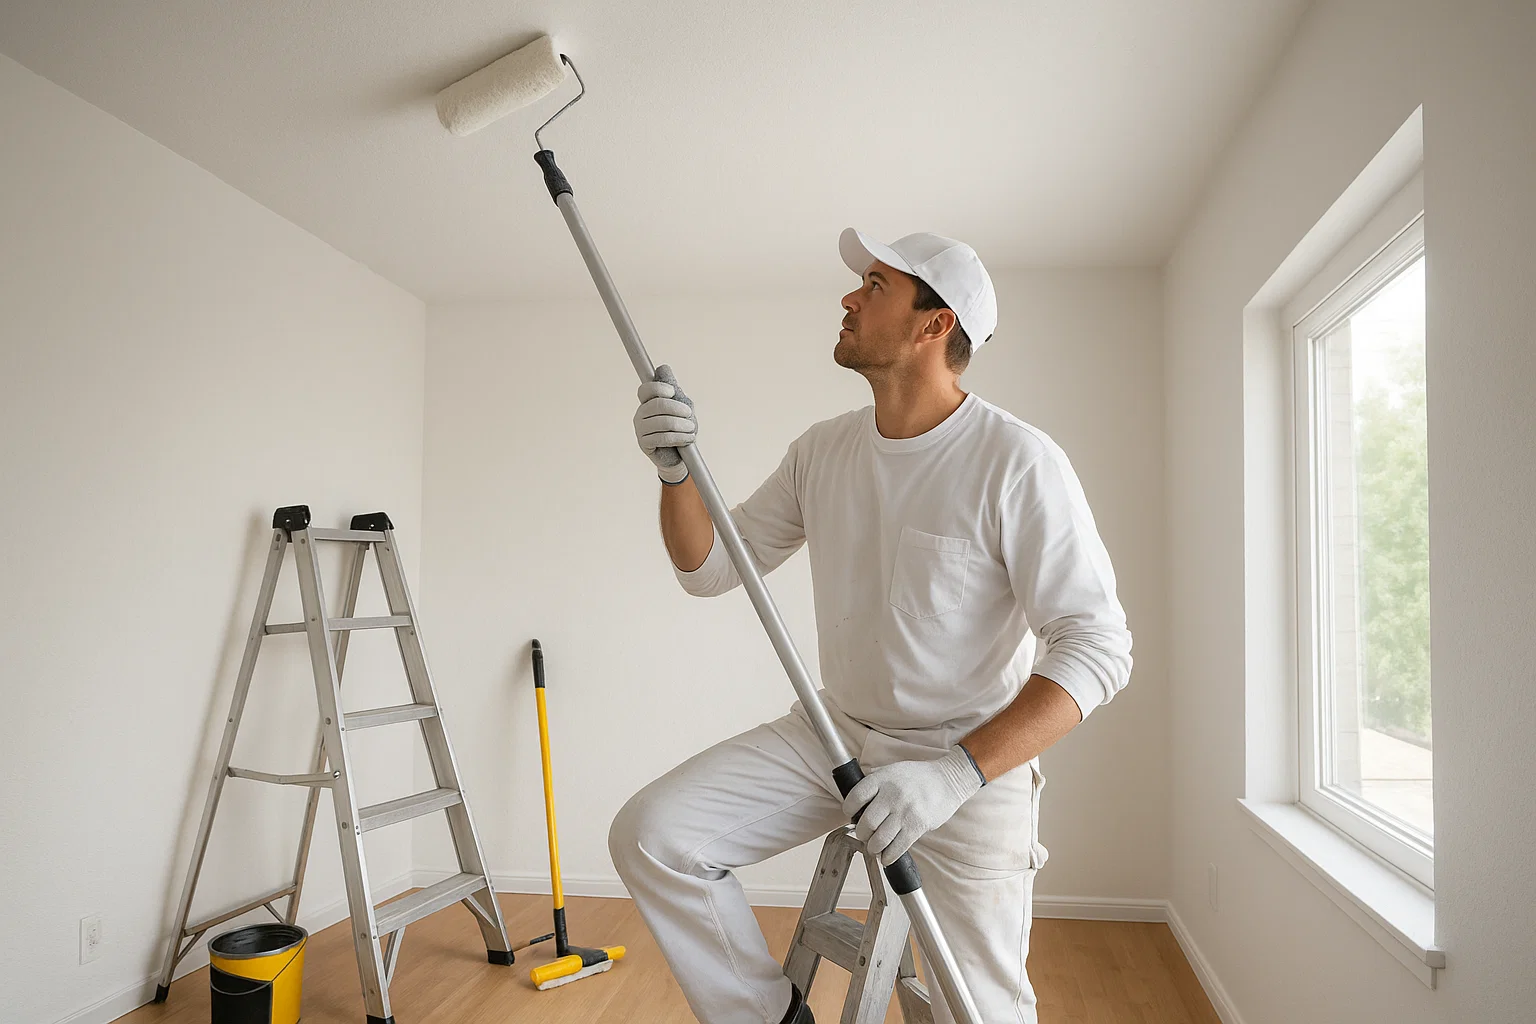
- Mini Roller and Extension Pole (with a ⅜” nap for smooth coverage)
- Painter’s Tape and Drop Cloths
- Grout Pen (Optional) (if you wish to refresh grout lines with a matching or contrasting color)
- Clean Cloths or Tack Cloths
- Protective Gear (gloves, goggles, and a mask if using strong primers)
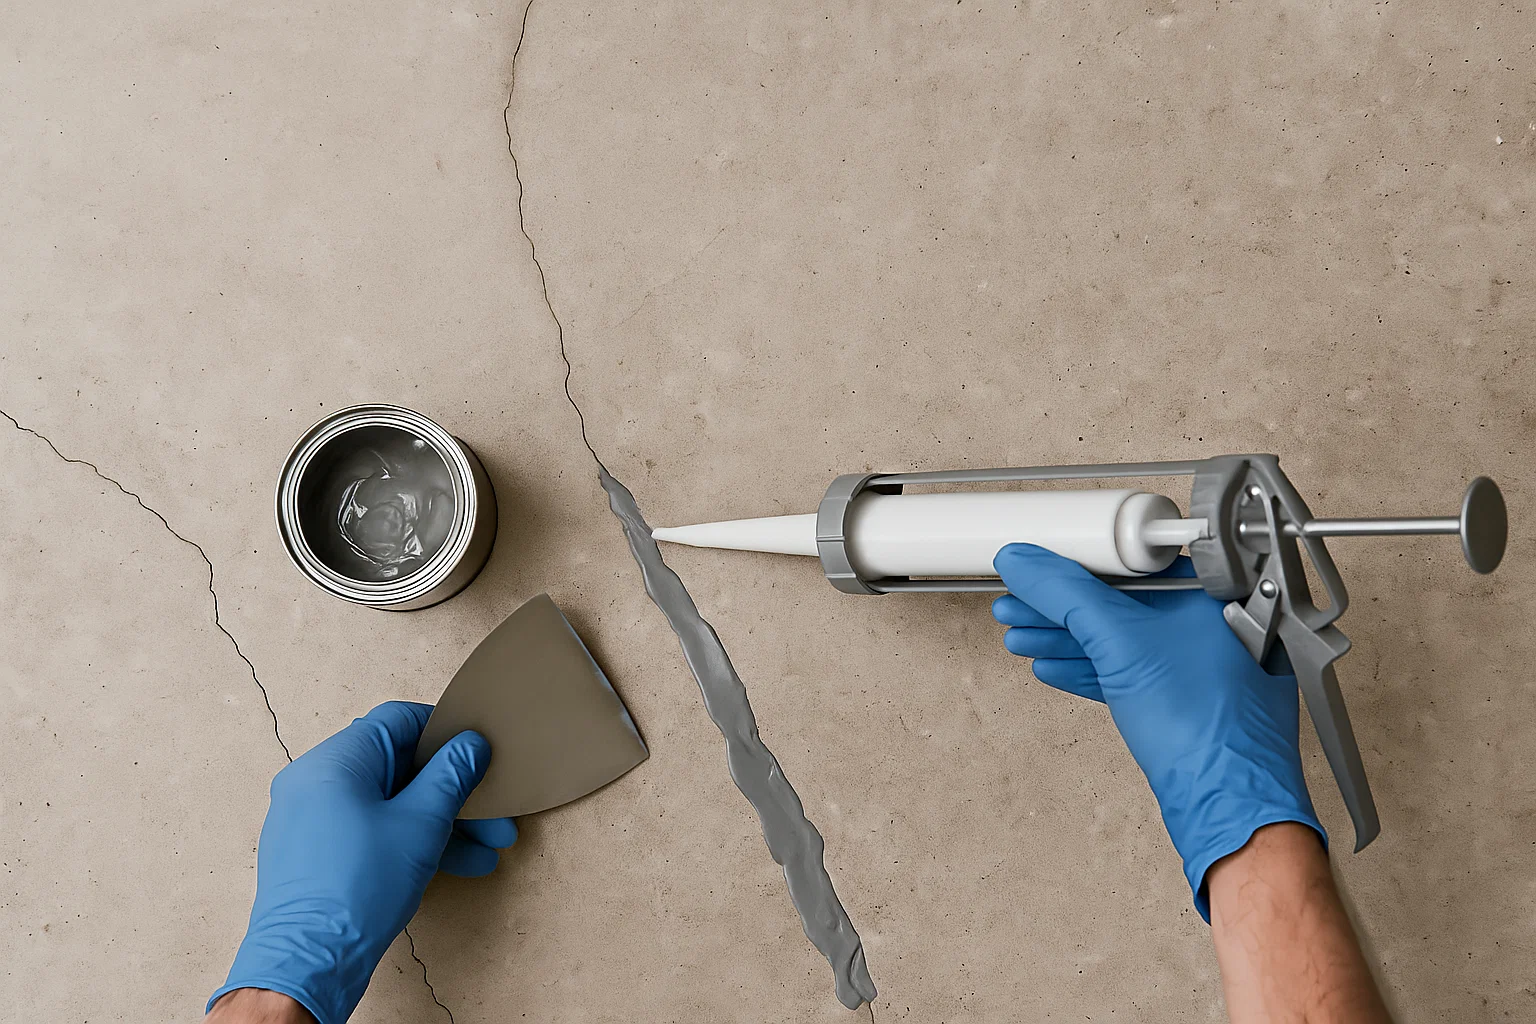
Step 1: Inspect and Repair the Surface
Painting over damaged tile will only hide flaws for so long. Start by:
- Checking for Loose Tiles: Press on each tile. If any shift, reattach them with thin-set mortar and allow 24 hours to cure.
- Repairing Cracks or Chips: Use a two-part epoxy filler for tile chips. Smooth with a putty knife, let dry, then sand level.
- Cleaning Grout Lines: If grout is crumbling, remove and re-grout before painting. Fresh grout ensures long-term adhesion.
Step 2: Clean Thoroughly
Tile surfaces often carry soap scum, grease, or mildew. Clean well to ensure primer and paint adhere properly:
- Degrease: Mix trisodium phosphate (TSP) with warm water per instructions. Scrub tiles and grout with a stiff brush or sponge.
- Rinse and Dry: Wipe away residue with clean water. Allow the entire surface to dry for at least 24 hours—any moisture can prevent adhesion.
- Final Wipe: Before sanding, give the tile one more wipe with a tack cloth to remove any leftover dust or grime.
Step 3: Sand for “Tooth”
Glossy tile repels paint. Light sanding creates a slightly rough surface—called “tooth”—for primer to grip:
- Sand Gently: Use fine-grit sandpaper or a sanding sponge. Work in small circles across each tile and along grout lines.
- No Heavy Scratches: You only need to dull the shine—avoid deep scratches that show through paint.
- Clean Again: Wipe down with a tack cloth to remove all sanding dust.
Step 4: Tape and Protect Surrounding Areas
Prevent accidental paint spills or drips:
- Apply Painter’s Tape: Mask off edges, trim, faucets, and any areas you don’t want painted.
- Lay Drop Cloths: Cover nearby countertops, floors, and fixtures with drop cloths or plastic sheeting.
Step 5: Prime the Tile
Primer is crucial—it bonds paint to the slick tile surface:
- Choose the Right Primer: Look for a bonding primer made for tile or glossy surfaces. These are usually labeled “high-adhesion.”
- Brush the Edges: Use an angled sash brush to apply primer along grout lines and corners first.
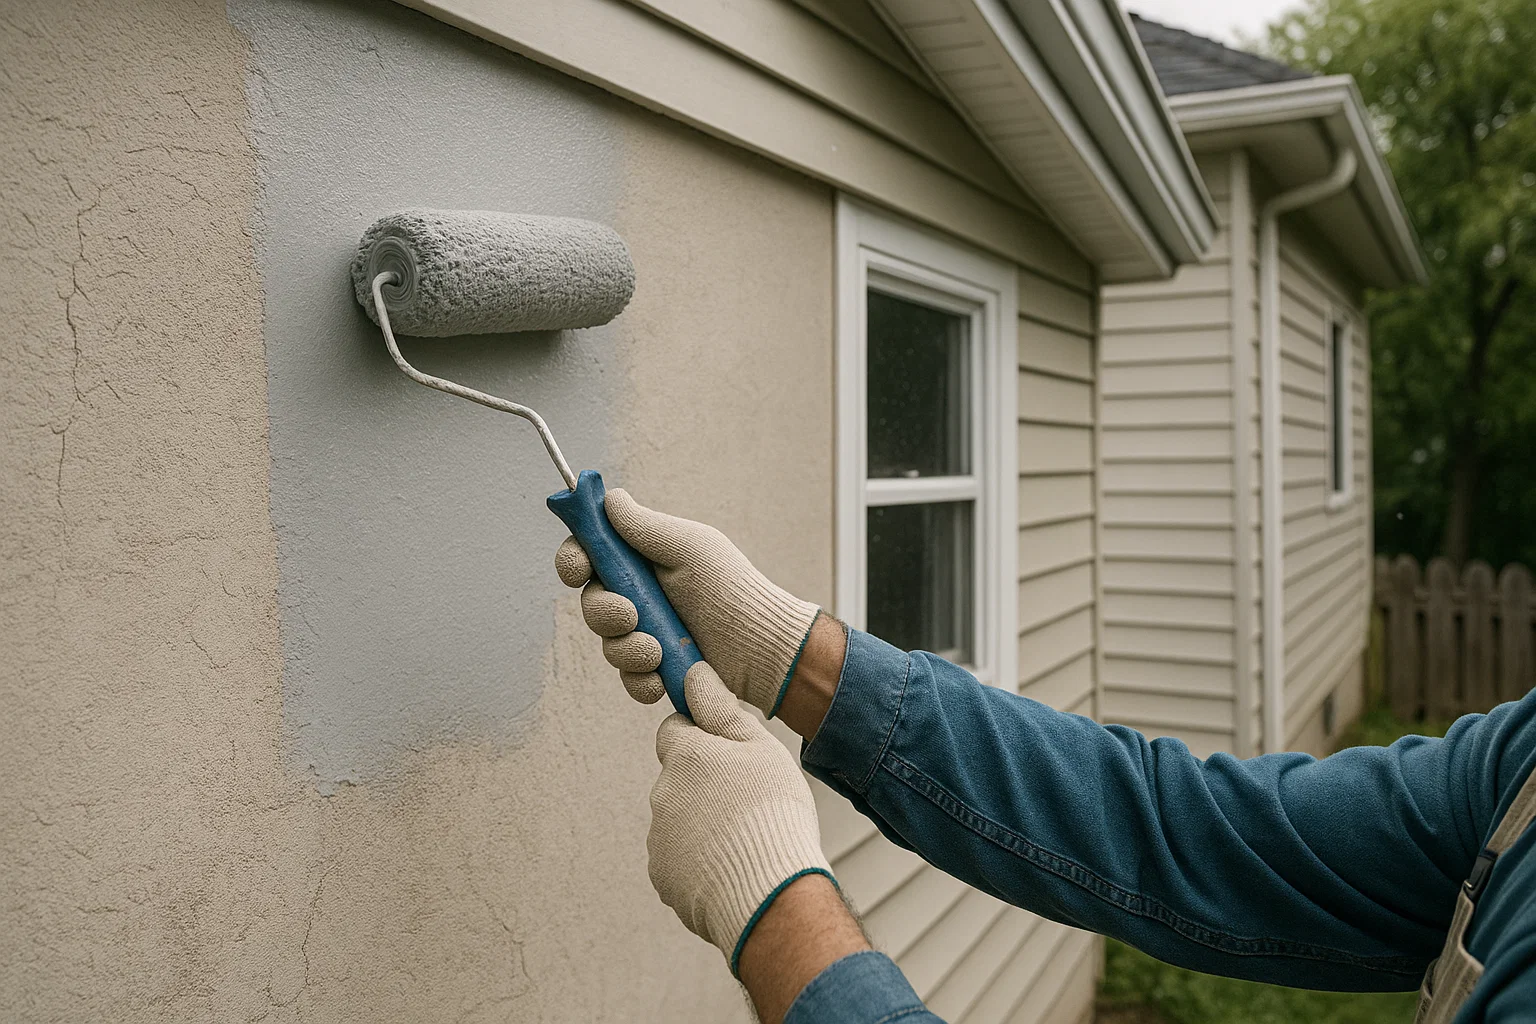
- Roll the Field: Using a mini roller, apply primer in even coats. Keep a wet edge to avoid lap marks.
- Drying Time: Allow the primer to dry fully—typically 4–6 hours—per the manufacturer’s label. Two coats may be recommended for optimal coverage.
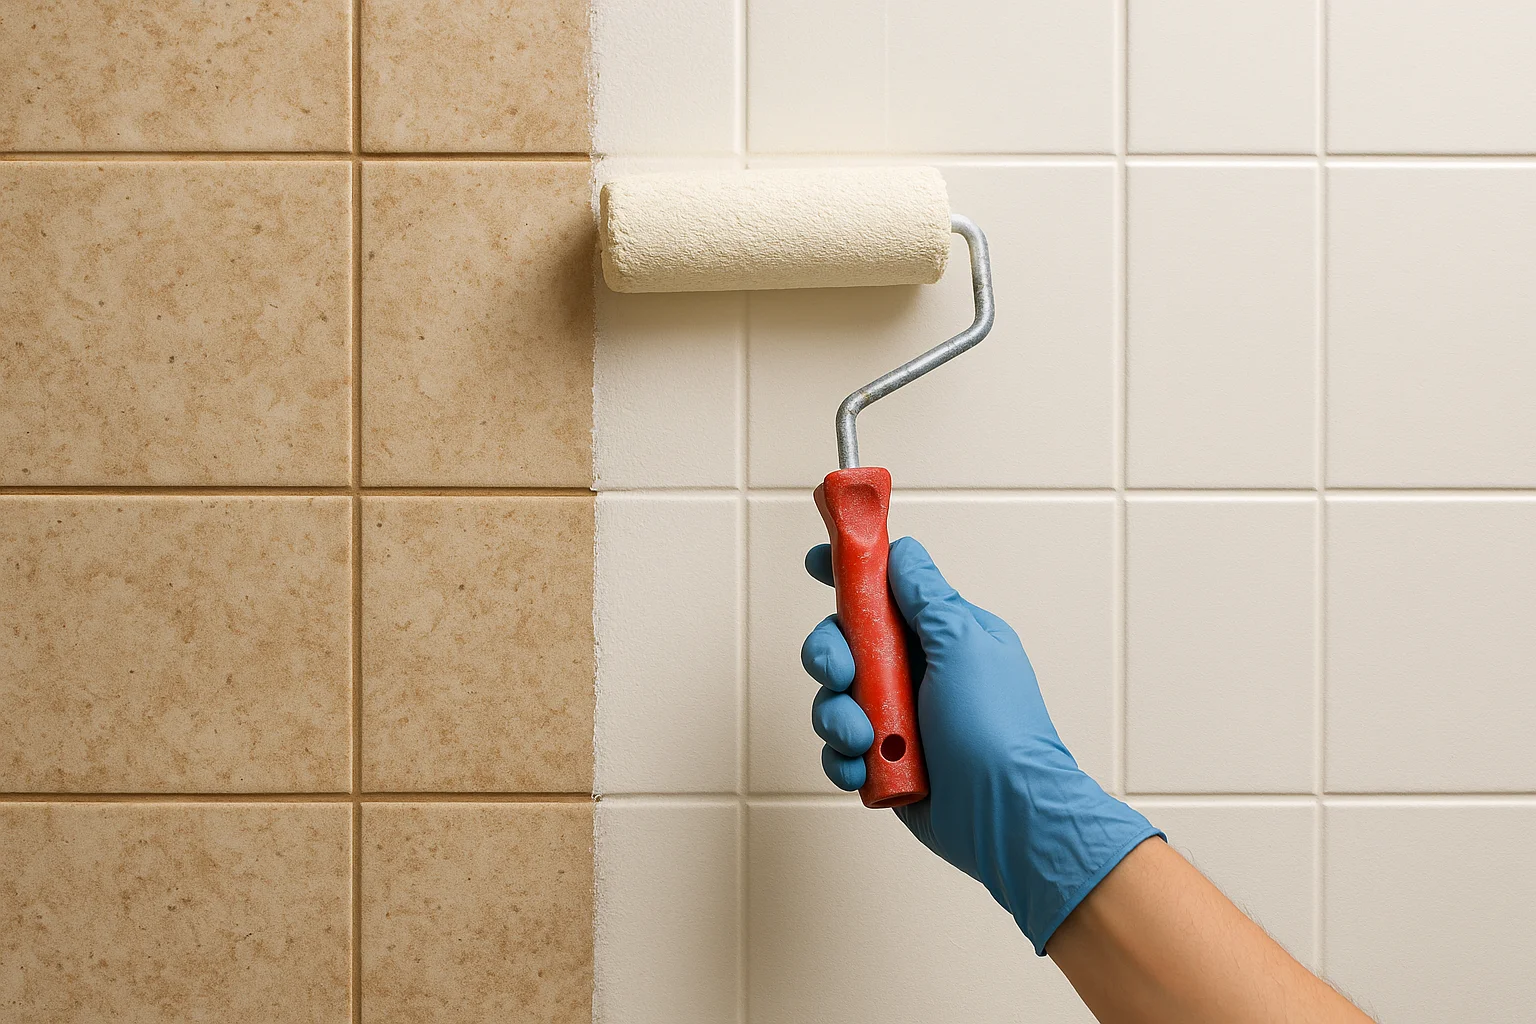
Step 6: Paint the Tile
With primer dry, your new tile color is ready to go on:
- Stir Paint Well: Mix thoroughly so any pigments or additives are evenly distributed.
- First Coat: Use the roller for large areas and a brush for corners and grout lines. Apply a thin, even layer.
- Dry and Sand Lightly: After 4–6 hours, lightly sand any drips or brush marks with fine-grit sandpaper. Wipe clean.
- Second Coat: Apply a second coat in the same manner. Depending on color contrast and coverage, a third coat might be necessary.
Step 7 (Optional): Refresh Grout Lines with a Grout Pen
If you want crisp, clean grout lines:
- Select a Matching or Contrasting Color: Grout pens come in various shades to complement or contrast your tile color.
- Apply Slowly: Run the pen along grout lines, holding the tip at a 45-degree angle.
- Wipe Excess: Immediately wipe any stray ink off tile surfaces with a damp cloth.
Step 8: Seal and Cure
For bathrooms and kitchens, a protective sealer helps water resistance:
- Choose a Tile Sealant: Use a water-based, clear acrylic sealer compatible with your paint.
- Apply Evenly: Roll on a thin coat, avoiding puddles. Let dry 2–4 hours, then apply a second coat.
- Full Cure: Though you can re-lightly use the area after 24 hours, allow up to 7 days for a full cure before heavy cleaning or scrubbing.
Maintenance Tips
- Gentle Cleaning: Use mild, non-abrasive cleaners. Harsh chemicals can break down the paint or sealer.
- Avoid Sharp Tools: Don’t use metal scrubbers or razor blades—these can chip paint.
- Touch-Up Kit: Keep leftover paint and primer for small repairs. A quick touch-up maintains the fresh look.
When Not to Paint Tile
Painting tile works well for many projects, but there are limits:
- Heavily Damaged Tile: If tiles are cracked or spalling, replacement may be wiser.
- Slippery Floors: Painted tile can be slick when wet. For floors, consider adding a non-slip additive to your paint or sealer.
- Stained or Porous Brick: Brick or highly porous surfaces absorb too much paint and might require special masonry coatings instead.
Design Ideas and Inspiration
- Subway Tile Refresh: Update classic white subway tile with a pale gray or soft blue for a modern twist.
- Bold Accent Walls: Paint walls of patterned tile in a solid color to turn them into a backdrop for art or shelving.
- Two-Tone Effect: Paint the bottom half of a tiled backsplash one color and the top half another for a custom, two-tone look.
Final Thoughts
Painting over tile is an accessible, affordable way to transform tired surfaces without the headache of removal and replacement. With proper prep, the right primer, and quality tile paint, you can achieve a fresh, durable finish that stands up to daily use. Follow these steps carefully, and you’ll enjoy a renewed space that looks professionally done—even if you did it yourself.
When you’re ready to give your tiled surfaces new life, grab your supplies, set aside a weekend, and follow this beginner’s guide. You’ll be amazed at how paint alone can breathe fresh style into your home—no demolition required.