Turning a plain concrete or plywood floor into a stunning faux wood surface might sound like magic, but with the right steps and a bit of patience, you can achieve a beautiful, natural look without the high cost of real hardwood. In this guide, we’ll walk you through every stage—from prep to finish—using simple tools and readily available materials. By the end, you’ll have a step-by-step plan that even a beginner can follow, all explained in a friendly, easy-to-understand way.
Why Choose Faux Wood Painting?
Real hardwood floors are warm, inviting, and timeless—but they’re also expensive and require careful upkeep. Faux wood painting offers a budget-friendly alternative that mimics the look of wood grain with paint and glaze. Here’s why it’s worth considering:
- Cost Savings: Paint and glaze cost a fraction of solid hardwood or engineered flooring.
- Customization: You choose every aspect of the grain, color, and finish to match your style.
- Durability: When sealed properly, faux-wood floors resist scratches, moisture, and daily wear.
- DIY Friendly: No heavy equipment or special flooring skills are needed — just a willingness to follow the steps.
Tools and Materials You’ll Need
Before you begin, gather everything so you can work smoothly from start to finish:
- Floor Paint Base Coat (latex or epoxy-based, in your chosen wood-tone color)
- Graining Tools (plastic wood-grain rocker, comb, or graining gloves)
- Glaze or Tinted Glaze Concentrate (in a darker or contrasting tone)
- Rollers and Extension Poles (for base coat and clear sealers)
- Quality Brushes (angled sash brush for edges and detail work)
- Clear Topcoat/Sealant (water-based polyurethane or epoxy sealer)
- Sandpaper or Floor Sander (120–220 grit for surface prep)
- Degreasing Cleaner and Rags (to remove dirt, grease, and dust)
- Painter’s Tape (to protect baseboards and walls)
- Drop Cloths or Plastic Sheeting
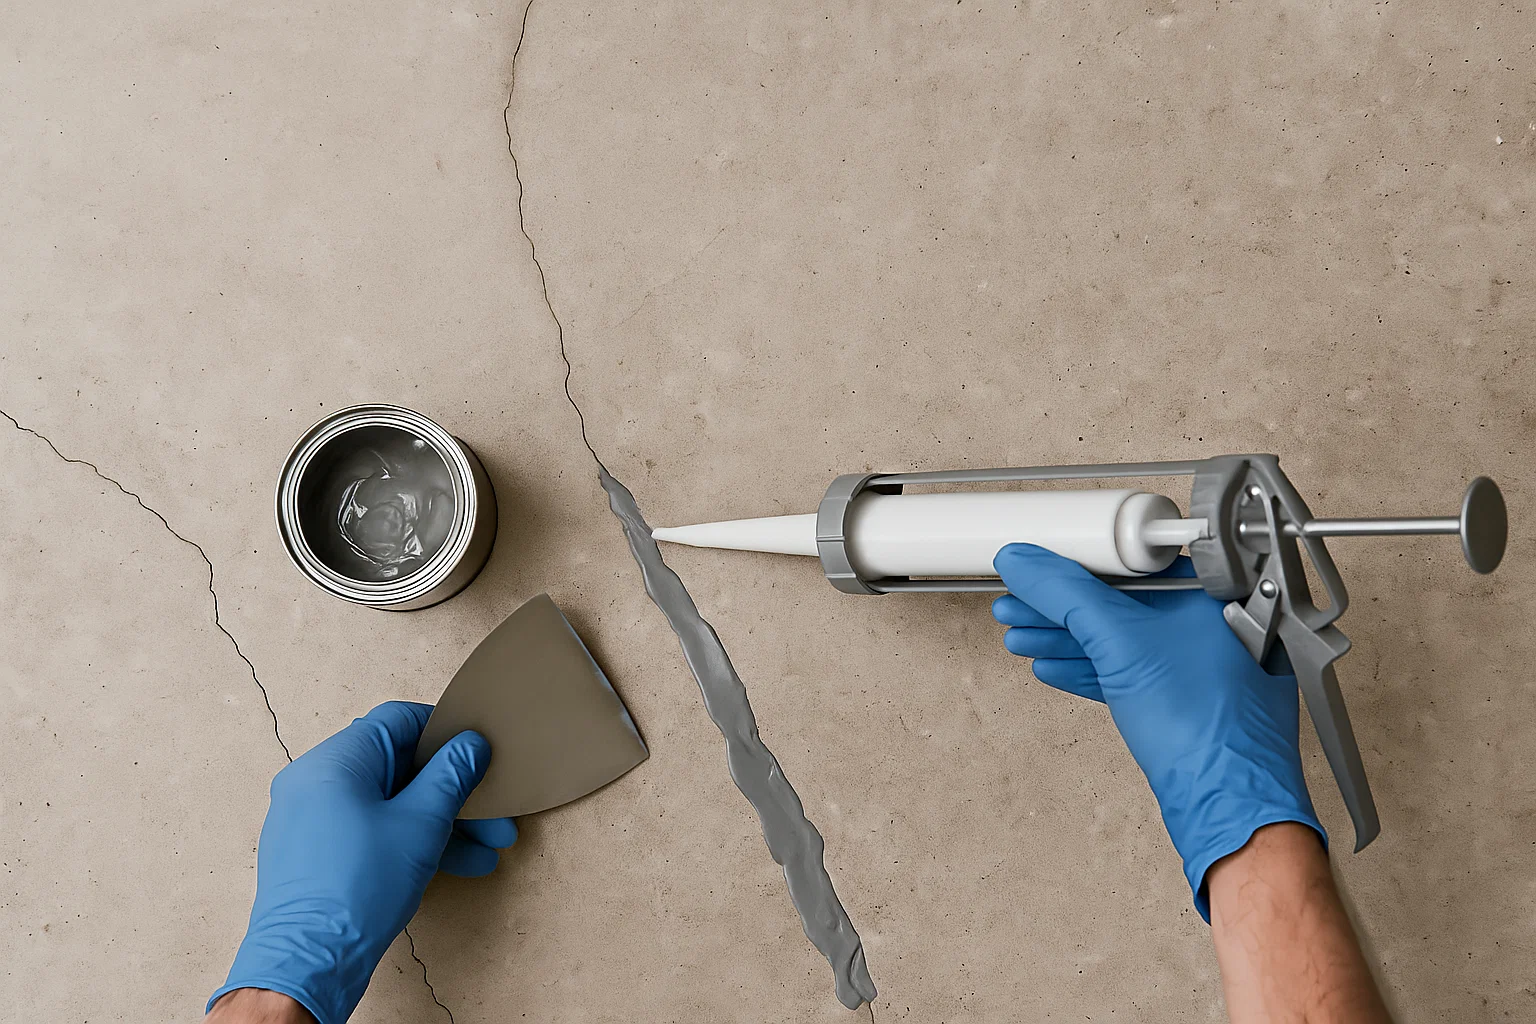
Step 1: Prepare the Surface
A flawless finish starts with good preparation:
- Clean Thoroughly. Sweep and vacuum the floor, then scrub with a degreasing cleaner to remove oils, grease, or wax. Rinse and let dry completely.
- Sand Smooth. Use sandpaper or a floor sander to roughen any glossy areas and remove bumps or old coatings. This “tooth” helps paint adhere better.
- Fill Cracks and Holes. Patch any cracks or divots with floor-grade filler, let it dry, then sand smooth.
- Tape Off Edges. Use painter’s tape along walls and trim to keep paint lines crisp.
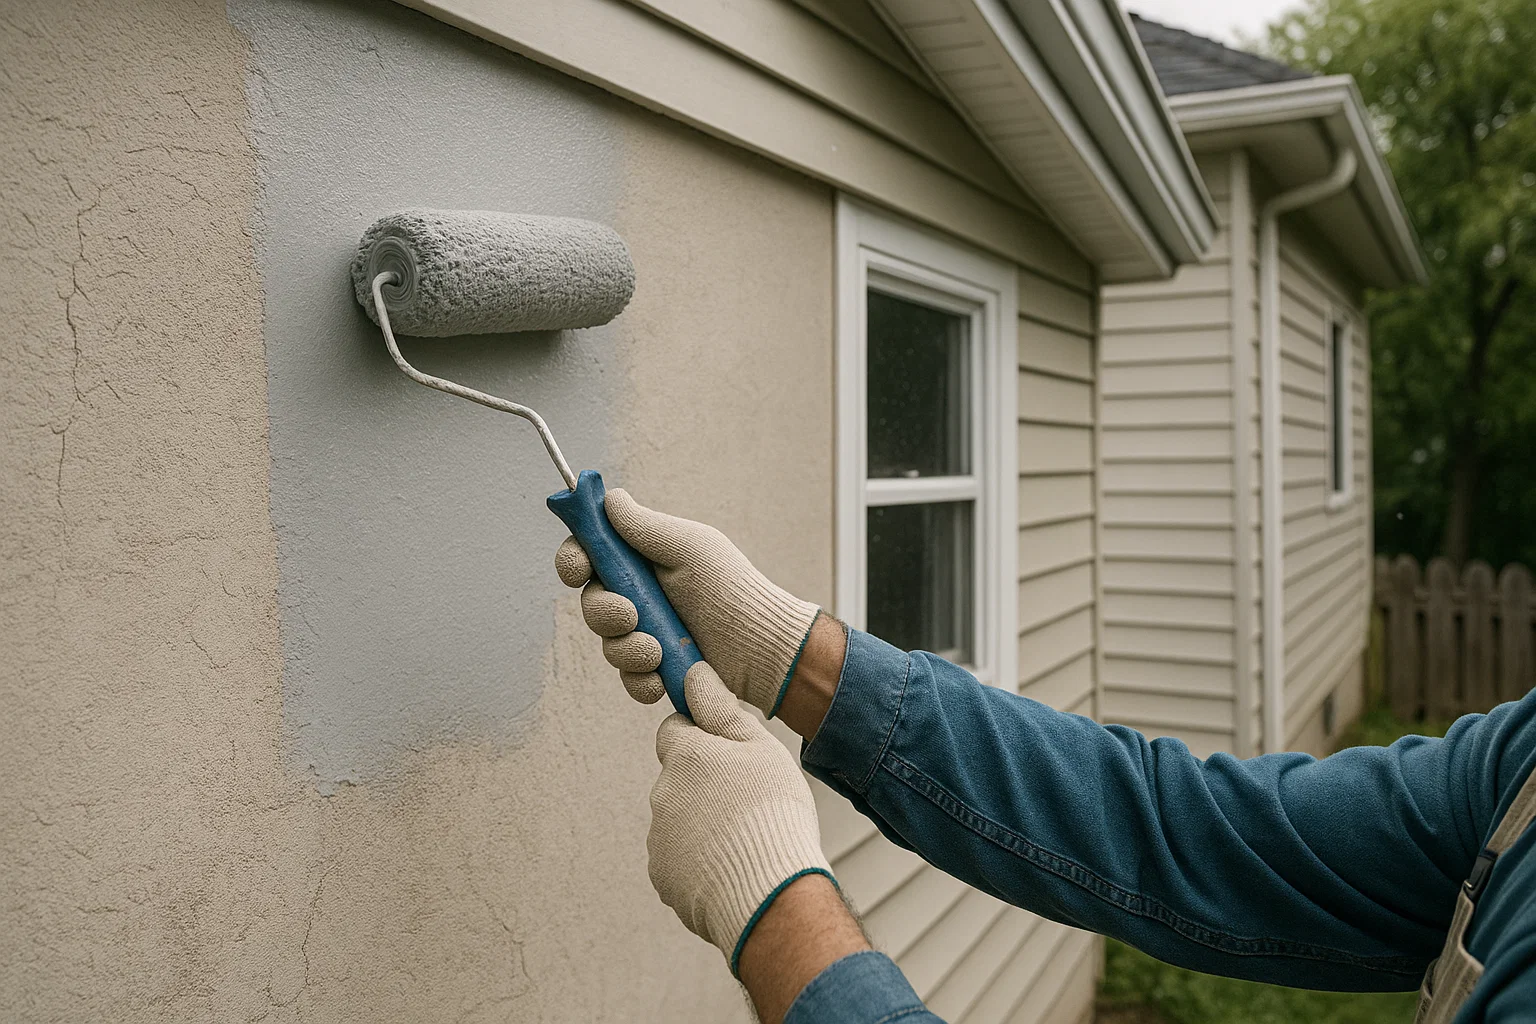
Step 2: Apply the Base Coat
The base coat provides the background “wood” color:
- Mix Well. Stir your chosen base-coat paint thoroughly.
- Cut In Edges. With an angled brush, paint a 2–3-inch strip around the room’s perimeter.
- Roll the Field. Using a roller and extension pole, apply the paint in smooth, even strokes. Work in 3-foot sections, maintaining a “wet edge” to avoid lap marks.
- Dry Time. Allow the base coat to dry fully (follow the manufacturer’s recommendations—usually 4–6 hours).
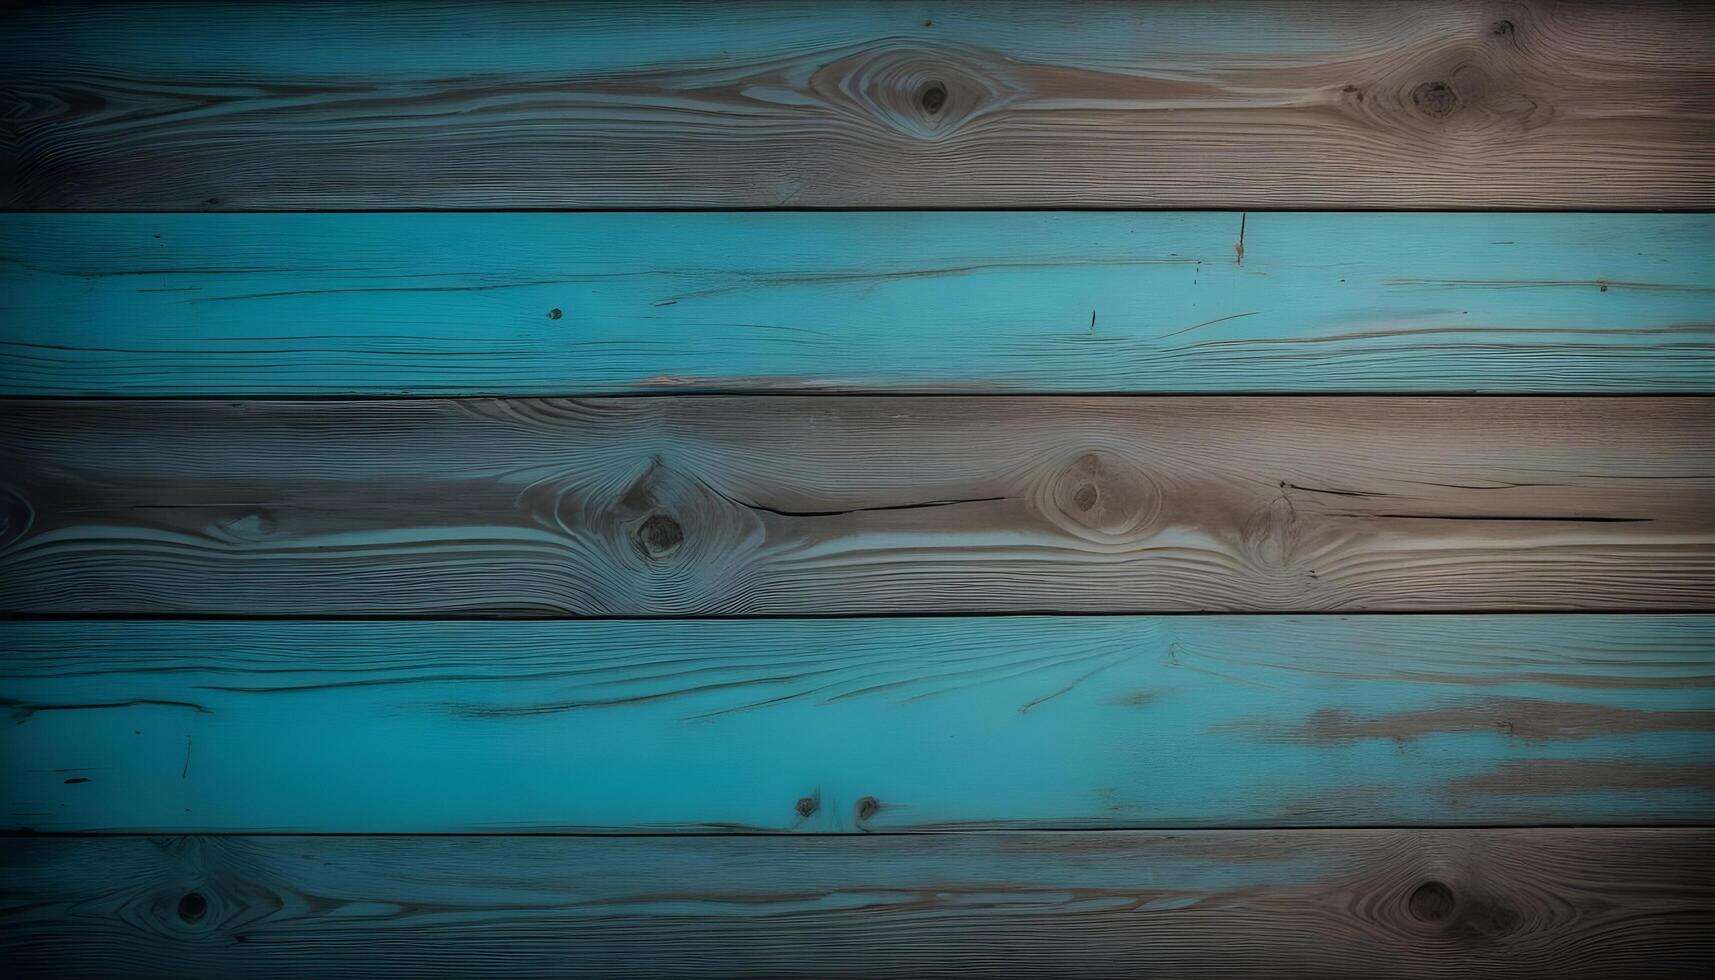
Step 3: Choose Your Wood Grain Style
Different wood species have characteristic grain patterns. Here are a few examples:
- Oak: Long, straight grain with occasional swirls.
- Pine: Wide, contrasting grain lines with knot accents.
- Maple: Subtle, tight grain with a uniform look.
Pick a hardwood style you like and find online images to guide your pattern.
Step 4: Mix and Apply the Glaze
The glaze creates depth and highlights the grain:
- Tint the Glaze. Mix your clear glaze with a darker paint tint—typically 1 part tint to 4 parts glaze. Test the hue on a scrap board.
- Work in Small Sections. Divide the floor into 4–6-square-foot areas. Apply a 2–3-foot-wide strip of tinted glaze with a roller or brush.
- Drag the Graining Tool. Immediately, while the glaze is wet, drag your wood-grain rocker or graining comb through the glaze in your chosen pattern. Rockers create natural, wavy lines; combs create straighter lines. Practice on cardboard first.
- Blend with a Dry Brush. Use a clean, dry brush to soften harsh edges and knots. This makes the pattern look more organic.
- Repeat. Continue section by section until the entire floor is glazed and grained.
Step 5: Add Realistic Details
For an authentic look, add accents:
- Knots: Use a small brush to paint dark oval shapes in random spots, then drag lightly with your comb to create the knot effect.
- Highlights: Mix a slightly lighter glaze and lightly sweep over raised grain areas to mimic sunlit highlights.
Step back occasionally to ensure the pattern feels balanced.
Step 6: Let the Glaze Cure
Allow the glaze to dry fully—this may take 8–24 hours depending on room temperature and humidity. Avoid walking on the surface during this time.
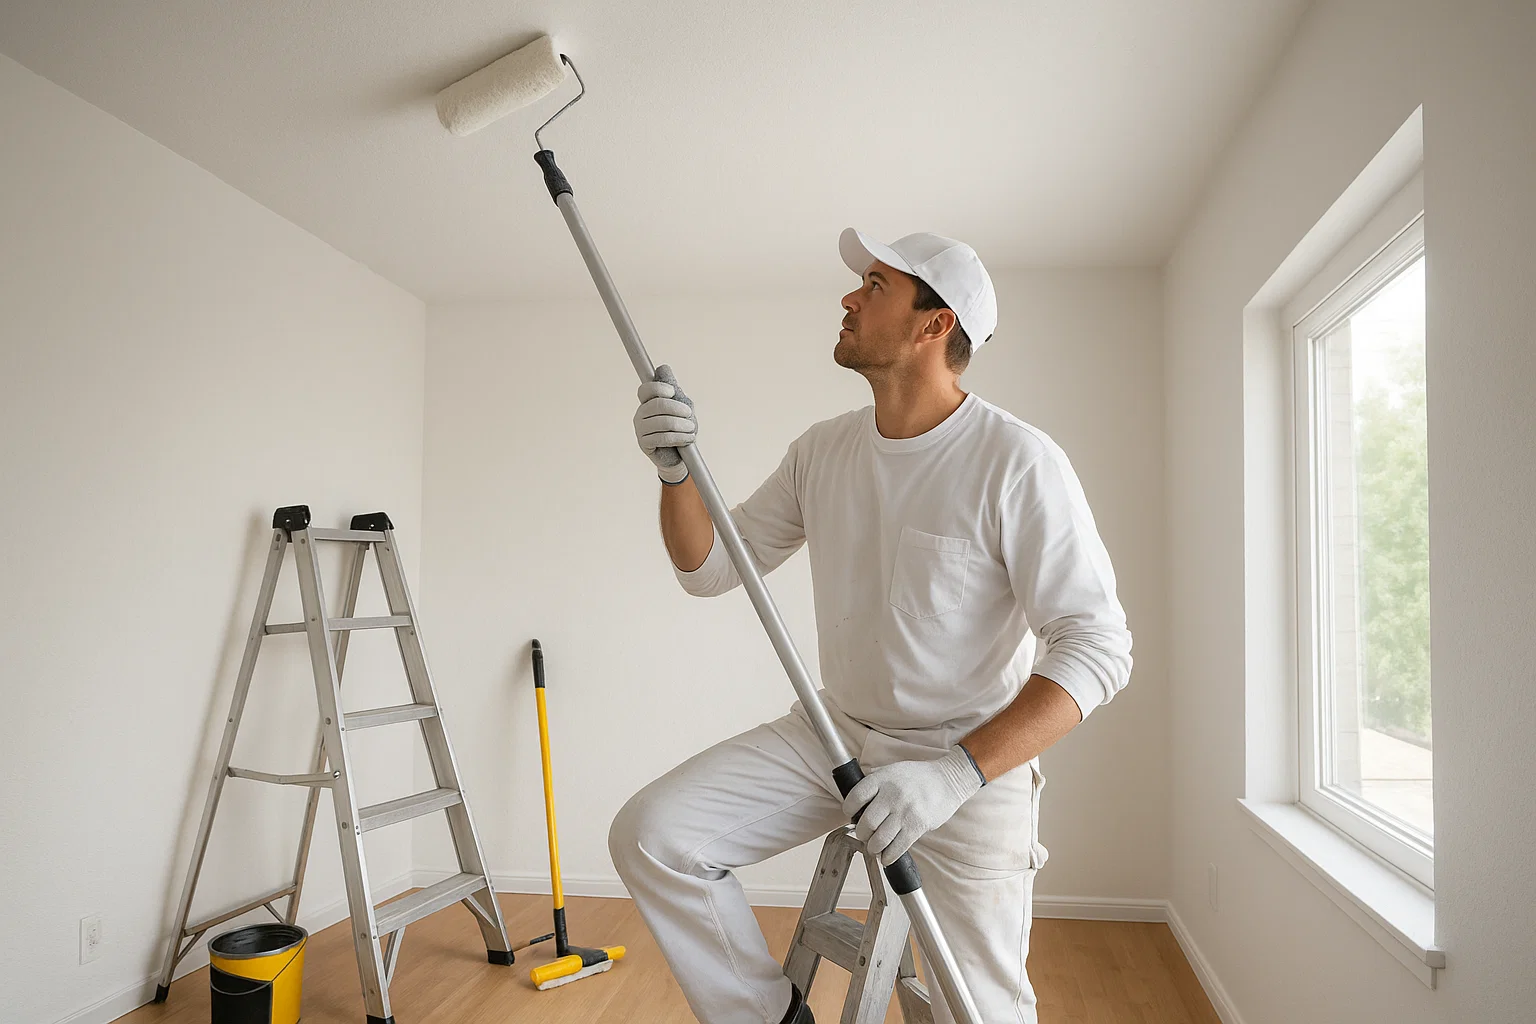
Step 7: Seal with a Clear Topcoat
Protect your work and give it lasting durability:
- Light Sanding. Gently sand with 220-grit sandpaper to knock down any high spots. Vacuum and tack-cloth to remove dust.
- Apply the First Coat. Roll on a thin, even layer of clear polyurethane or epoxy sealer. Use a high-density foam roller for minimal bubbles.
- Dry and Light Sand. After curing (per label instructions), lightly sand and clean off dust.
- Second Coat. Apply a final coat of sealer for maximum protection.
Maintenance Tips
- Regular Cleaning: Sweep and mop with a mild cleaner to avoid grit that can scratch the finish.
- Protective Pads: Place felt pads under furniture legs to prevent gouges.
- Touch-Up Kit: Keep leftover glaze and sealer for spot repairs.
Final Thoughts
Painting a faux wood floor is a rewarding project that adds warmth and character to any space. With careful prep, the right tools, and patience, you’ll achieve a realistic wood-grain finish that stands up to daily life—without the expense or upkeep of real hardwood.
When you’re ready to transform your floors, gather your materials, set aside a weekend, and follow these steps. The result will be a stunning, custom wood look you can be proud of for years to come.