If you love the look of old European cottages or the soft, matte surfaces of historic buildings, limewash is your secret weapon. Unlike modern paints, limewash soaks into masonry and plaster, creating a delicate, slightly mottled finish that feels both timeless and fresh. It’s breathable, eco‑friendly, and easy to refresh as it naturally wears. In this guide, you’ll learn what limewash is, why it’s perfect for interior walls, and exactly how to prepare, mix, and apply it for beautiful, lasting results.
What Is Limewash?
Limewash is a traditional wall coating made from slaked (hydrated) lime and water. It’s been used for centuries to protect and decorate surfaces, from medieval castles to Tuscan villas. Key characteristics include:
- Breathability: Allows moisture to pass through walls, helping prevent mold and damp.
- Natural Antibacterial Properties: The high pH of lime inhibits bacteria and mildew growth.
- Subtle Texture & Variation: Dries to a soft, matte finish with natural shading and mottling—no two walls look exactly the same.
- Evolving Patina: Over time, limewash gently weathers for an even more authentic, aged appearance.
Unlike standard paint, limewash chemically reacts with the wall substrate (such as plaster, brick, or stone). As it cures, it carbonates back into limestone, creating a durable, integral finish.
Why Choose Limewash for Interiors?
Choosing limewash gives your home character and practical benefits:
- Healthier Indoor Air
Limewash is zero‑VOC and free of synthetic chemicals. Its breathability helps regulate humidity and improves air quality. - Moisture Management
In damp climates or older homes, limewash lets walls dry out naturally, reducing the risk of peeling paint or trapped moisture. - Unique Aesthetic
The soft, chalky look and slight color variation add depth and warmth, creating a cozy yet refined atmosphere. - Eco‑Friendly & Sustainable
Made from natural limestone, limewash has a minimal carbon footprint compared to modern paints and can be refreshed with more washes over decades. - Easy Touch‑Ups
Damaged or worn areas can be spot‑repaired by simply reapplying a thin wash—no need to strip or sand.
Tools & Materials You’ll Need
Before you begin, gather these supplies:
- Slaked Lime (Hydrated Lime): Food‑grade or builders’ lime, not lime putty.
- Clean Water: Avoid hard water if possible; filtered water gives a smoother result.
- Limewash Pigment (Optional): Natural mineral pigments for subtle color.
- Bucket or Mixing Container: Large enough for your batch.
- Stirring Stick or Drill with Mixing Paddle: To blend lime slurry.
- Hose or Large Jug: For gradual water addition.
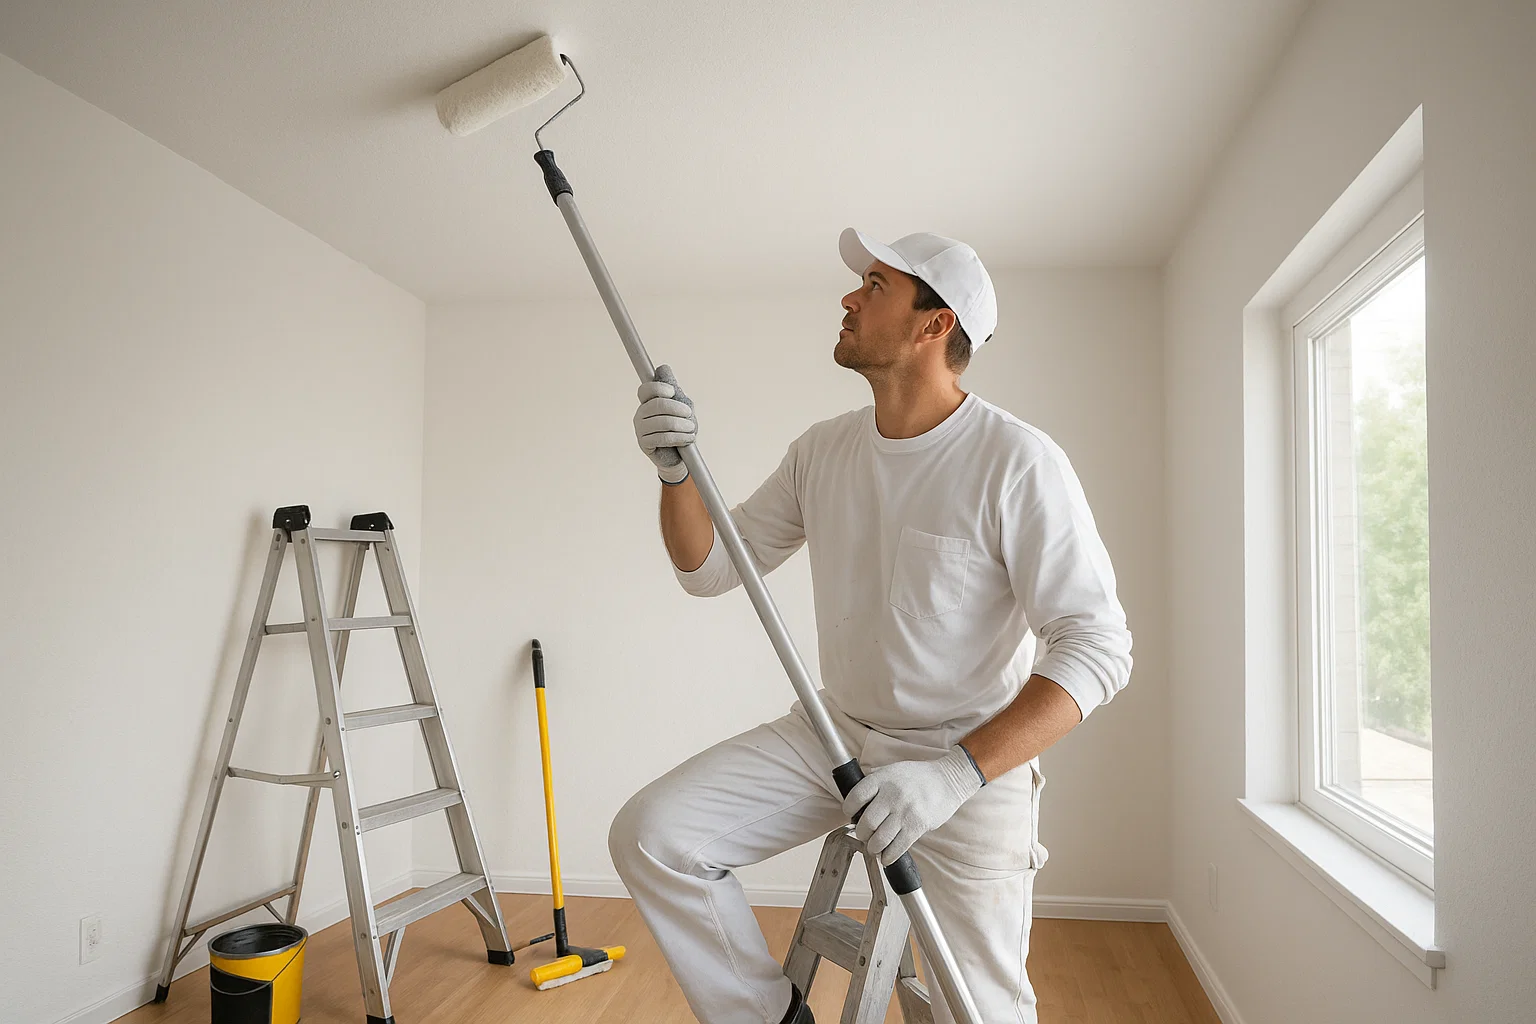
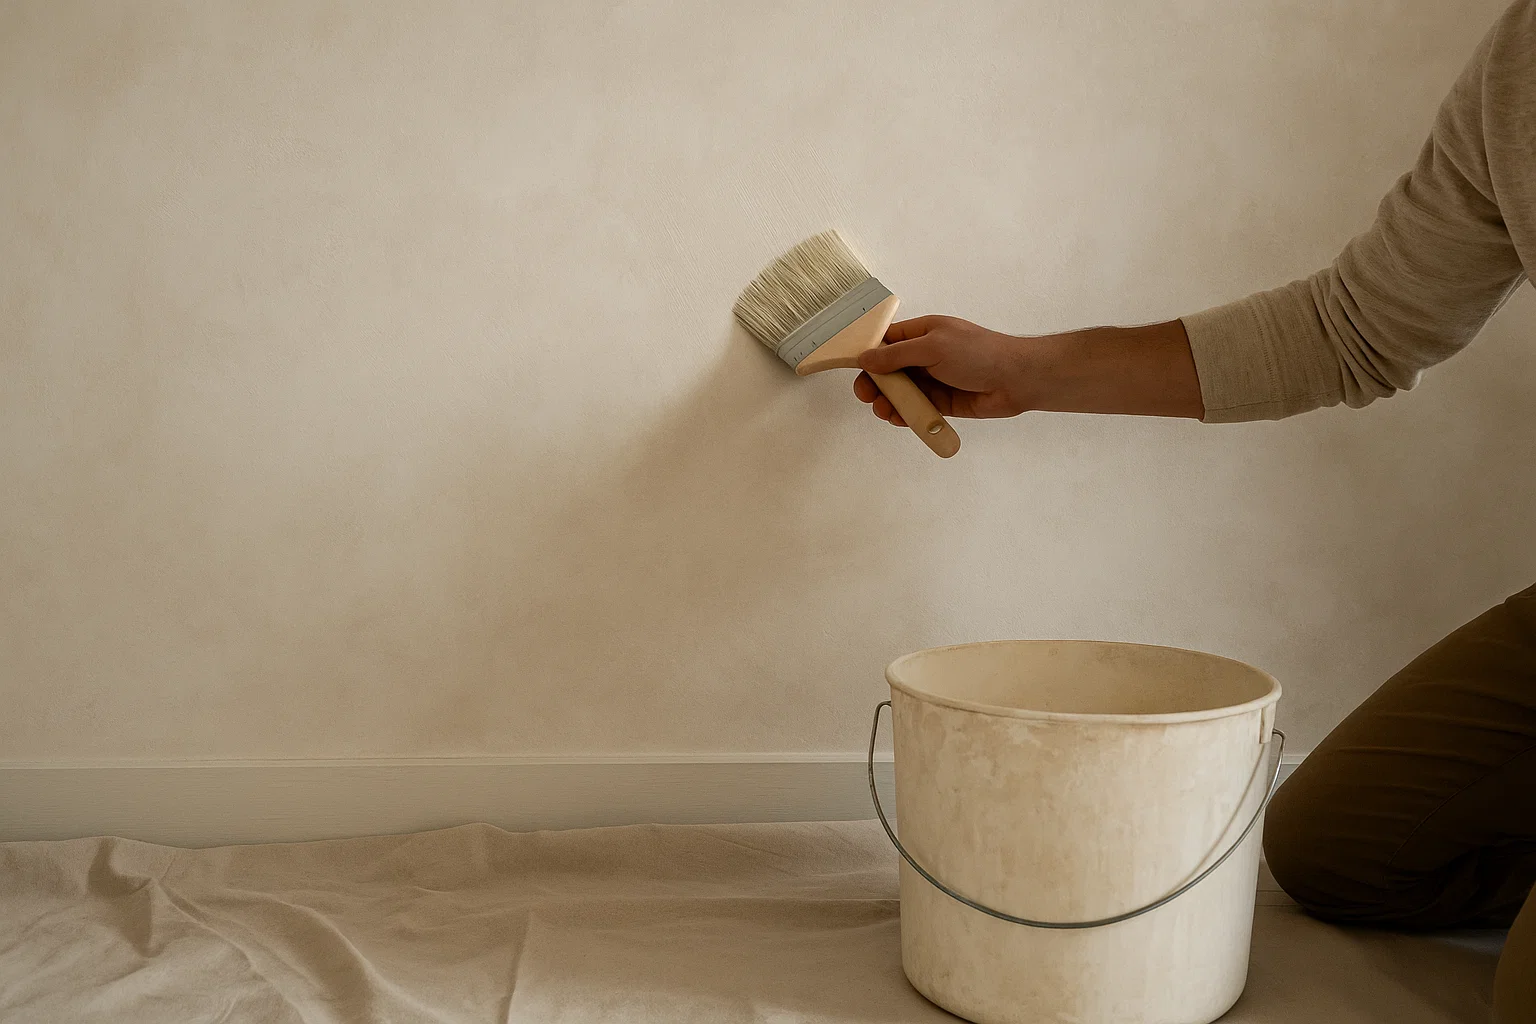
- Brushes and Rollers: A large, natural‑bristle masonry brush is traditional; synthetic rollers for faster coverage.
- Protective Gear: Gloves, goggles, and a dust mask for safety when handling dry lime.
- Drop Cloths & Painter’s Tape: To protect floors, trim, and adjacent walls.
- Sugar or Salt (Optional): A small amount added to the mix can improve adhesion on smooth surfaces.
Step 1: Prepare Your Walls and Workspace
Proper preparation is essential for limewash adhesion and an even finish.
- Clean the Surface
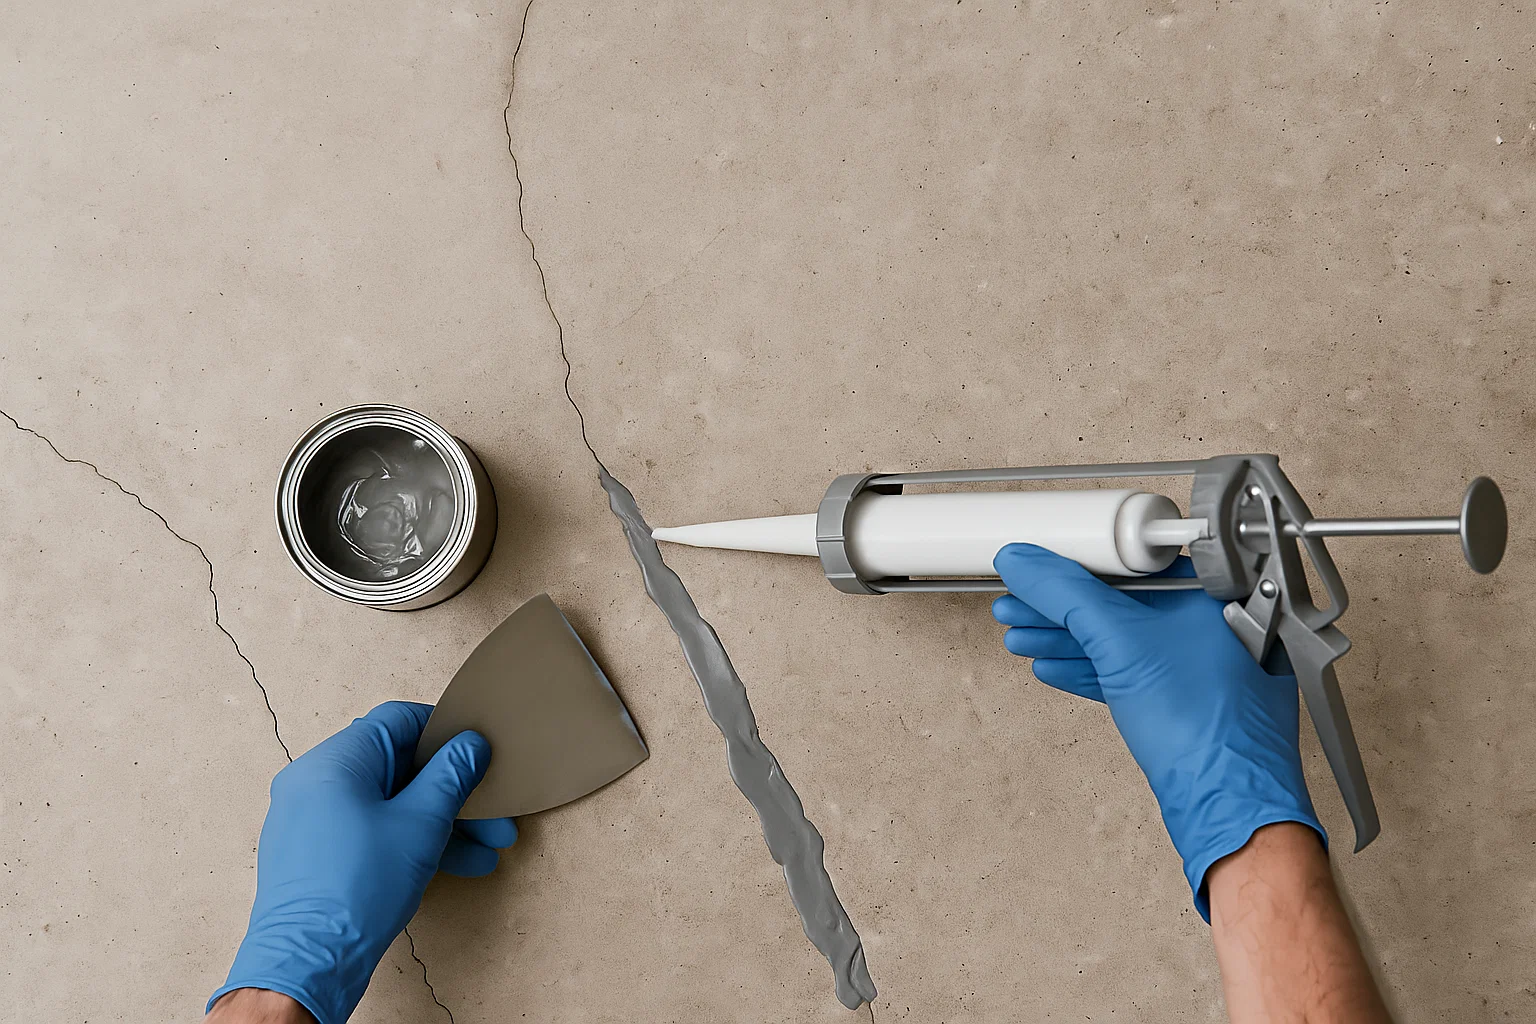
Remove dust, dirt, and loose material. For plaster or painted walls, wash with a mild detergent, rinse, and let dry. - Repair Cracks & Holes
Fill any major cracks with compatible plaster or filler. Limewash will accentuate imperfections if they’re not smoothed out. - Protect Surroundings
Lay down drop cloths and tape off trim, windows, and floors. Limewash can drip and is more translucent than paint, so protect all adjacent surfaces. - Pre‑Dampen the Wall
Lightly mist the wall with clean water. This prevents the limewash from drying too quickly and creating harsh brush lines.
Step 2: Mixing Your Limewash
Limewash must be mixed correctly to achieve the right consistency and coverage.
- Measure Lime to Water Ratio
A common ratio is 1 part dry lime to 5–6 parts water by weight. For example, 2 kg of lime to 12 L of water. Always follow product guidelines if provided. - Gradual Water Addition
Add about half the water first and stir into a thick paste. Then slowly pour in the remaining water while mixing to avoid lumps. - Optional Pigmentation
For colored limewash, mix in natural mineral pigments at about 5–10% pigment by weight of lime. Adjust for desired shade. Stir thoroughly. - Rest & Strain
Let the mixture sit for at least 30 minutes to hydrate. Strain through a fine sieve or old stocking to remove any remaining lumps. - Final Stir
Give the limewash one more stir before application. It should flow easily off your brush but not be watery.
Step 3: Test Your Color & Technique
Before tackling the entire wall:
- Sample Patch
Apply limewash to a small, inconspicuous area. Let it dry fully—limewash lightens as it carbonates. - Adjust Consistency
If it’s too thin and transparent, add more lime. Too thick? Thin with a bit more water. - Practice Your Brush Strokes
Use sweeping, overlapping strokes. Avoid straight, parallel lines; gentle crisscrossing creates a natural variation.
Step 4: Applying Limewash to Walls
Now that you’re ready, follow these steps for a smooth, even wash.
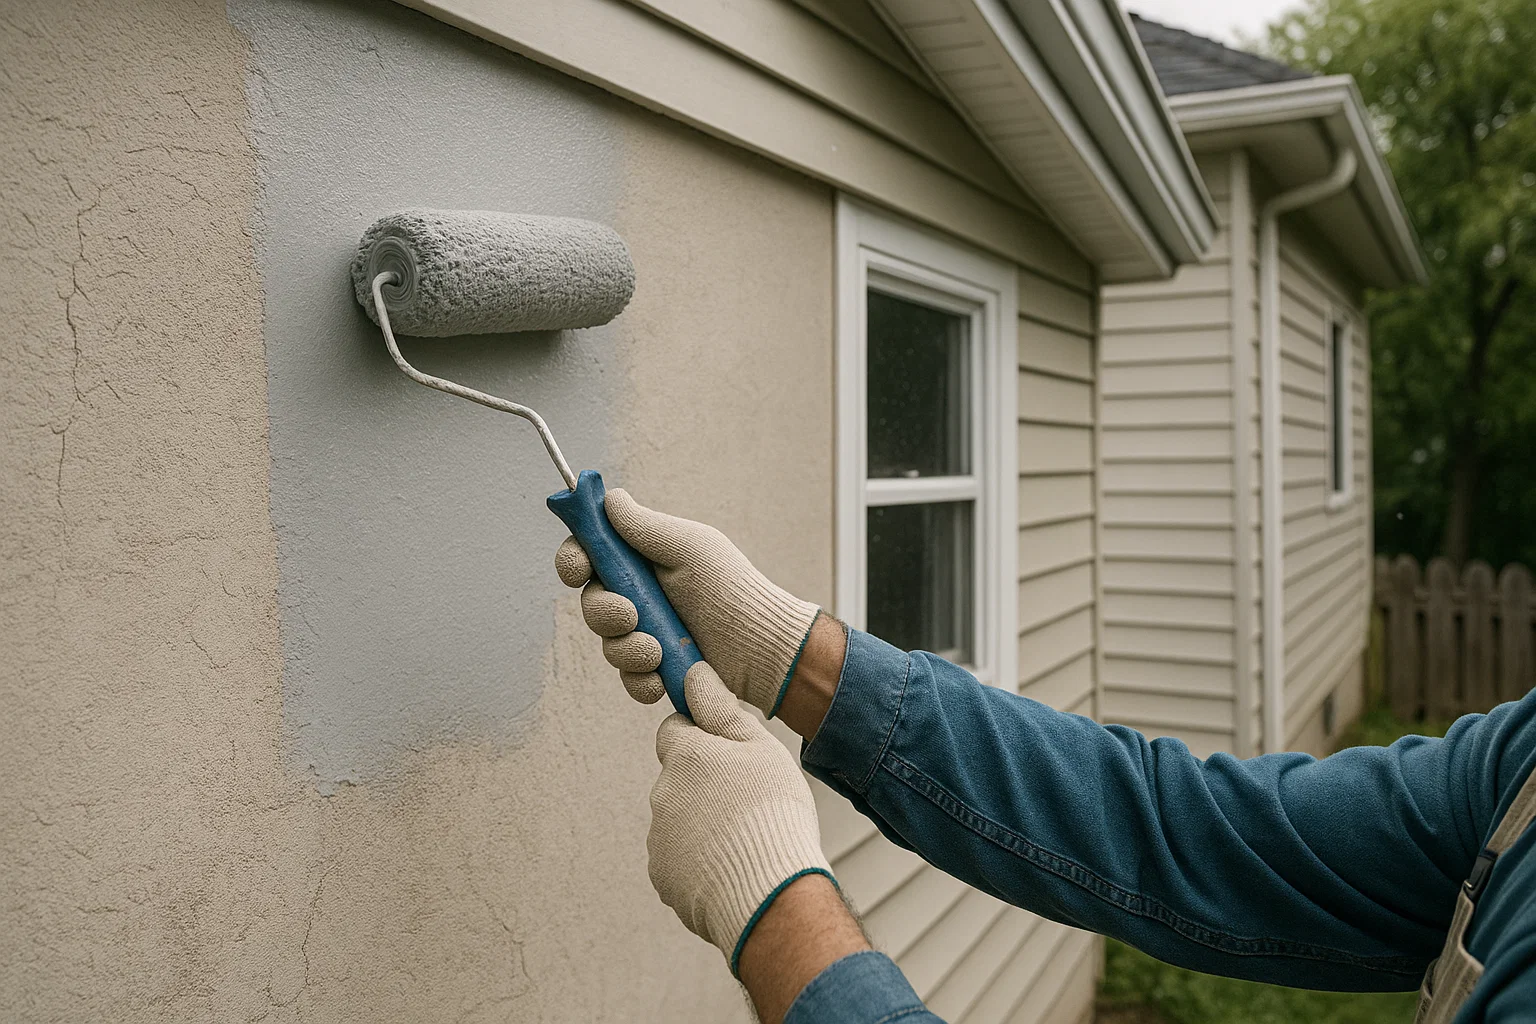
- First Coat (Thin Wash)
- Load your brush fully and apply in broad, even strokes from top to bottom.
- Work in small sections (about 2 × 2 ft) to keep edges wet.
- Overlap each stroke by about 20–30% to blend well.
- The first coat should be light—aim for 30–50% coverage so the base wall still peeks through.
- Second Coat (Build Depth)
- After the first coat dries to a chalk‑like texture (usually within 2–4 hours), apply a second, slightly heavier coat.
- Use the same technique, but allow less overlap for a more saturated effect.
- If you want a moodier look, add a third coat, focusing more color near the top or bottom for a subtle gradient.
- Blending & Touch‑Ups
- Use a damp sponge or brush to soften any harsh lines while the limewash is still damp.
- Feather edges by lightly brushing outwards.
- Drying Time
- Limewash cures slowly. Initial drying takes 4–6 hours; full carbonation (hardening) can take up to 28 days.
- Keep room humidity moderate—avoid blasting heat or air‑conditioning that can dry the wash too fast and cause flaking.
Step 5: Caring for Your Limewash Walls
Once applied, limewash requires gentle maintenance:
- Dust Gently: Use a soft brush or dry microfiber cloth to remove dust.
- Spot Clean: For marks, dab lightly with a damp cloth. Avoid scrubbing; reapply a thin limewash patch if needed.
- Humidity Balance: Limewash loves some humidity. In very dry climates, consider a humidifier to prevent excessive chalking.
- Periodic Refresh: After several years, walls can be lightly washed again with a fresh limewash mix. No stripping needed—just clean, mist, and reapply.
Troubleshooting Common Issues
- Flaking or Peeling
- Cause: Wall too dry, poor adhesion, or applying coats too thick.
- Fix: Clean and rehydrate the surface. Thin your mix and apply lighter coats.
- Uneven Color
- Cause: Inconsistent mixing or drying too fast.
- Fix: Mist the wall before application, stir your batch frequently, and maintain a wet edge.
- Efflorescence (White Salty Deposits)
- Cause: Moisture migrating through the substrate, bringing salts to the surface.
- Fix: Improve ventilation behind walls or apply a salt‑blocking primer before limewash.
Creative Variations & Design Ideas
- Ombre Limewash: Concentrate more pigment at the bottom of the wall and fade upward for a whisper‑soft gradient.
- Textured Limewash: After the first coat, sprinkle crushed marble dust or fine sand into the wet limewash for a subtle, tactile finish.
- Color Wash Over Color: Apply a vibrant limewash over a darker base coat for a glowing, layered effect that shifts with light.
Final Thoughts
Limewash is a beautiful, time‑honored way to bring a soft, breathing finish to interior walls. Its subtle texture, eco‑friendly profile, and simple touch‑up process make it ideal for anyone looking to infuse their home with character and healthful benefits. By following these steps—thorough prep, careful mixing, gentle application, and mindful maintenance—you’ll achieve a finish that feels both historic and utterly fresh.
Ready to try limewash in your home? Gather your lime, brushes, and a sense of adventure, and watch your walls transform into a living, evolving canvas. For expert advice or professional application, Paint Top Tier is here to help you every step of the way. Visit PaintTopTier.com to learn more and schedule your limewash consultation!