Many homes built before 1978 likely contain lead-based paint. Lead is a heavy metal that was used in paint for its durability and bright pigmentation. While it was a popular choice for decades, we now know that lead exposure—especially to children and pregnant women—can cause serious health issues, including developmental delays, learning difficulties, and other medical problems. If your home has peeling or chipping paint, it’s crucial to handle it safely. In this guide, you’ll learn why it matters, how to test for lead-based paint, and the step-by-step process to remove it yourself (or know when to call a professional).
Why Removing Lead Paint Is Critical
Lead-based paint becomes dangerous when it starts to deteriorate or when dust is created during renovation. Tiny lead particles can get into the air and settle on surfaces, where children or pets can pick them up. Swallowing or inhaling lead dust is harmful, even in small amounts. That’s why simply painting over old lead paint isn’t enough. You need to remove or seal it properly to protect everyone in your home.
Step 1: Test for Lead-Based Paint
Before you do anything, find out whether your paint contains lead.
- Purchase a Home Test Kit. You can buy lead test swabs at hardware stores or online. These swabs change color if lead is present.
- Follow the Instructions. Clean a small area, rub the swab on the paint surface, and wait for the color change. Always test multiple spots: trim, walls, and other painted areas.
- Lab Testing (Optional). For a detailed analysis—especially if your test is unclear—you can take paint chips and send them to a certified lab. This gives you exact lead levels.
If tests confirm lead-based paint, proceed with caution. If they’re negative, you can remove paint normally without these special safety measures.
Step 2: Prepare Your Work Area for Safety
Containment and cleanliness are key to preventing lead dust from spreading.
- Clear the Room. Remove furniture, rugs, curtains, and any items that could trap dust.
- Seal Off the Area. Use heavy-duty plastic sheeting and painter’s tape to cover doorways, vents, and floors. Create a “containment zone” so dust can’t drift into other rooms.
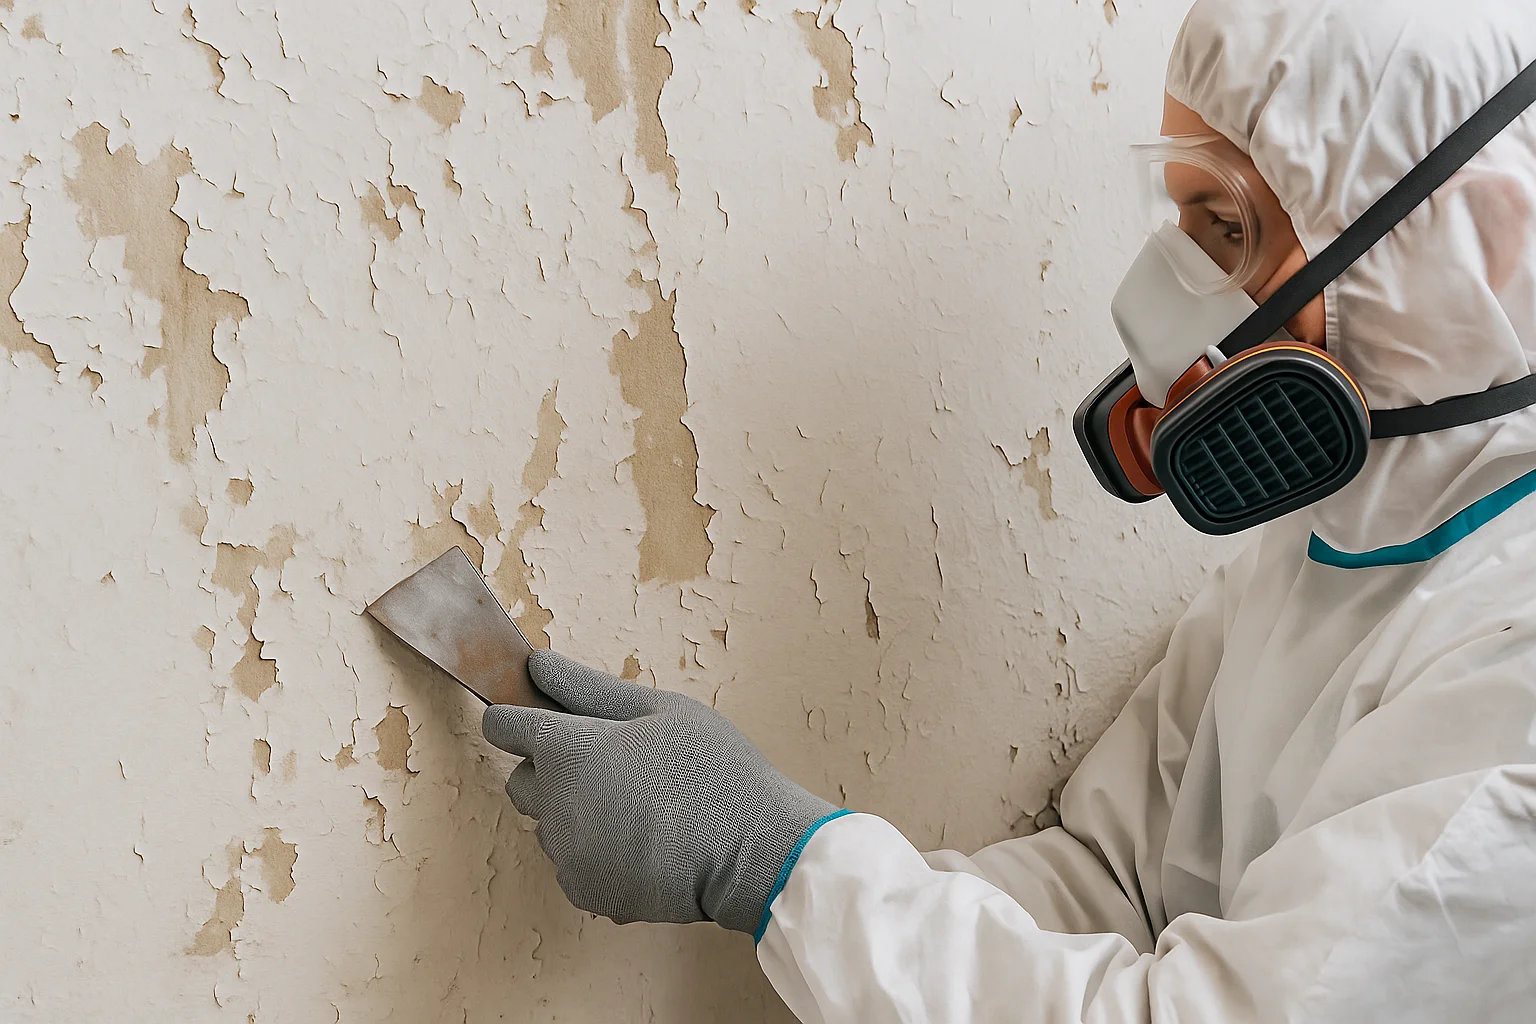
- Use Proper Protective Gear. Wear a certified respirator mask (NIOSH-approved N100 or P100), disposable coveralls, gloves, and safety goggles. Regular dust masks aren’t enough.
- Lay Drop Cloths. Double-layered plastic sheets on the floor catch paint chips and dust. Secure edges with tape.
- Turn Off HVAC. Shut down heating or air‑conditioning to avoid circulating dust.
Step 3: Choose Your Removal Method
There are three main approaches, each suited to different situations:
A. Wet Scraping
- Best For: Small areas of peeling paint on wood trim or window sills.
- How To: Mist the painted surface with water using a spray bottle. The water keeps dust down as you scrape with a paint scraper or putty knife. Collect chips on the drop cloth.
B. Chemical Strippers
- Best For: Interior surfaces where scraping alone won’t reach all layers.
- How To: Select a non-toxic, lead-safe paint stripper. Apply a thick layer, let it sit as directed, then gently scrape away softened paint. Always work in small sections and keep the area wet.
C. HEPA Sanding or Abrasion
- Best For: Large, flat surfaces like walls or ceilings.
- How To: Use an electric sander fitted with a HEPA vacuum. The vacuum attachment captures dust as you sand. Move slowly and methodically to remove all paint layers down to bare substrate.
Never use heat guns or open flames on lead paint: they can vaporize lead, creating highly toxic fumes.
Step 4: Clean Up Thoroughly
After removal, you must clean every last bit of dust and debris.
- HEPA Vacuum. Vacuum all plastic sheeting, surfaces, and tools with a HEPA‑filter vacuum. Regular vacuums can blow lead dust back into the air.
- Wet Wipe. Wipe down walls, trim, floors, and any exposed surfaces with disposable cloths dampened in a mixture of water and a mild detergent. Rinse cloths frequently.
- Dispose of Waste Properly. Double-bag paint chips, used cloths, and drop cloths in heavy-duty plastic bags. Seal them tightly and check your local regulations for hazardous waste disposal guidelines.
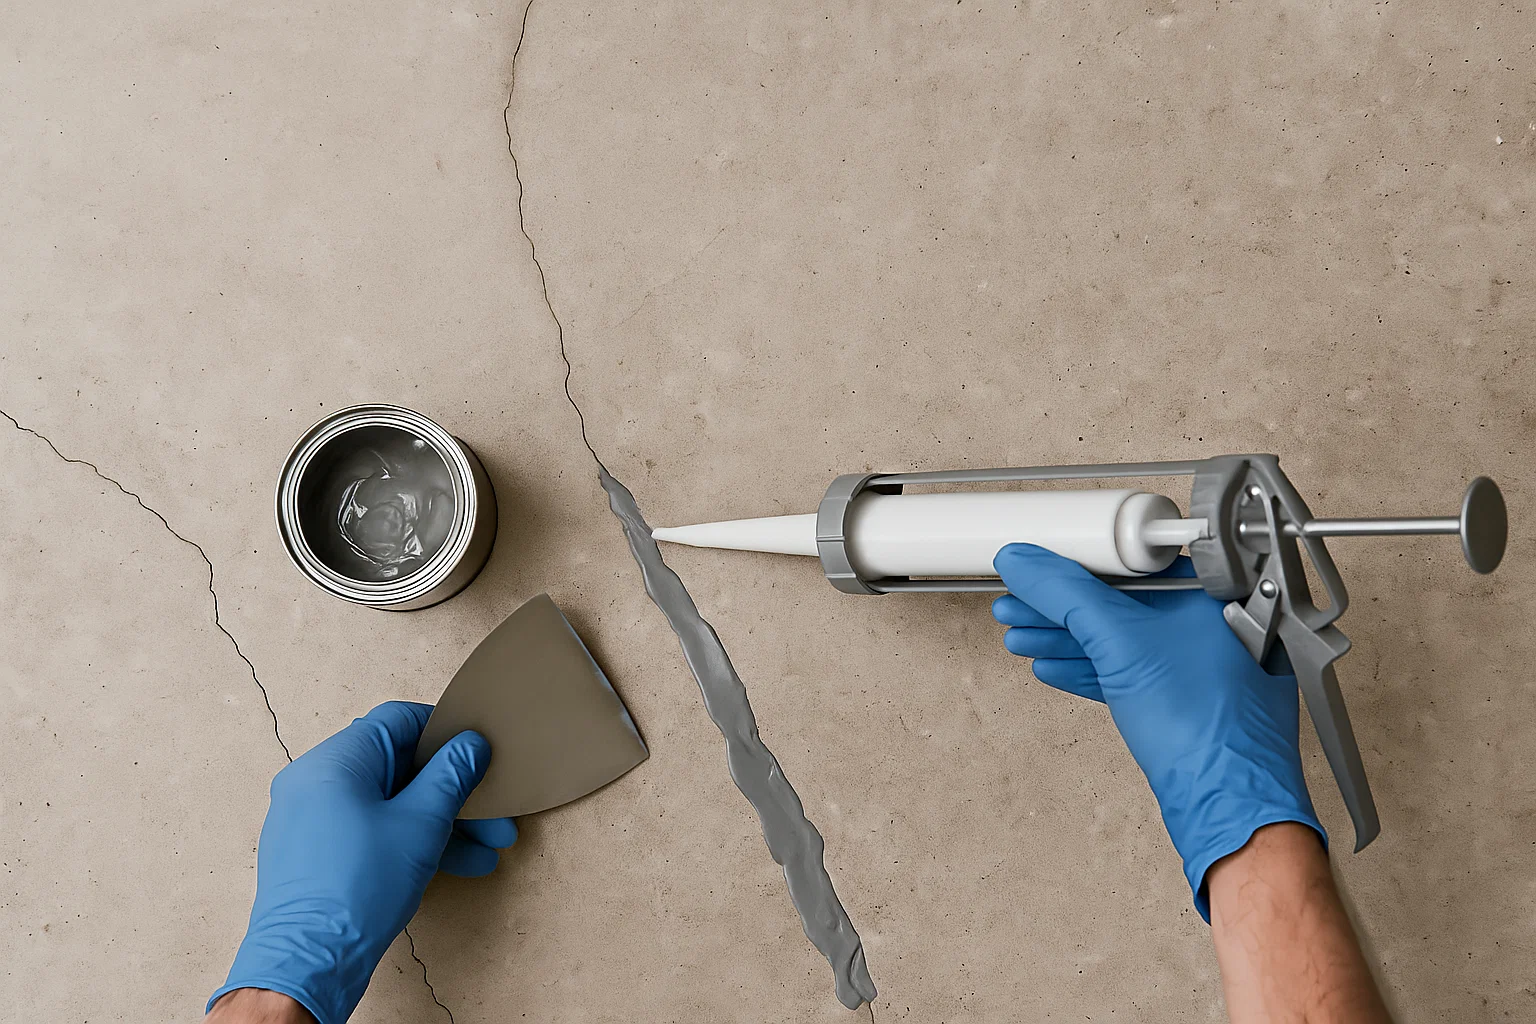
Step 5: Repair and Repaint
Once all lead paint is removed and surfaces are clean, you can prepare for a new finish.
- Inspect Substrate. Check wood, plaster, or drywall for damage. Fill holes or cracks with appropriate filler and sand smooth.
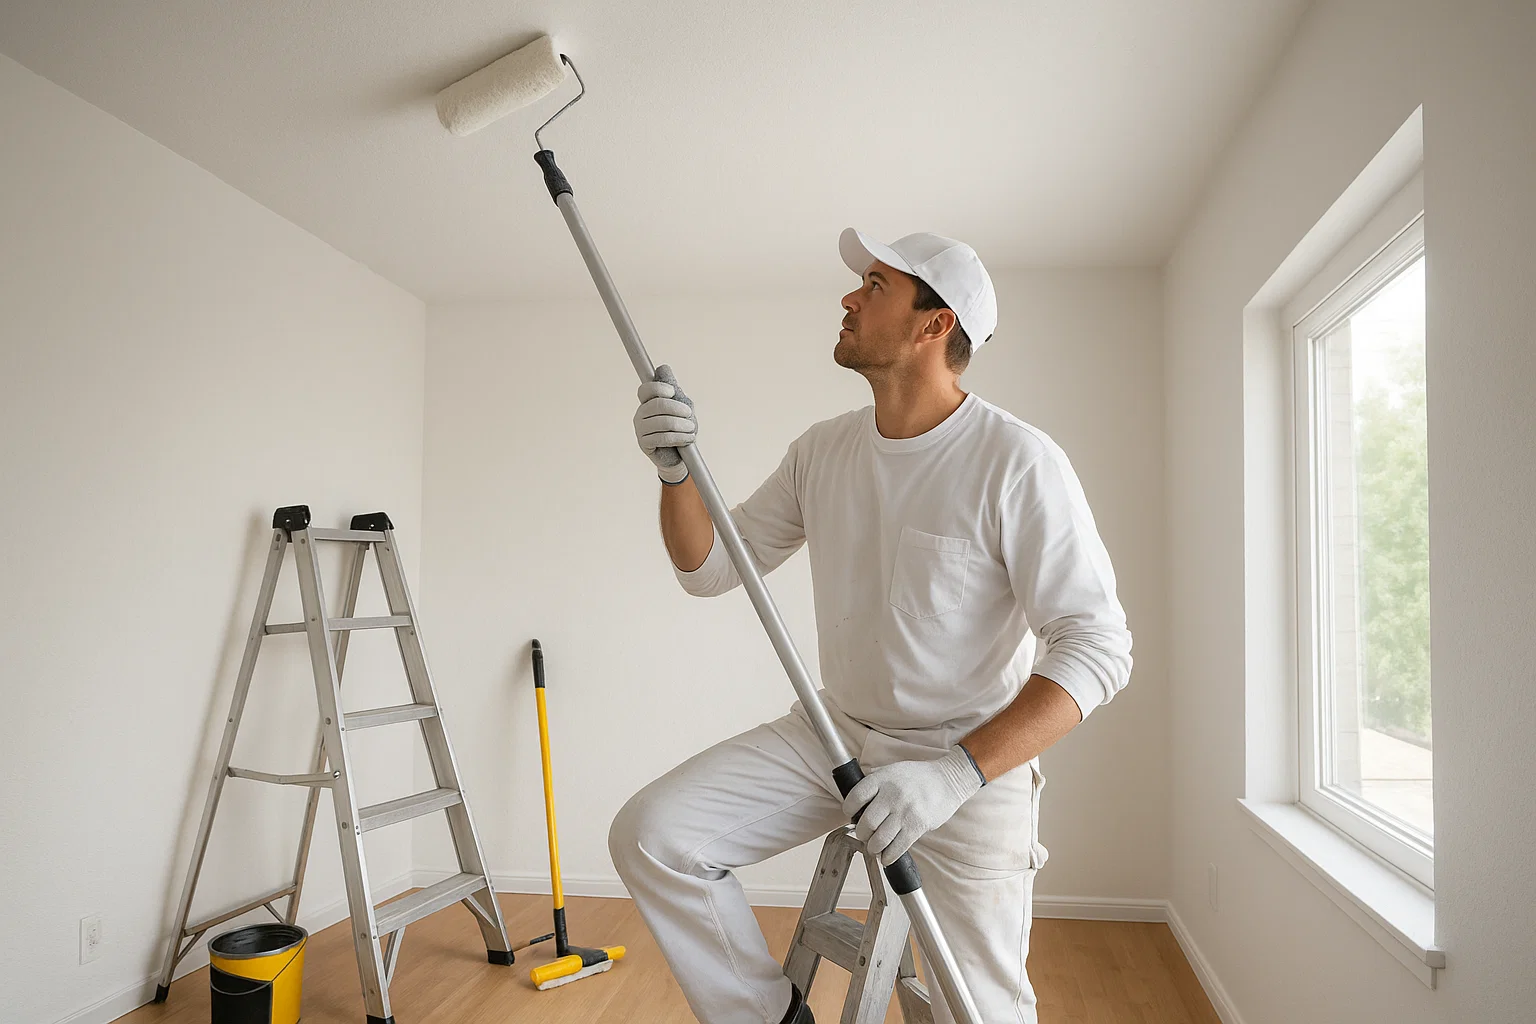
- Prime with Lead-Blocking Primer. Even if you removed all old paint, a special primer added protection against any residual lead particles. Apply per manufacturer instructions.
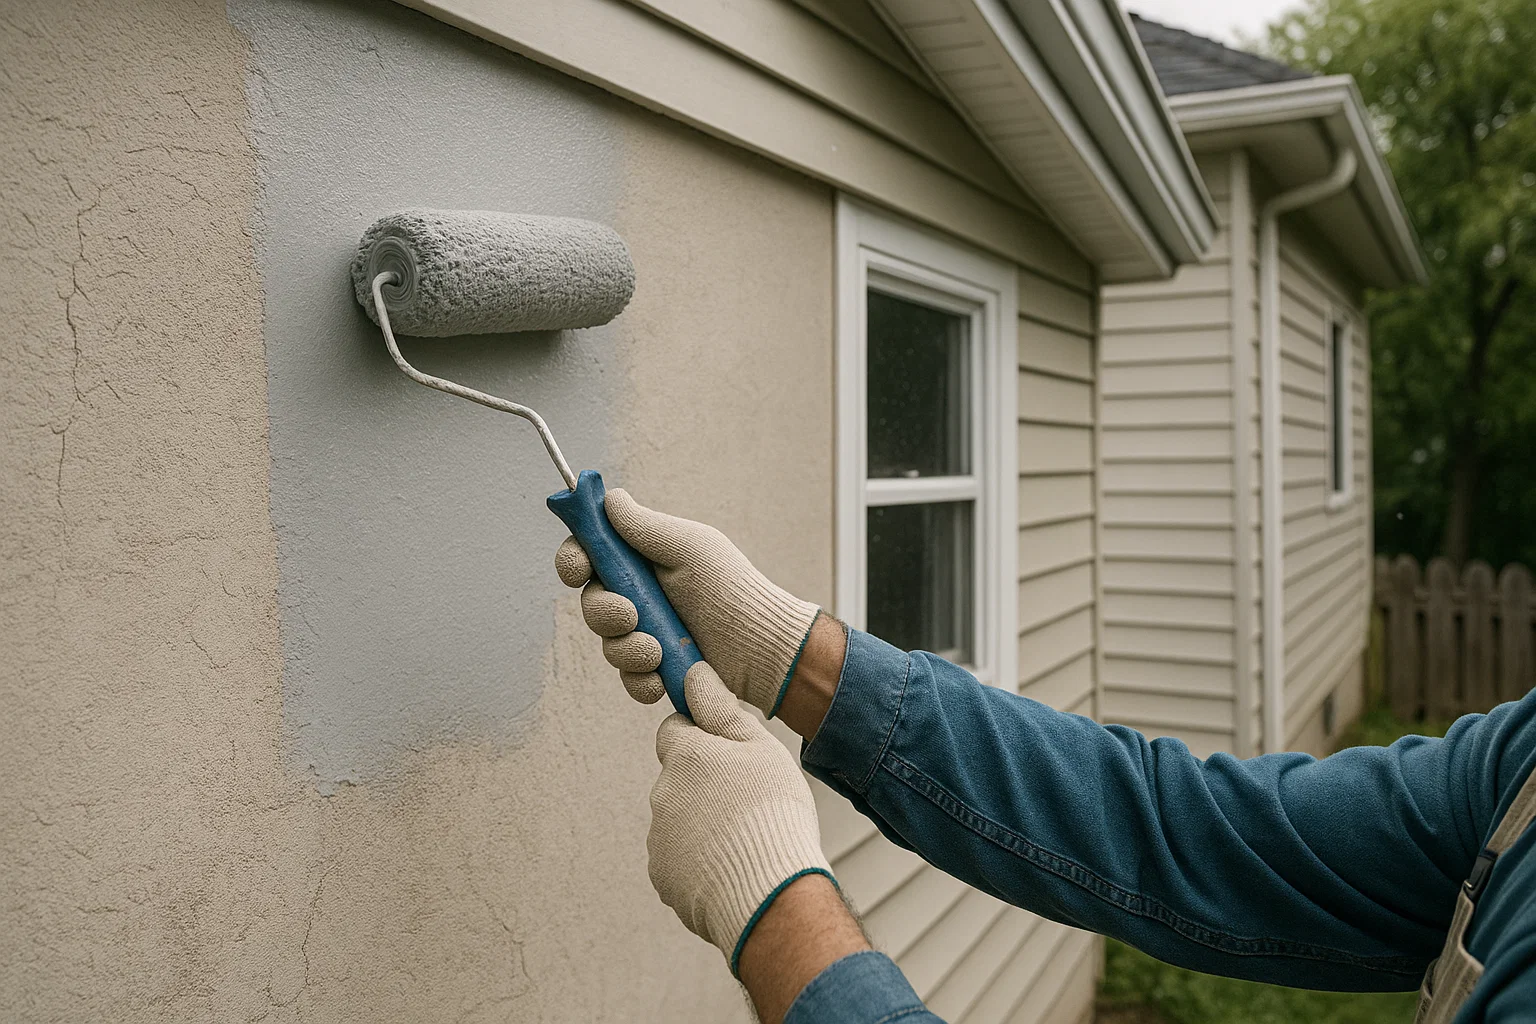
- Topcoat Selection. Choose a durable, low‑VOC paint. Semi-gloss or satin finishes are easier to clean, making them ideal for high-traffic areas.
- Apply Paint. Use proper tools (brushes or rollers) to achieve an even coat. Allow full drying time between coats.
When to Hire a Lead Abatement Professional
DIY removal can work for small areas, but if you have large sections of lead paint, extensive damage, or if you’re not comfortable with the safety steps, it’s best to call certified abatement contractors. Professionals follow strict EPA guidelines, have specialized equipment, and can ensure your home is lead‑safe.
Final Thoughts: Safety First, Savings Second
Removing lead-based paint is a critical safeguard for your family’s health. While it may seem like extra work, following these steps keeps dust contained, prevents exposure, and sets you up for beautiful, durable finishes that last. Proper preparation, safe removal methods, and thorough cleanup are the keys to a successful project.
If you ever have doubts about testing, removal methods, or cleanup, don’t hesitate to consult or hire a certified lead abatement professional. Your health—and your children’s health—is worth every precaution.