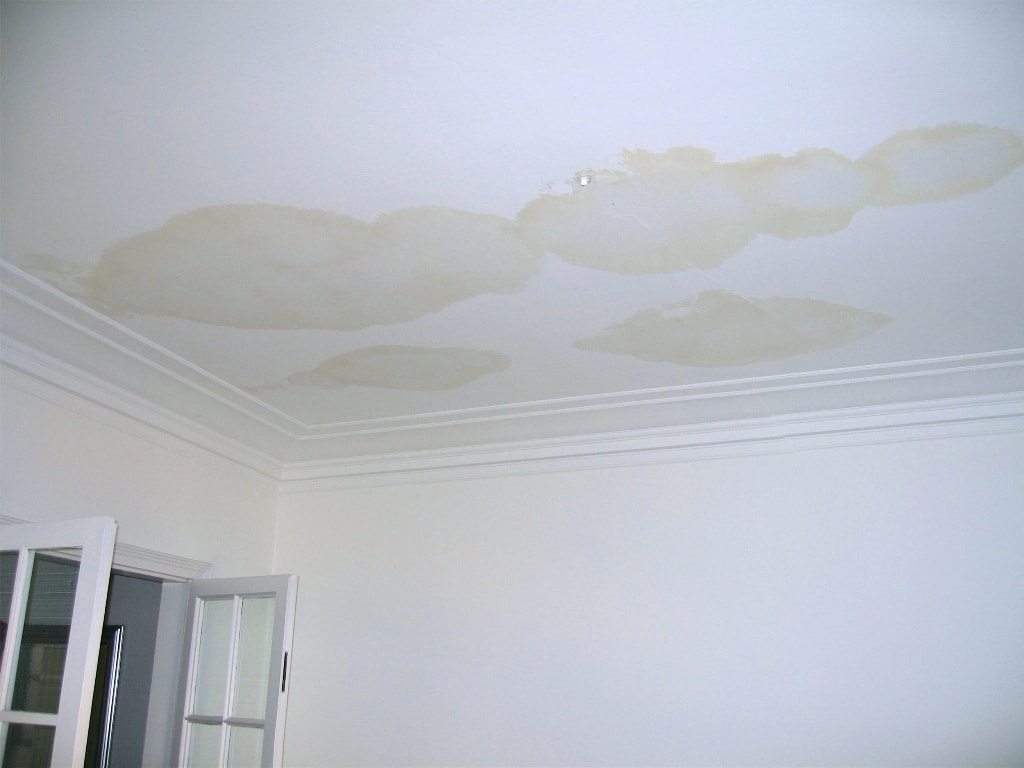
Ceiling water stains are often unsightly brown or yellow marks that can detract from the aesthetic appeal of your home. These stains usually result from water leaks or excessive moisture, and if left untreated, they can lead to more severe problems, including structural damage and mold growth.
Fortunately, you can tackle these stains effectively with the right tools and techniques. Let’s explore the causes of ceiling water stains and step-by-step methods to remove them and restore your ceiling.
What Causes Ceiling Water Stains?
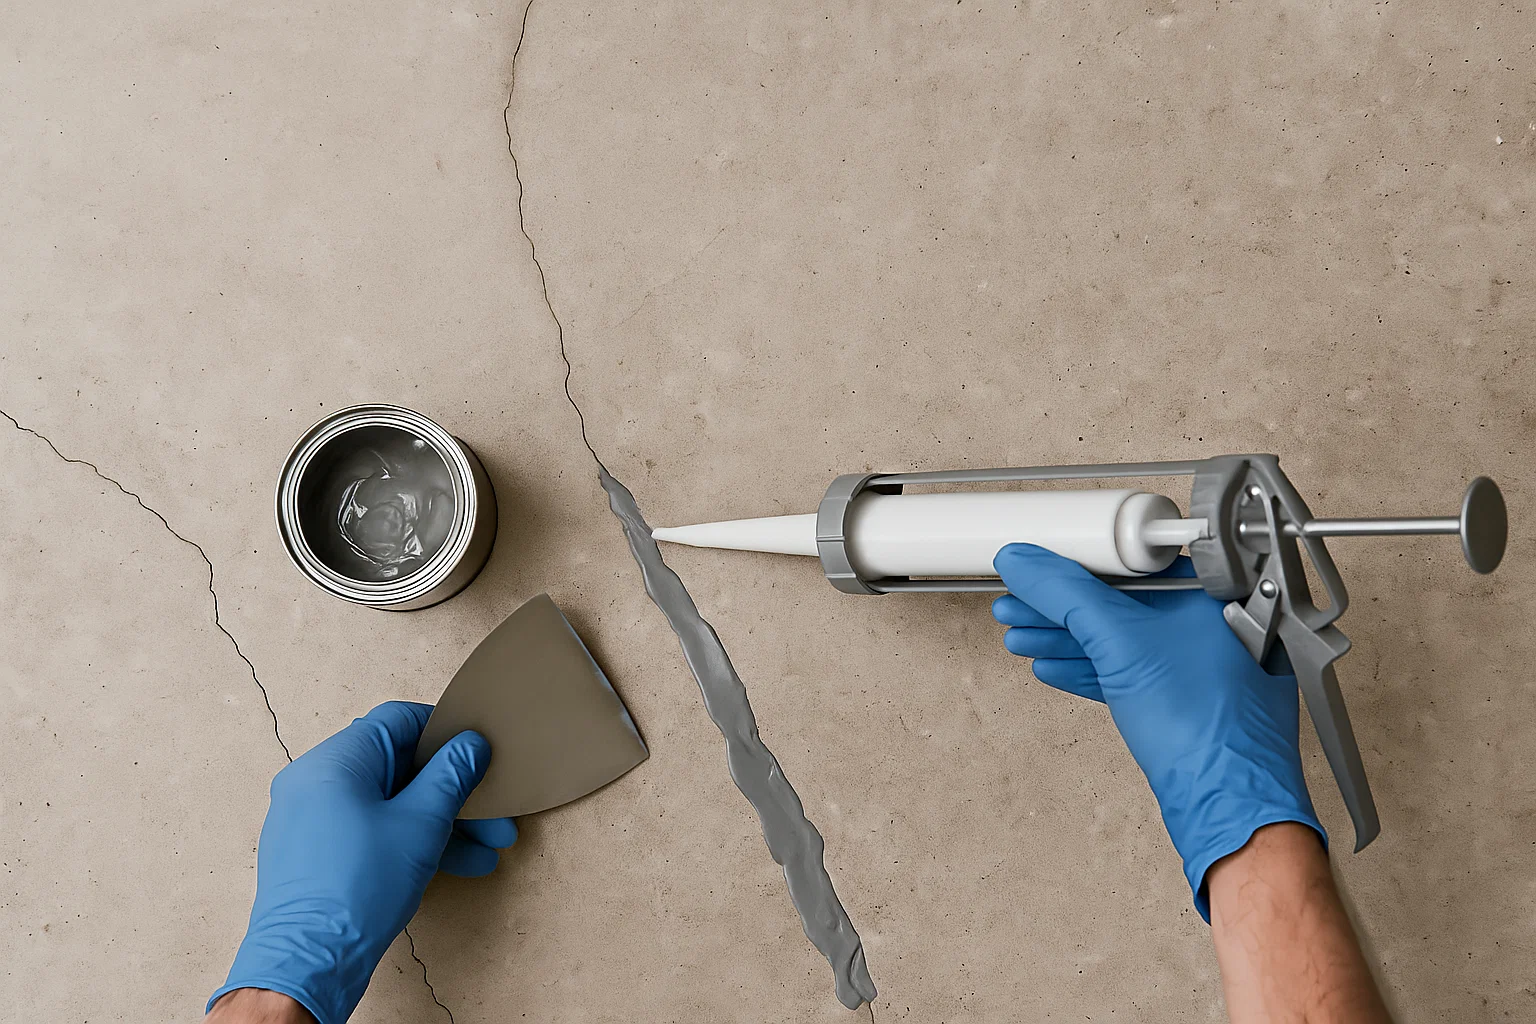
Before jumping into stain removal, it’s important to identify and address the root cause of the problem. Ceiling water stains are typically a sign of underlying issues, such as water leaks or poor ventilation. Ignoring the source can lead to recurring stains and additional damage.
Here are some common causes of ceiling water stains:
- Roof Damage: Damaged shingles or flashing can allow water to seep through, staining your ceiling. Contact a professional to inspect and repair any roof issues.
- Plumbing Leaks: Burst pipes or faulty plumbing connections can lead to water pooling above the ceiling. A plumber can help locate and fix the leak.
- Clogged Gutters: Blocked gutters can cause water to overflow and seep into your home, staining ceilings and walls. Keep gutters clear to avoid this issue.
- Poor Ventilation: Excess moisture in humid areas like bathrooms or kitchens can condense on ceilings, leading to stains. Consider installing ventilation fans or windows to manage humidity levels.
Effective Methods for Removing Ceiling Water Stains
Once the source of the water intrusion is fixed, you can proceed with removing the stains. Here are four effective methods to restore your ceiling:
1. Vinegar and Water Solution
A vinegar and water solution is an environmentally friendly and cost-effective way to remove minor water stains. Vinegar’s natural acidity helps break down stains without harsh chemicals.
Steps to Follow:
- Mix equal parts of white vinegar and water in a spray bottle.
- Lightly spray the stained area, avoiding oversaturation.
- Let the solution sit for 10–15 minutes to loosen the stain.
- Gently wipe the area with a soft sponge or cloth, starting at the edges and working inward.
- Repeat if necessary until the stain disappears.
Note: Test the solution on a small, inconspicuous area first to ensure it won’t damage the surface. Avoid using vinegar on natural stone surfaces as it can cause etching.
2. Bleach Solution for Stubborn Stains
For more stubborn stains or areas with mold or mildew, a diluted bleach solution is a highly effective option.
Steps to Follow:
- Mix one part bleach with three parts water in a spray bottle.
- Wear protective gloves and goggles to prevent irritation.
- Spray the solution on the stain and let it sit for 10–15 minutes.
- Wipe the area with a damp sponge or cloth.
- Rinse with clean water to remove any bleach residue.
Caution: Ensure proper ventilation while using bleach and never mix it with other cleaning agents to avoid toxic fumes.
3. Commercial Stain Removers
Specialized commercial products designed for mold and mildew can be very effective for large or persistent stains. These cleaners often contain powerful agents that target tough discoloration and microbial growth.
Tips for Use:
- Follow the product instructions carefully.
- Wear gloves, goggles, and a mask for safety.
- Use the product in a well-ventilated area to minimize exposure to fumes.
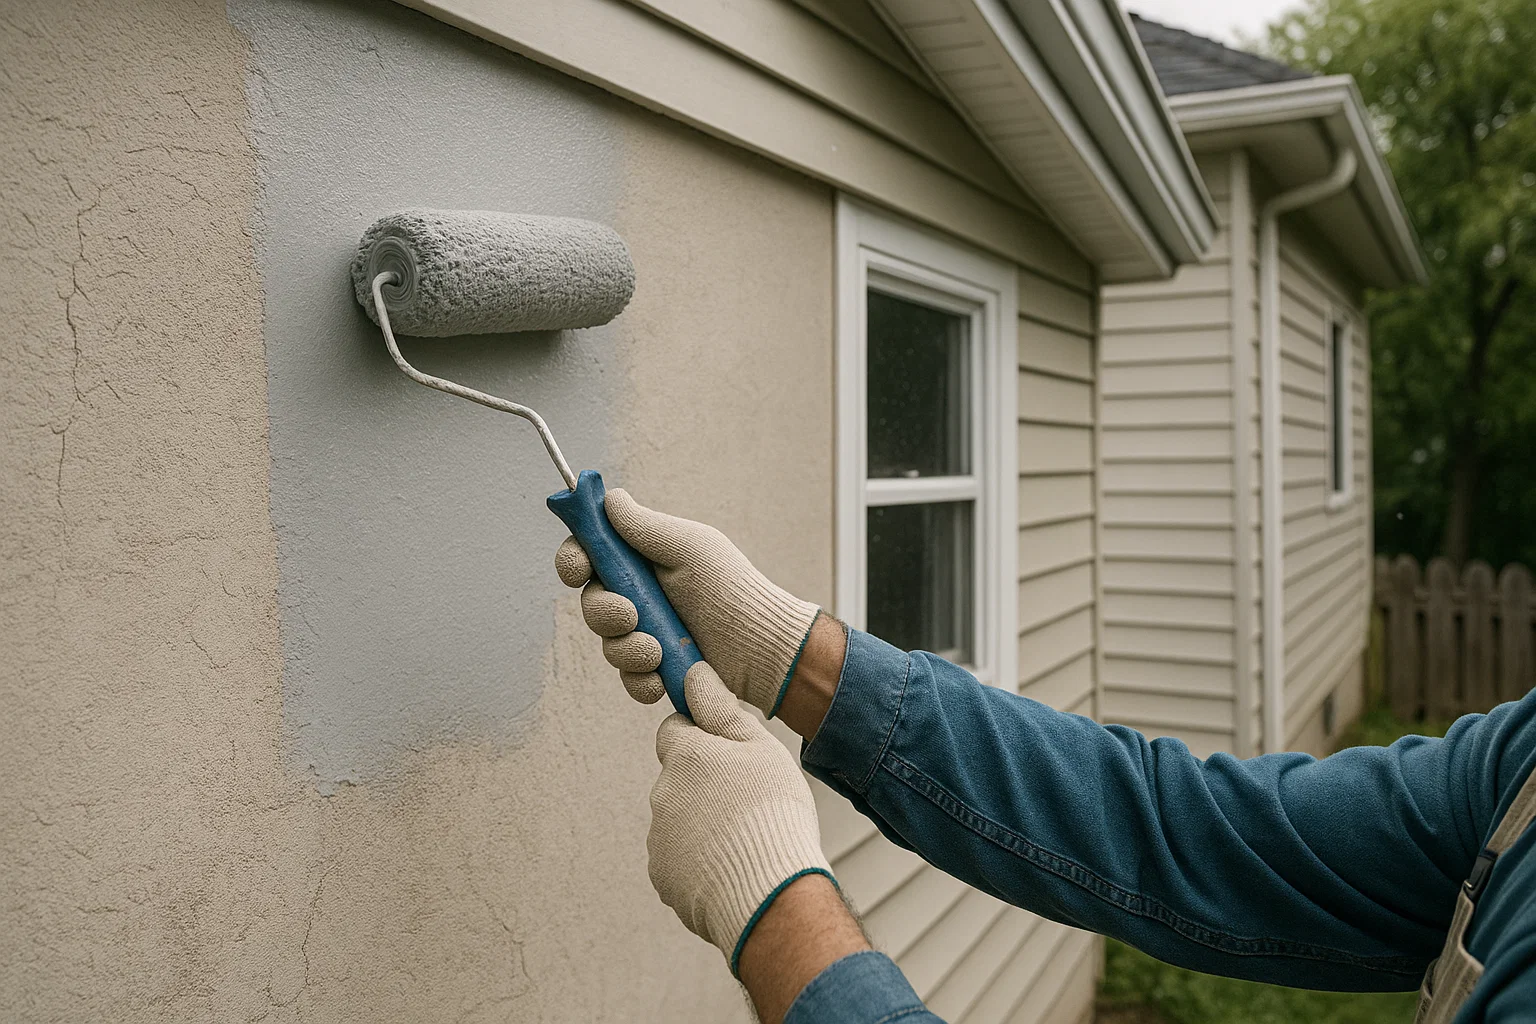
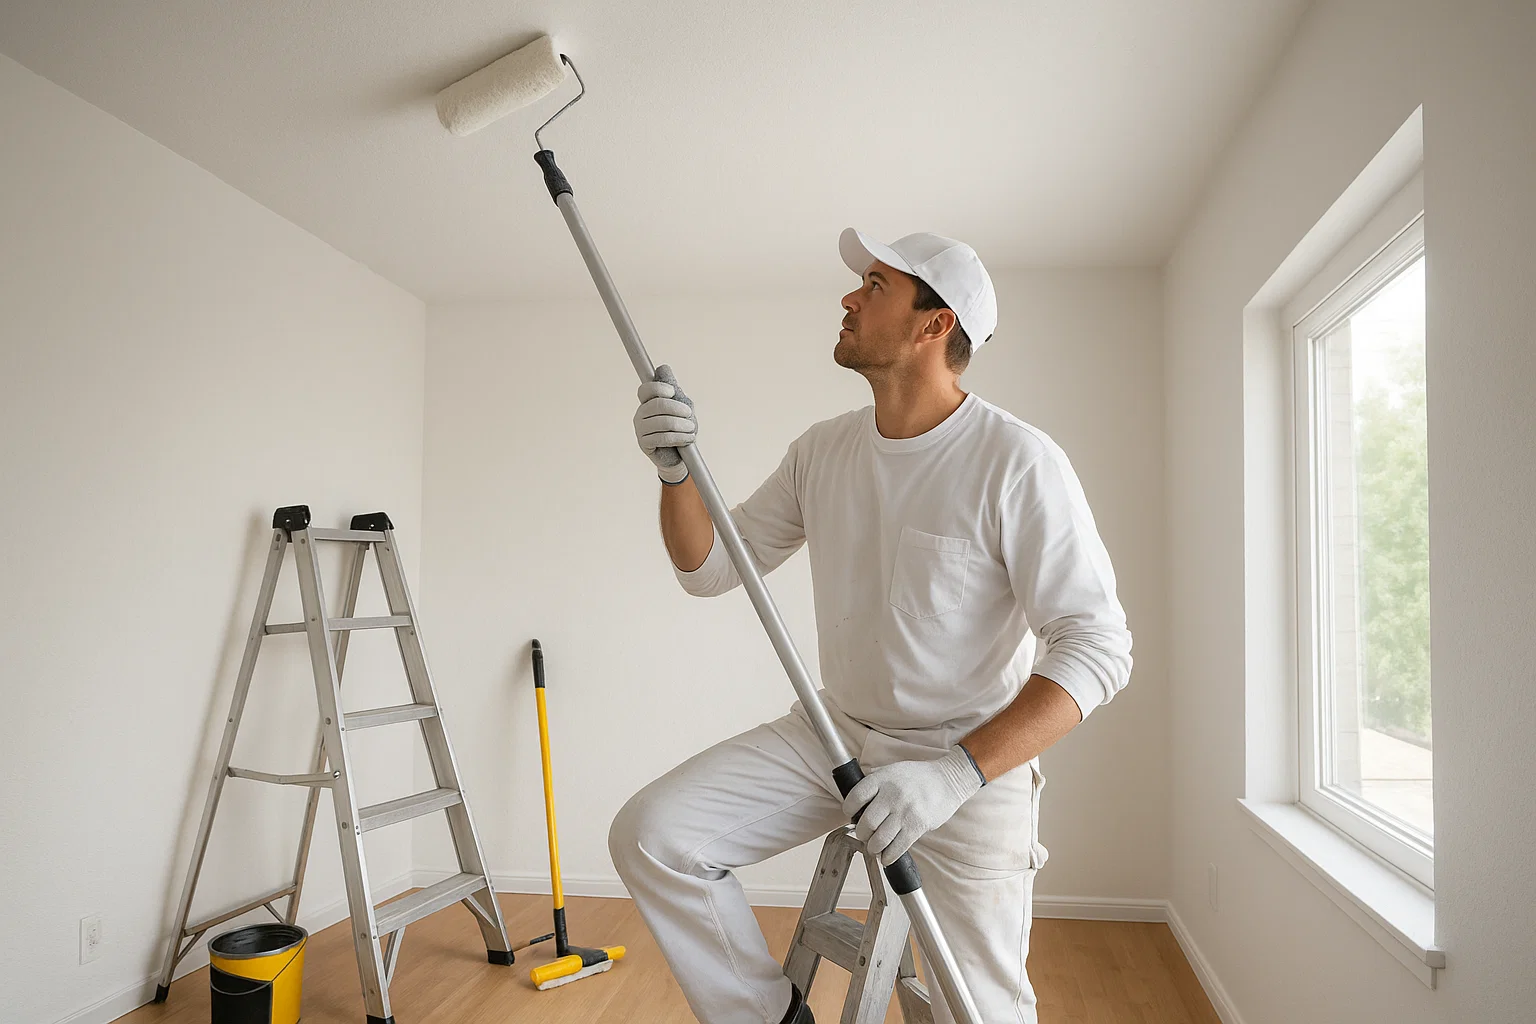
4. Painting Over Stains
If the stain is extensive or resistant to cleaning, painting over it may be the best solution. However, proper preparation is key to ensure the stain doesn’t bleed through the new paint.
Steps to Paint Over Stains:
- Clean the stained area to remove dust and debris.
- Apply a stain-blocking primer to seal the discoloration.
- Allow the primer to dry completely.
- Paint over the area with ceiling paint that matches the surrounding color.
- For a professional finish, consider repainting the entire ceiling.
Pro Tip: Use eco-friendly paint and primers for a sustainable approach. Cover furniture and floors with drop cloths to prevent accidental spills.
Final Thoughts
Removing ceiling water stains requires a bit of patience and the right technique. Start by addressing the root cause of the problem to prevent future stains. Then choose the best removal method based on the severity of the stain. Whether you opt for a natural vinegar solution, a bleach-based cleaner, or a fresh coat of paint, the key is to act promptly.
By following these steps, you can eliminate those unsightly marks and restore your ceiling’s appearance, making your home look brighter and fresher.