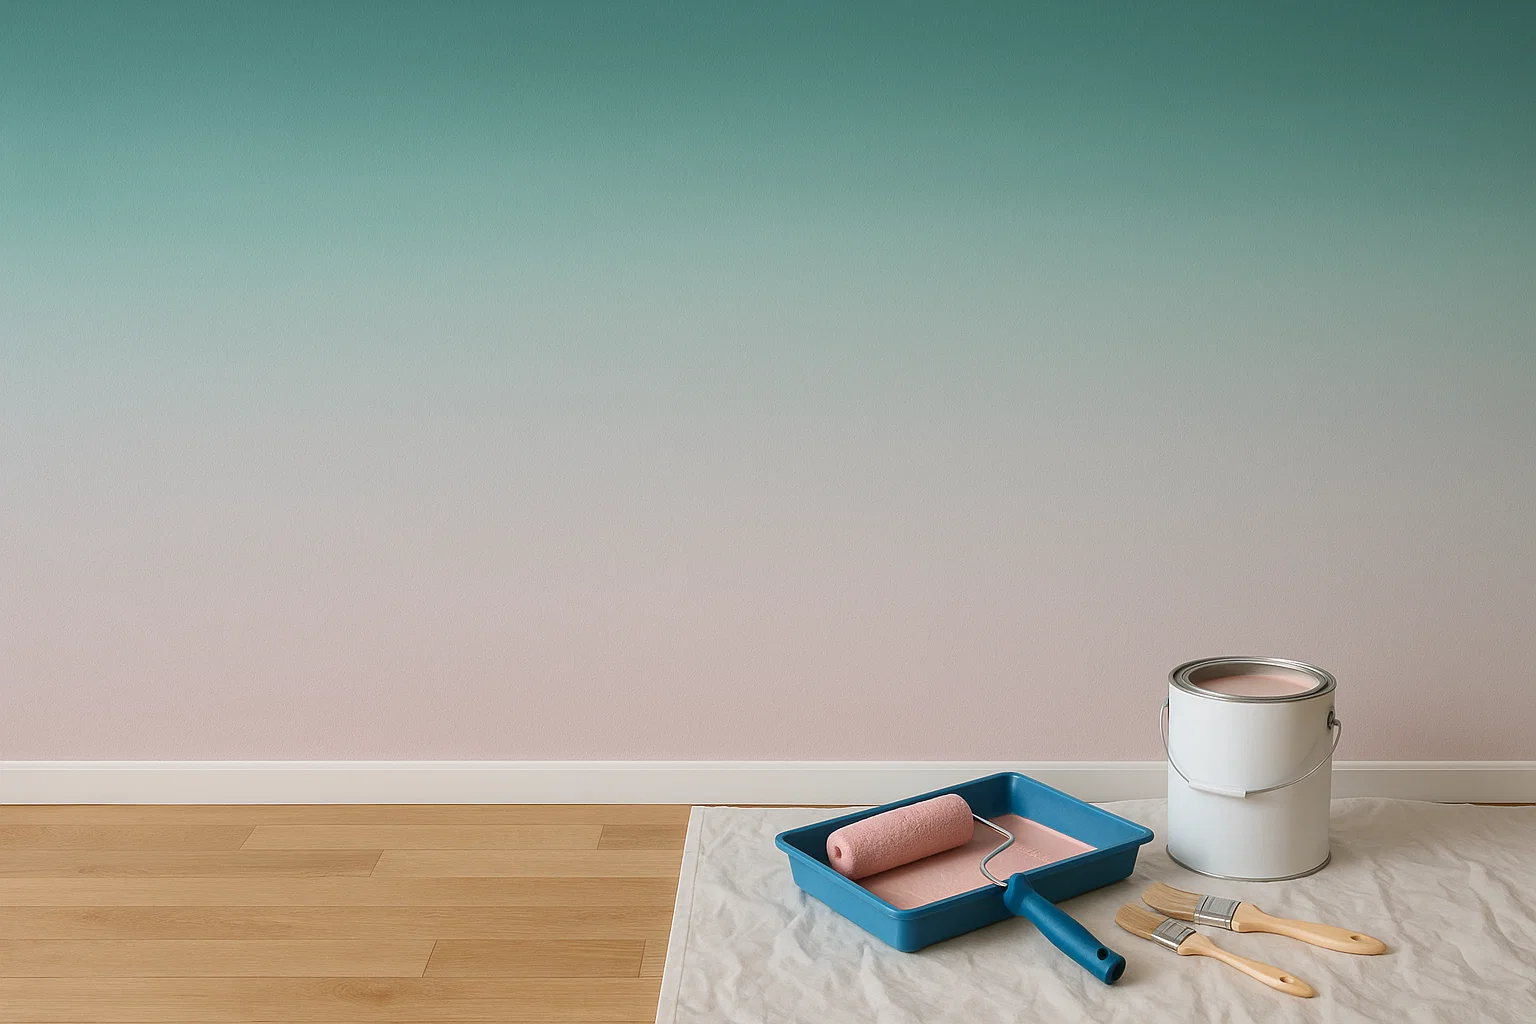
Ombre walls, with their soft, blended color transitions, have become a popular way to add visual interest and personality to any room. Unlike a single flat color, an ombre effect creates depth and movement, making a space feel dynamic and uniquely yours. Whether you want a gentle sunrise gradient in your bedroom or a bold, sunset-inspired accent in your living room, this guide will walk you through every step—from choosing your palette to perfecting the blend—so you can achieve professional-looking results on your own walls.
What Is an Ombre Wall?
The word “ombre” comes from French, meaning “shaded” or “graduated in tone.” In paint design, an ombre wall transitions smoothly from one color to another, or from dark to light of the same hue. You might see a wall that starts deep navy at the bottom and fades into sky blue at the top, or a vertical ombre that moves from blush pink on one side to soft peach on the other. The possibilities are endless.
Unlike stripes or color blocks, an ombre wall uses gradual blending. This seamless shift creates a subtle, flowing appearance that draws the eye and makes a room feel larger and more inviting. It’s a statement-making technique that’s surprisingly accessible for DIYers.
Why Choose an Ombre Wall?
Creating an ombre wall offers several benefits:
- Visual Depth: The gradual change in tone adds a three-dimensional feel, making walls look less flat.
- Focal Point: An accent ombre wall becomes an instant conversation piece and design anchor.
- Versatility: You can choose any color combination—bold and dramatic or soft and soothing.
- Customization: Tailor the gradient to fit your style, whether you prefer cool blues, warm oranges, or monochromatic fades.
- Cost‑Effective Makeover: Painting an ombre accent wall is far cheaper and quicker than new wallpaper or expensive wall art.
Planning Your Gradient
1. Select Your Colors
Decide whether you want a monochromatic fade (light to dark of one color) or a two‑color gradient (one hue blending into another). Monochromatic ombres are soothing and subtle, while two‑color ombres make a bold statement. Choose paints that are in the same family of undertones to ensure a smooth blend.
2. Determine Gradient Direction
Common orientations include:
- Vertical: Dark at the top fading to light at the bottom, or vice versa.
- Horizontal: Left-to-right fades for a panoramic effect.
- Diagonal: Adds energy and movement—great for modern spaces.
- Ceiling-to-wall: Extends upward, making ceilings feel higher.
Sketch your design on paper and mark where each color will start and end on the wall. Use a level and measuring tape to translate these marks accurately.
Tools and Materials You’ll Need
- Paint in Your Chosen Shades: At least three—dark, medium, and light.
- Primer and Base Coat Paint: A neutral base helps colors blend evenly.
- High‑Quality Rollers and Brushes: Smooth rollers for large areas; angled brushes for edges.
- Paint Trays and Mixing Buckets: For premixing gradient blends.
- Measuring Tape and Level: To mark transition points.
- Painter’s Tape: For clean edges on adjacent walls, trim, and ceiling.
- Drop Cloths: To protect floors and furniture.
- Stir Sticks and Mixing Tools: To blend paints for intermediate shades.
- Damp Cloth or Sponge: For quick blending adjustments.
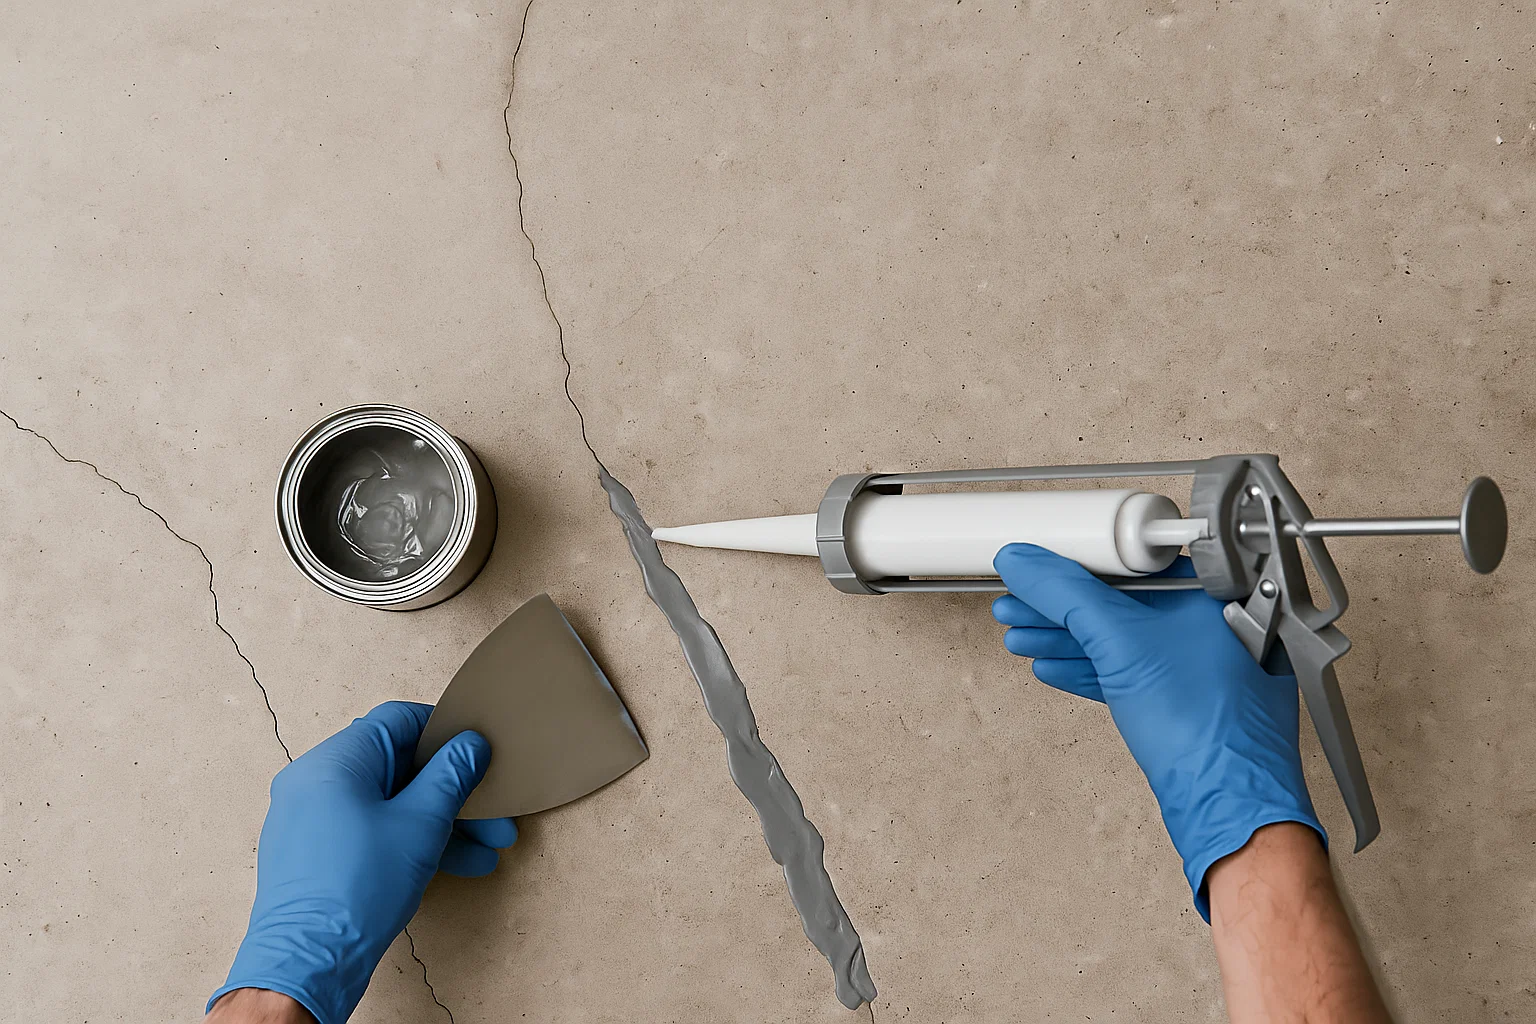
Preparing Your Wall
- Clean the Surface: Wipe walls with a damp cloth to remove dust and dirt. Let dry completely.
- Repair Imperfections: Fill holes or cracks with spackling compound, sand smooth, and dust off.
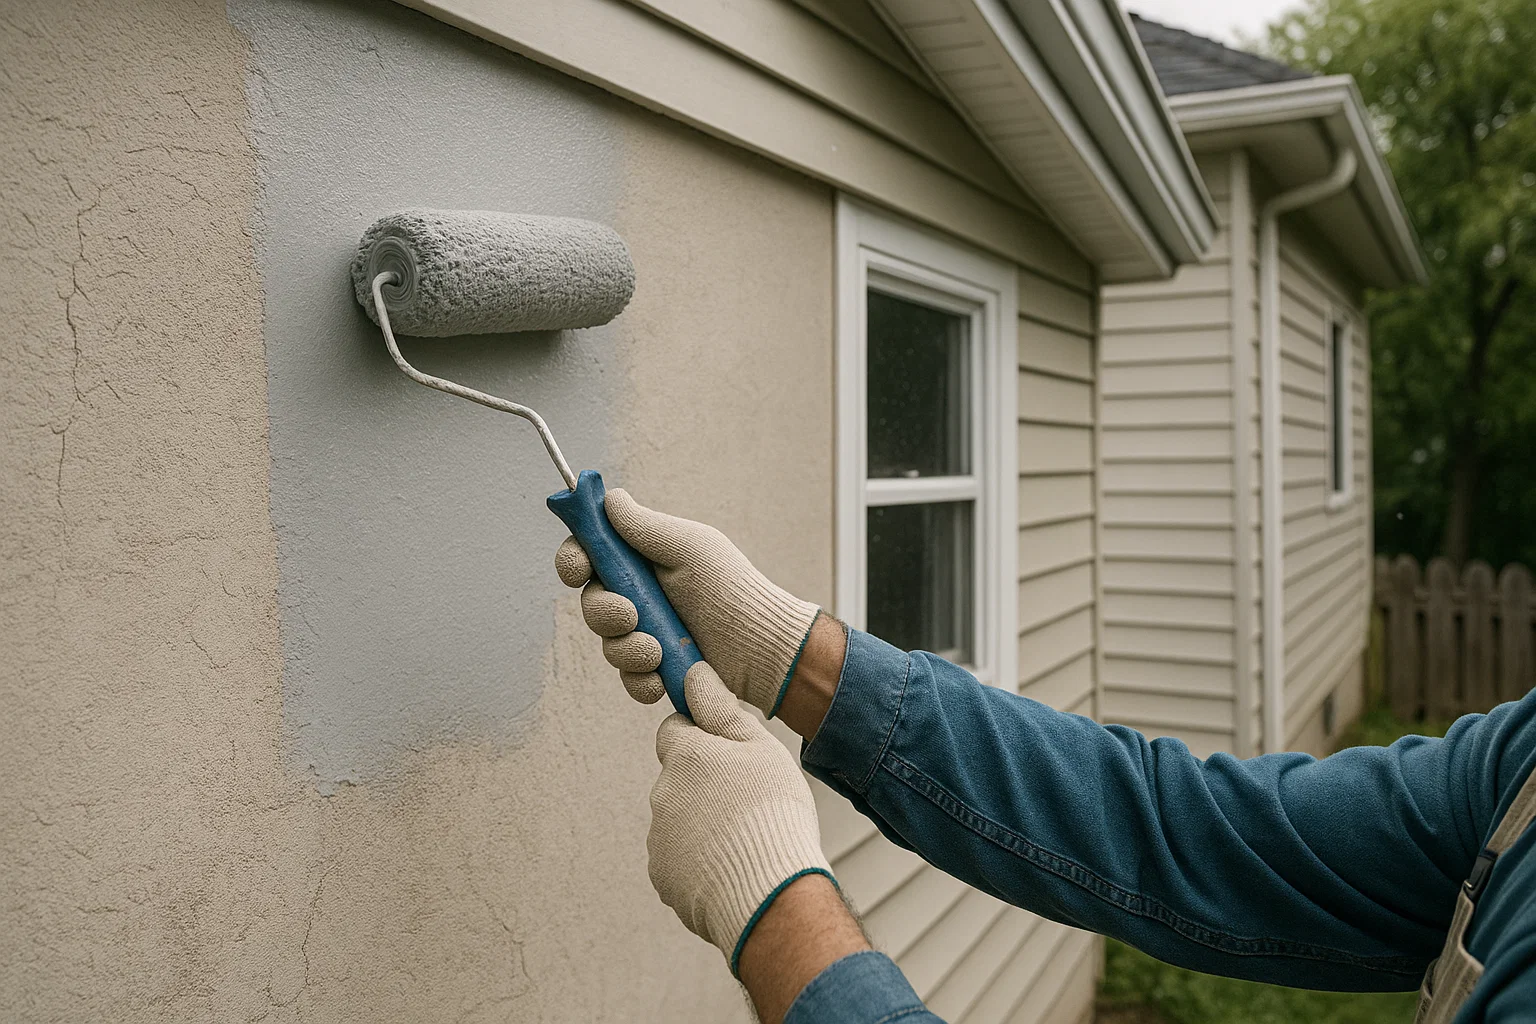
- Apply Primer/Base Coat: Paint the entire wall in your lightest color or a neutral base. This ensures true color and helps subsequent layers adhere. Let it dry fully before moving on.
- Mark Transition Zones: Measure the wall height (or width) and divide it into equal sections based on the number of shades you’ll use. For example, with three colors, you might mark three equal horizontal bands.
Mixing Your Intermediate Shades
To achieve a smooth gradient, you need intermediate hues between your darkest and lightest paints. For three primary colors (light, mid, dark):
- Mix Shade 1: 75% light paint + 25% mid paint.
- Mix Shade 2: 50% light paint + 50% mid paint.
- Mix Shade 3: 25% light paint + 75% mid paint.
Similarly, create blends between mid and dark. Label each mixture clearly and stir thoroughly. These premixed paints ensure consistency as you move across the wall.
Step‑by‑Step Painting Process
Step 1: Tape and Protect
Apply painter’s tape along the edges of the wall, adjacent walls, trim, and ceiling. Lay drop cloths on the floor.
Step 2: Paint the First Band
Starting at the top (or left for horizontal gradients), use your darkest paint to apply a 1/3 section. Paint down to the first marked line. Work quickly to keep a wet edge.
Step 3: Blend into the Next Shade
Before the first band dries, switch to the next lighter shade (e.g., Shade 3). Paint the second band, overlapping slightly with the first band’s wet edge. Use a clean, damp sponge or roller to gently blend where the two colors meet, working back and forth until the seam disappears.
Step 4: Continue with Intermediate Shades
Repeat the process with each intermediate mixture: Shade 2 in the middle, then Shade 1. Always overlap and blend into the previous wet paint. Keep your strokes light and vertical (or in the direction of your gradient) to avoid horizontal lines.
Step 5: Finish with the Lightest Color
Complete the final section with your lightest paint. Blend into the previous band as before. Step back periodically to check for even transitions and smooth any uneven spots with a damp sponge.
Tips for Perfect Blending
- Work Wet‑on‑Wet: Blending works best when both paint bands are still wet.
- Use a Clean, Damp Sponge: A light touch with a damp sponge can soften harsh lines.
- Feathering Technique: With a dry brush, feather along the seam in gentle strokes to merge colors.
- Maintain Consistent Pressure: Avoid pressing too hard, which can remove paint.
- Light Inspection: Check the gradient under different light conditions (daylight, lamp) to catch inconsistencies.
Troubleshooting Common Issues
- Harsh Lines Remain: Reapply a thin layer of blended paint over the seam and feather with a sponge.
- Uneven Color Coverage: Thin paint too much in one go; ensure each coat is opaque before blending.
- Paint Drying Too Fast: Work in smaller sections or mist the wall lightly with water between coats.
- Drips or Runs: Immediately smooth with a brush and remove excess paint; correct before it dries.
Creative Variations
- Metallic Ombre: Add metallic glaze to your blends for a subtle shimmer.
- Textured Gradient: Use a textured roller to introduce a raised pattern within the gradient.
- Accent Stripes: Incorporate thin metallic or contrasting color stripes at each transition line.
- Multi‑Direction Gradients: Combine vertical and horizontal fades in separate wall sections for a dynamic effect.
Maintaining Your Ombre Wall
- Gentle Cleaning: Wipe with a damp cloth—avoid abrasive cleaners or scrubbers.
- Touch‑Up Kit: Keep small containers of each paint blend for future repairs.
- Avoid High‑Traffic Contact: Position furniture slightly away from the wall to prevent scuffs.
Final Thoughts: From Bland to Breathtaking
An ombre wall is a striking yet simple way to elevate any room. By carefully planning your gradient, mixing precise intermediate shades, and blending wet‑on‑wet, you can achieve a seamless color transition that looks professionally done. Whether you stick to soothing tones or make a bold color statement, your gradient wall will serve as a stunning backdrop and conversation starter.
Ready to create your own masterpiece? Gather your paints, tools, and a sense of adventure, and transform your walls into works of art—one shade at a time. For personalized guidance or professional assistance, Paint Top Tier is here to help. Visit PaintTopTier.com to learn more and schedule a consultation.