Cracks in concrete or wood floors may start out as small hairline fractures, but over time they can widen, collect dirt, trap moisture, and undermine any new coating you apply. Whether you’re installing an epoxy finish in your garage, a decorative overlay in your basement, or a protective sealant on a patio, properly repairing every crack is critical for a smooth, long-lasting surface. In this guide, you’ll learn to identify different crack types, choose the right repair materials, and follow a clear, step-by-step process that ensures your floor coating adheres perfectly and stands the test of time.
Understanding Floor Cracks
Not all cracks are created equal. Before you grab a filler, take a close look to classify the crack:
- Hairline Cracks are very thin (under 1/16 inch) and often caused by shrinkage as concrete dries or minor settlement in wood subfloors.
- Fine Cracks (1/16–1/8 inch) can result from normal use or temperature swings.
- Medium Cracks (1/8–1/4 inch) often indicate slight movement or stress in the slab.
- Wide Cracks (over 1/4 inch) may point to foundation issues, heavy loads, or significant settling.
Knowing the width and cause helps you pick the right repair method so the crack stays sealed, even when the floor flexes or shifts.
Why Proper Crack Repair Matters
- Prevents Coating Failures: Fillers are only as strong as their bond. If a crack shifts or reopens, the coating above will crack or peel.
- Avoids Moisture Infiltration: Water seeping into a crack can cause mold under coatings or freeze-thaw damage in cold climates.
- Ensures a Smooth Finish: Coatings like epoxy amplify surface imperfections. Unrepaired cracks show through as bumps or dips.
- Extends Floor Life: Well-repaired cracks stop small problems from turning into large structural failures.
Tools and Materials You’ll Need
Gather these before starting to keep your workflow smooth:
- Protective Gear: Gloves, safety glasses, and a dust mask.
- Vacuum with Brush Attachment: For dust and debris removal.
- Wire Brush or Stiff-Bristle Brush: To scrub out loose particles.
- Crack Chaser Blade (Angle Grinder Attachment) or Cold Chisel & Hammer: To widen narrow cracks for better filler adhesion.
- Shop Vacuum or Compressed Air: To clear dust from deep cracks.
- Concrete Crack Filler or Patch Compound: Select based on crack width (epoxy for structural strength, polyurethane for flexibility).
- Concrete Bonding Adhesive: Ensures patch material bonds to the substrate.
- Putty Knife or Trowel: For applying filler smoothly.
- Backer Rod (Foam Rod) for Wide Cracks: Provides a base for deep fills.
- Sanding Block or Grinder with Fine Disc: To level the fill flush with the floor.
- Primer (if Recommended): Some coatings require a primer over repaired areas.
Step-by-Step Crack Repair Process
Prepare the Work Area
- Remove any furniture, rugs, or debris from the floor.
- Sweep and vacuum the entire floor to eliminate loose dirt.
- Use painter’s tape and plastic sheeting to protect walls or adjacent areas from dust.
Clean and Open Up the Crack
- Run a wire brush along the crack’s length to loosen debris.
- For hairline and fine cracks, use a crack chaser blade on an angle grinder—set the blade about ⅛ inch deep to slightly widen and square the crack edges.
- For medium or wide cracks, a cold chisel and hammer work too: tap the blade at a 45° angle to open the crack into a “V” shape, which gives filler more surface to grip.
- Vacuum or blow out all dust and debris until the crack is clean. Moisture or dust left behind will weaken adhesion.
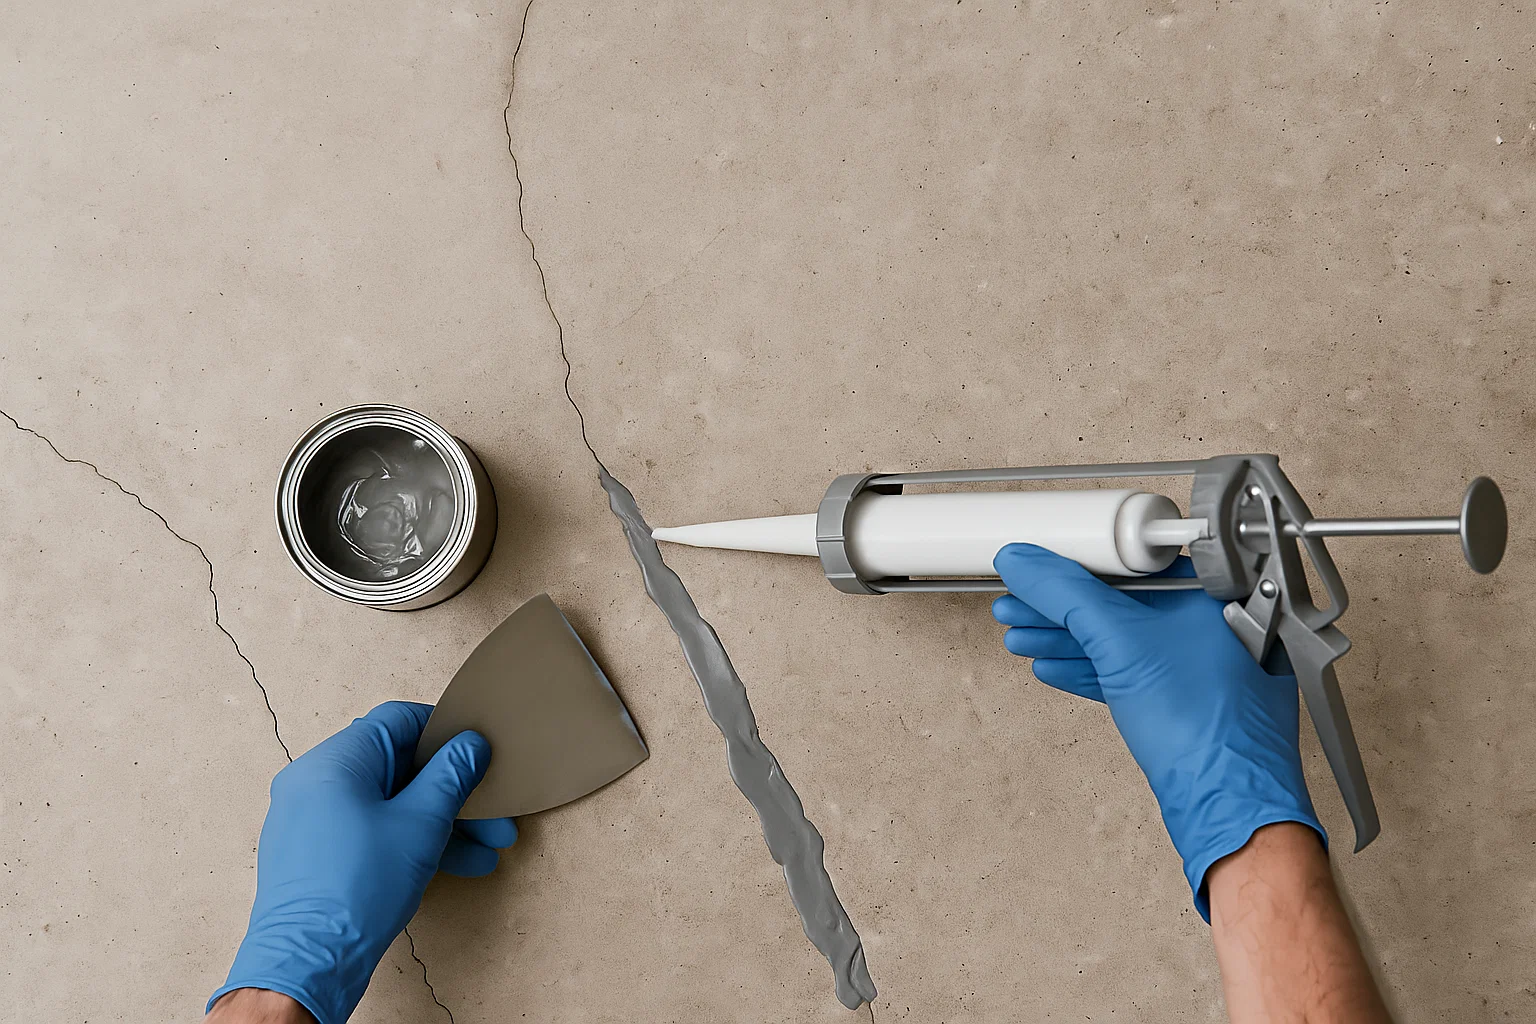
Apply Bonding Adhesive
- Follow the manufacturer’s directions to brush or spray a concrete bonding adhesive into the crack.
- Let it become tacky—this promotes a chemical bond between the old floor and new patch material.
Place Backer Rod (for Wide, Deep Cracks)
- For cracks over ¼ inch deep, press a foam backer rod into the crack until it sits about ¼ inch below the surface.
- Backer rod saves filler material and gives the compound something to push against, preventing it from sinking too deep.
Mix and Apply Crack Filler
- Epoxy Crack Filler (two-part systems)
- Mix resin and hardener exactly per instructions.
- Use a putty knife to press epoxy deep into the crack, overfilling slightly. Epoxy cures very hard—ideal for structural cracks or heavy-load areas.
- Polyurethane or Acrylic Patch (single component)
- Trowel or knife directly from the tube or pail.
- Choose these for cracks that may move slightly (wood subfloors or exterior slabs in freeze-thaw climates).
- Smooth the filler flush with the floor using a trowel or putty knife. Remove excess promptly, as cured filler can be hard to sand off.
Allow Proper Cure Time
- Check the product label: epoxy may cure in 1–3 hours but reach full strength in 24–48 hours.
- Polyurethane fillers often set in 30–60 minutes but may need 24 hours before sanding or coating.
Level the Surface
- Once cured, lightly sand or grind the patch until it’s perfectly flush with the surrounding floor.
- Vacuum all dust and wipe the area with a damp cloth. Allow to dry completely before coating.
Prime if Necessary
- If your chosen floor coating recommends a primer—especially for epoxy overlays—apply a thin coat over the repaired cracks.
- Let the primer dry to the manufacturer’s specified stage (typically tacky or fully dry).
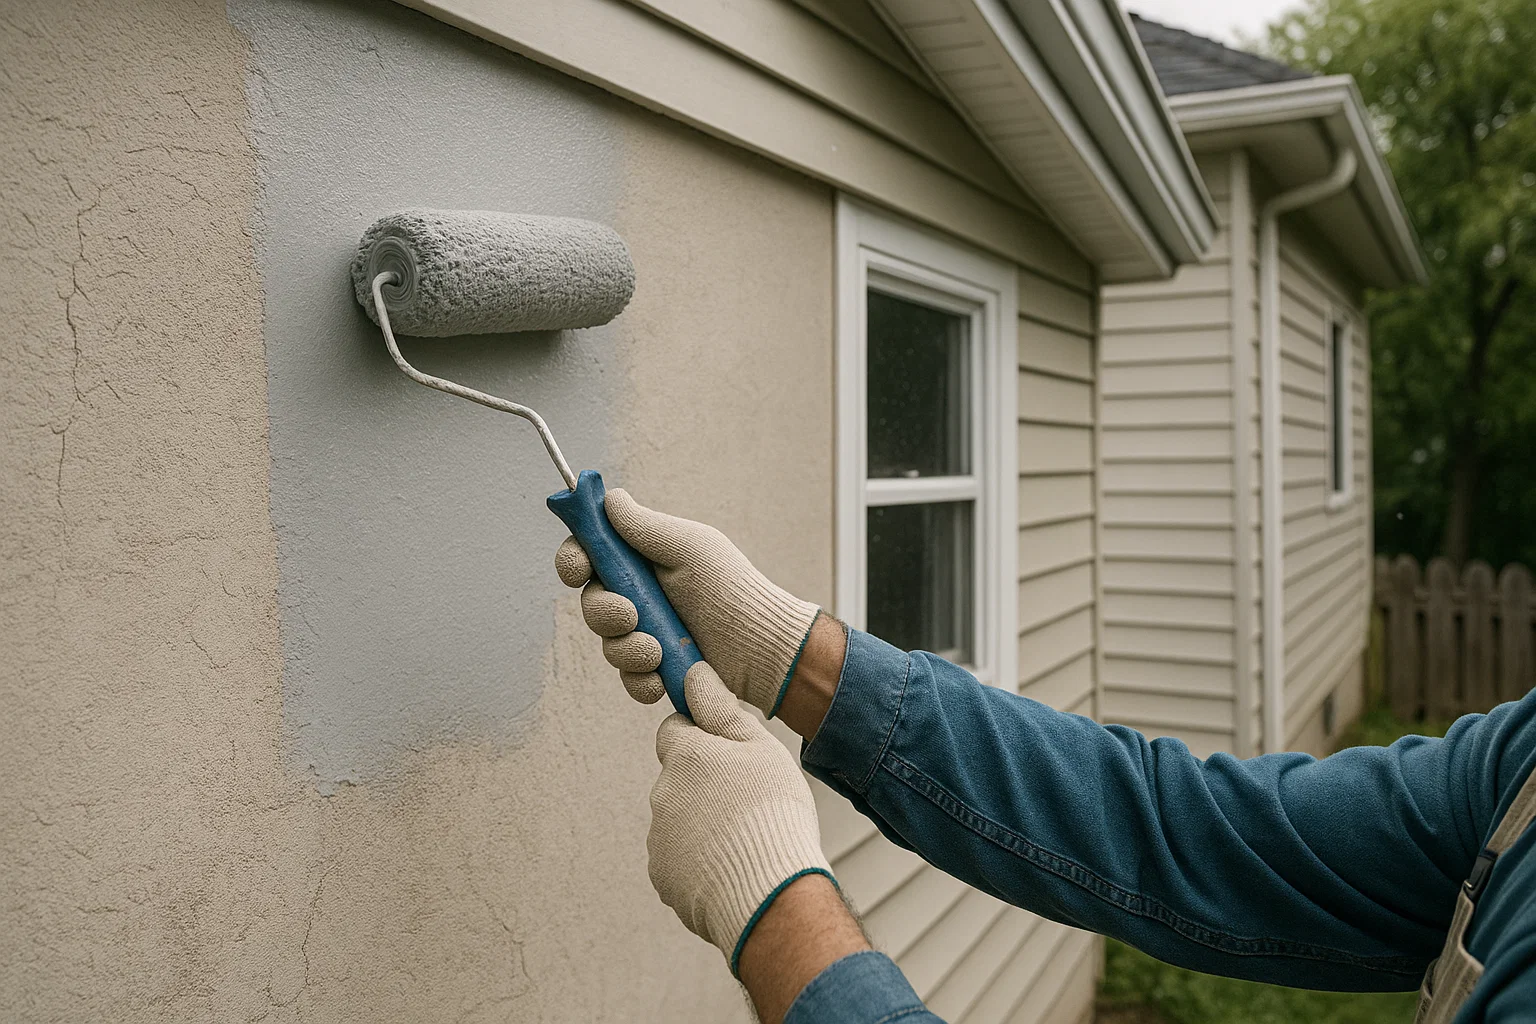
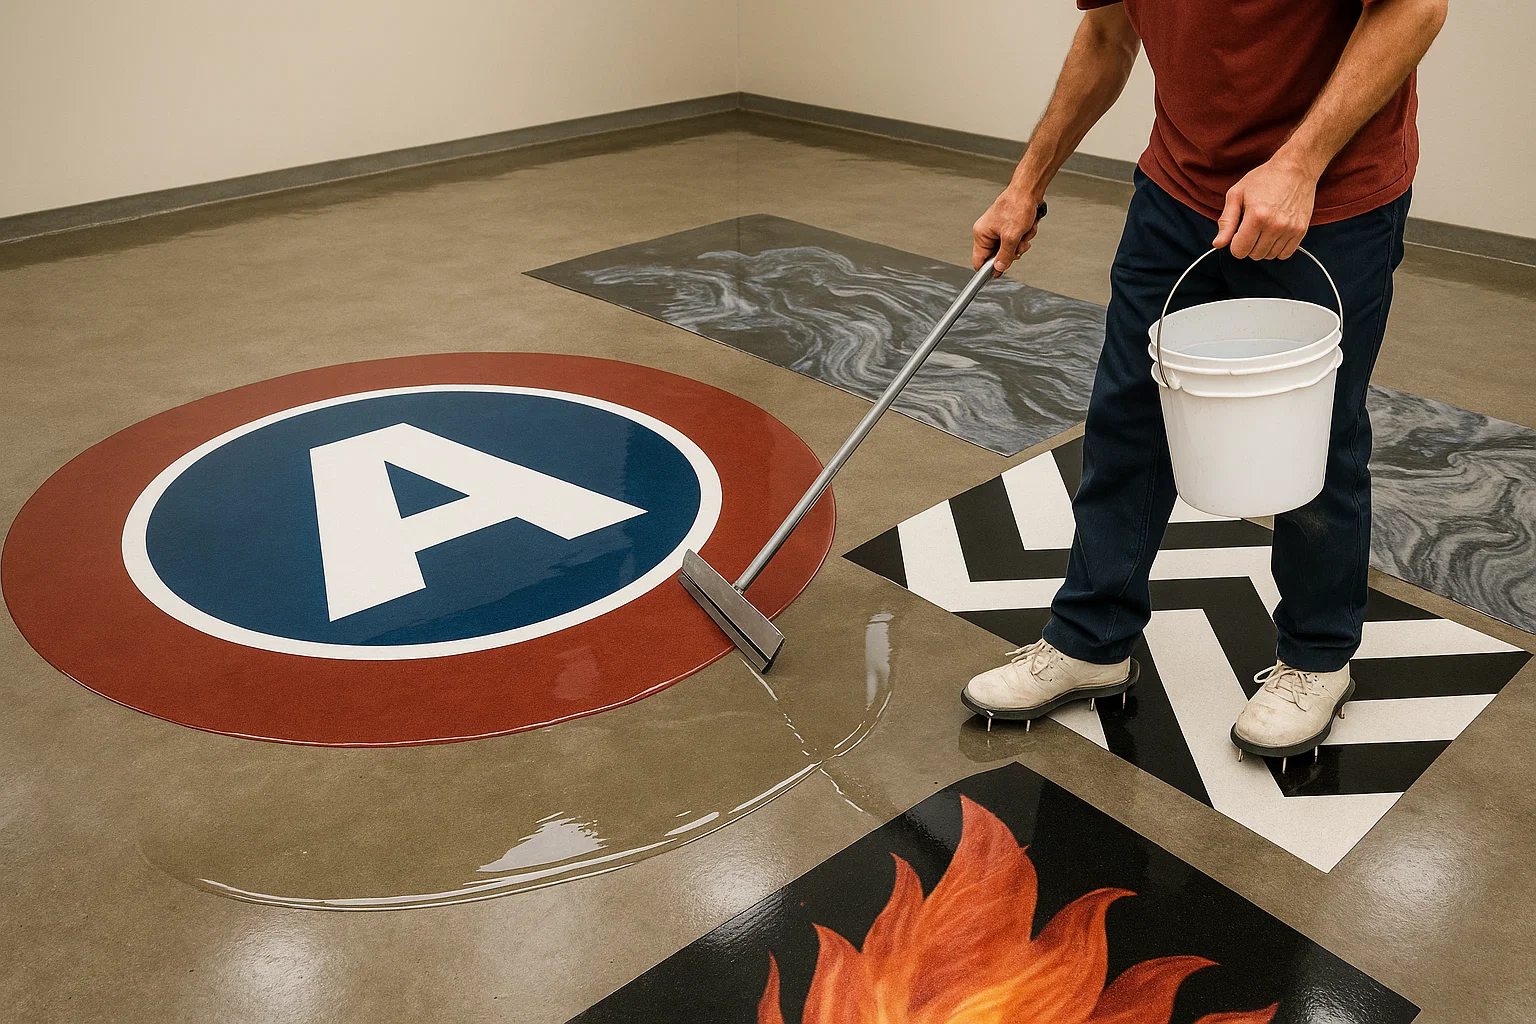
Applying Your Floor Coating
With cracks professionally repaired, you’re ready for the final coating:
- Mix the Coating: Stir per instructions, avoiding air bubbles.
- Cut In Edges: Use a brush around walls and openings.
- Roll the Field: Apply the coating evenly with a roller, maintaining a wet edge.
- Optional Decorative Steps: Broadcast color flakes or quartz between coats if desired.
- Allow Full Cure: Prevent traffic until the coating is fully cured (often 24–72 hours).
Common Pitfalls and How to Avoid Them
- Skipping Bonding Adhesive: Filling over bare concrete without a primer-adhesive leads to delamination.
- Under- or Over-Widening Cracks: Too narrow and the filler has no grip; too wide and you waste material. Aim for a uniform “V” profile about ⅛–¼ inch wide.
- Ignoring Moisture: Always confirm the floor is completely dry—moisture trapped under filler causes blistering.
- Rushing Curing: Walking or coating too soon can crack fresh patches. Patience ensures a solid, bonded repair.
Maintenance Tips
- Regular Cleaning: Sweep or vacuum to remove grit that can crawl into cracks.
- Inspect Annually: Look for new hairline cracks and repair immediately before they widen.
- Touch-Up Kit: Keep small amounts of filler and primer on hand for quick fixes.
Final Thoughts
Repairing every crack—from hairline to wide—before coating transforms a patchy floor into a seamless, durable surface. By carefully cleaning, profiling, priming, and filling each crack, you ensure your epoxy, polyurethane, or acrylic topcoat bonds correctly and resists future damage. Follow these expert techniques, and your newly coated floor will look flawless and stand strong for years, no matter how much foot traffic, tools, or furniture it endures.