Painting a high ceiling can completely transform a room, making it feel brighter and more spacious. But working overhead, balancing on ladders, and reaching awkward angles can be intimidating—and even risky—if you don’t have the right approach. This guide will walk you through everything you need to tackle a high‑ceiling paint job safely and efficiently. You’ll learn which tools to use, how to prep your workspace, and step‑by‑step techniques to achieve a smooth, even finish—without sore shoulders or damaged walls.
Why High Ceilings Deserve Special Attention
High ceilings (those eight feet or more above the floor) create a sense of grandeur, but they also come with unique challenges:
- Reach & Access: Standard rollers and ladders may not reach the entire surface.
- Drips & Splatter: Gravity works against you—paint drips are almost guaranteed without proper technique.
- Physical Strain: Extended overhead painting can cause neck, shoulder, and back fatigue.
- Safety Risks: Working at height increases the chance of falls if equipment isn’t stable.
With careful planning and the right gear, you can conquer these challenges and paint like a pro.
Essential Tools and Equipment
Investing in the proper tools not only makes the job easier but also safer and faster. Here’s what you’ll need:
- Extension Pole with Rollers
- Adjustable length (up to 12 ft) so you can paint the peak of the ceiling from the floor.
- Compatible with standard 9‑ to 18‑inch roller covers.
- Specialized Ceiling Roller Covers
- ½‑ to ¾‑inch nap for smooth to semi‑textured ceilings.
- Holds more paint, reducing trips to the tray.
- Sturdy Step Ladder or Rolling Scaffold
- Step ladder: Wide steps, secure locking spreaders, rated for your weight plus gear.
- Rolling scaffold: Ideal for large areas—provides stable platform and storage, usually adjustable up to 8–10 ft.
- Angled Trim Brush
- 2″ or 3″ high‑quality synthetic bristles for cutting‑in where ceiling meets wall.
- Painter’s Tape & Drop Cloths
- Tape to protect walls and fixtures.
- Heavy‑duty drop cloths to catch drips.
- Paint Tray & Liner
- Deep tray to hold plenty of paint for your extension roller.
- Disposable liners for quick cleanup.
- Headlamp or Adjustable Work Light
- Illuminates overhead surfaces and reveals missed spots.
- Paint Guard or Shield
- Flat plastic tool to protect walls during cutting‑in.
- Safety Gear
- Protective eyewear, dust mask (especially if sanding), and non‑slip footwear.
- Optionally, a lightweight, full‑brim hat to catch drips.
Preparation: Setting the Stage for Success
Proper prep makes painting faster, cleaner, and reduces mistakes. Follow these steps:
- Clear the Room
- Remove furniture or move it to the center and cover with plastic sheeting.
- Take down light fixtures if possible, or tape over them.
- Protect Surfaces
- Lay drop cloths across the entire floor and up the walls a few inches.
- Use painter’s tape to mask the top edge of the walls, any exposed molding, vents, and fixtures.
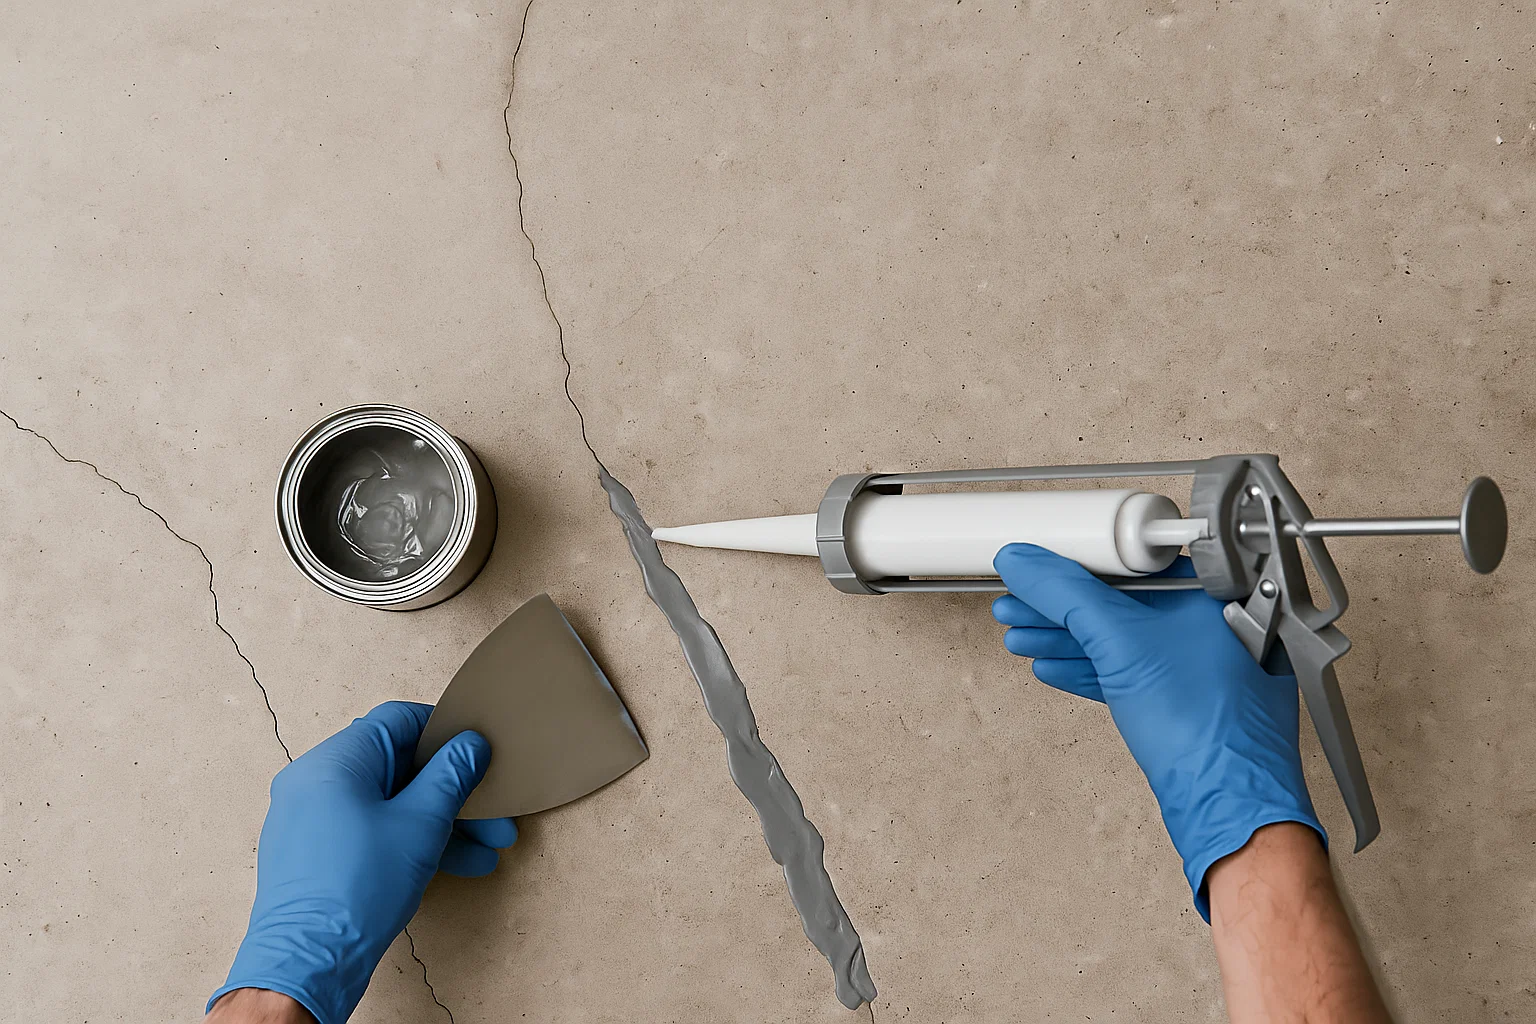
- Inspect and Repair
- Look for cracks, holes, or water stains on the ceiling.
- Use a putty knife and joint compound to fill imperfections; sand smooth when dry.
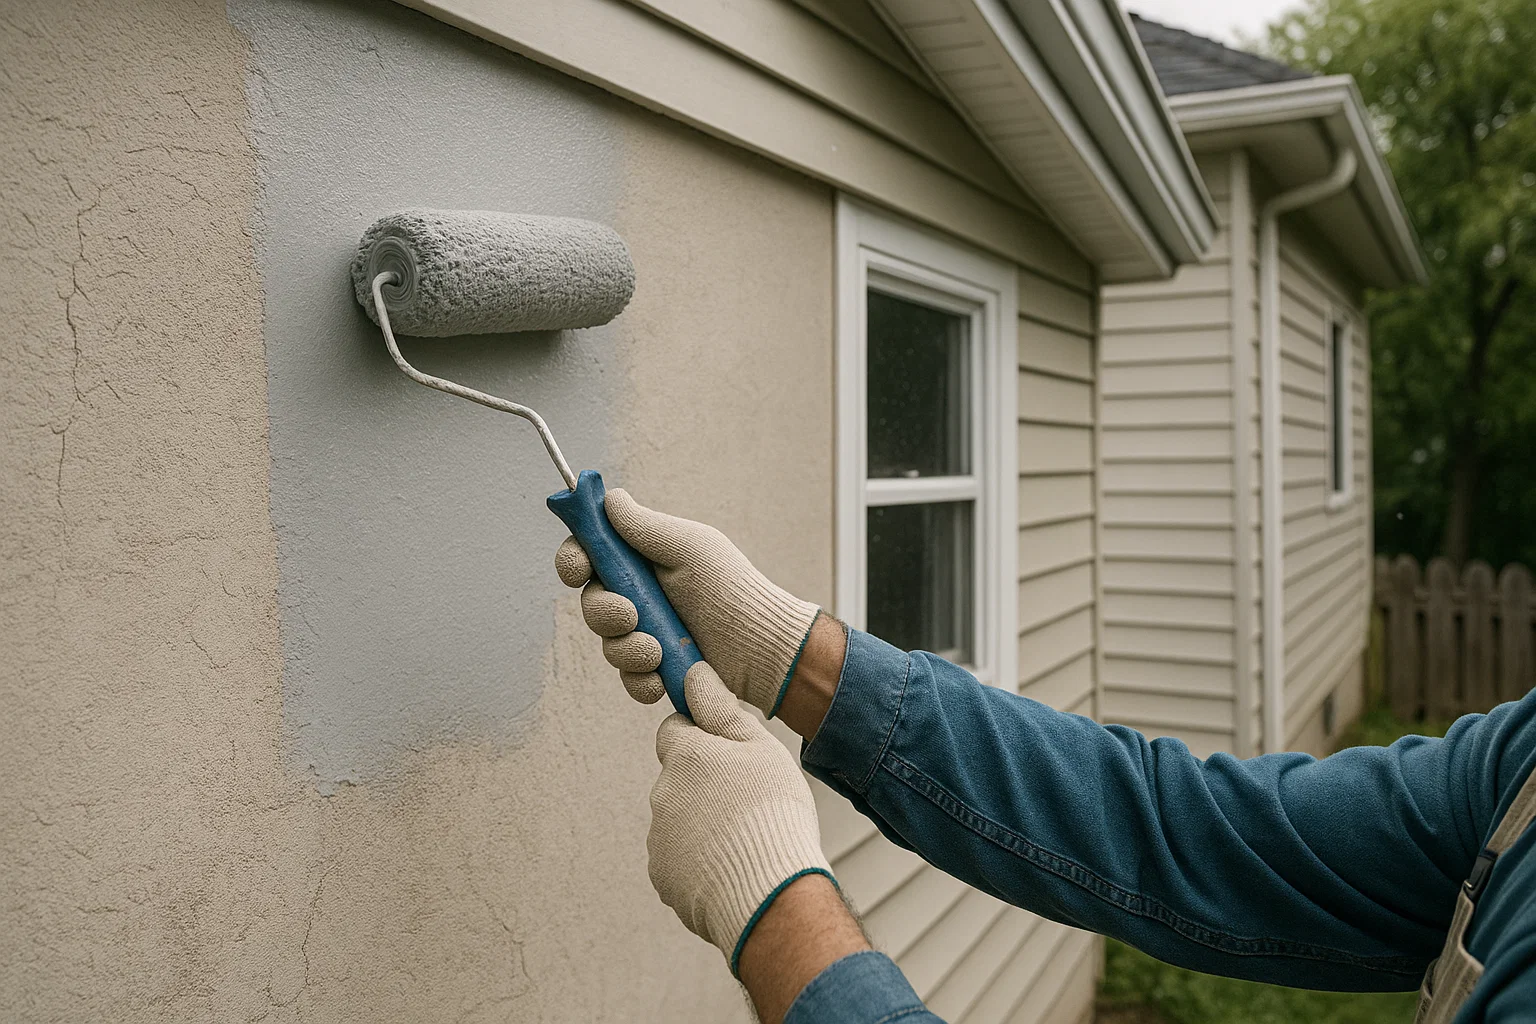
- Prime if Needed
- For new drywall or patched areas, apply a ceiling‑specific primer to ensure an even topcoat.
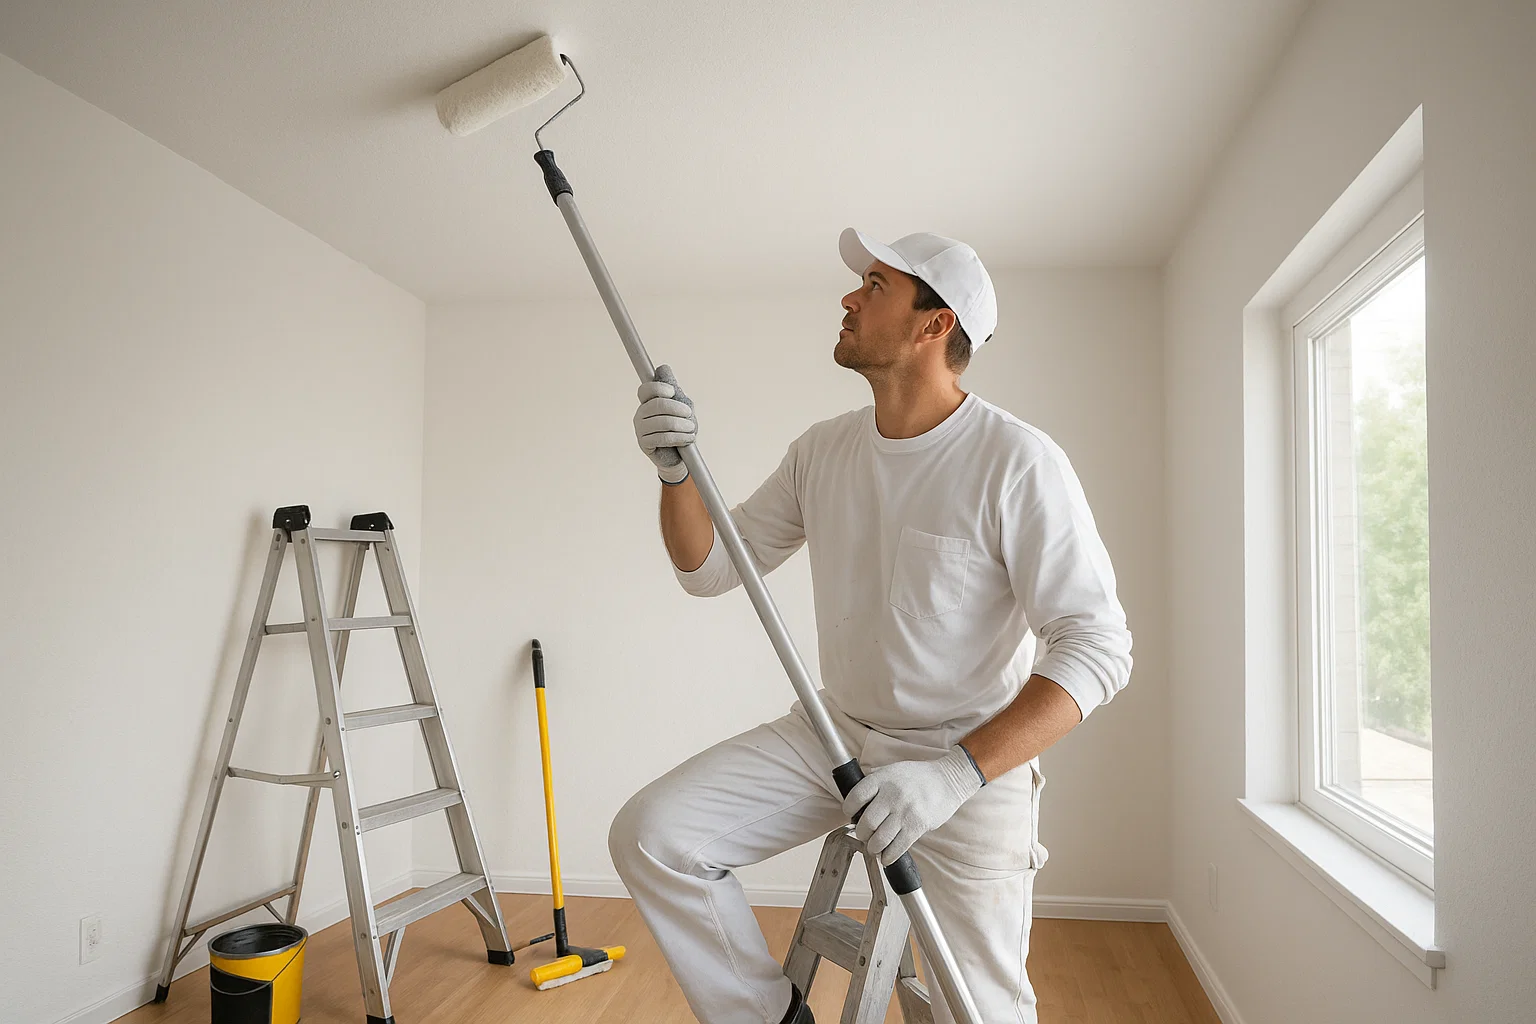
Step‑by‑Step Painting Technique
Step 1: Cutting In Around the Edges
- Climb Safely
- Use a step ladder or scaffold. Keep three points of contact (two feet and one hand).
- Cut‑In First
- With an angled brush, paint a 2– to 3‑inch band along the wall‑ceiling joint.
- Use a paint guard held against the wall to keep lines crisp and your tape free from drips.
Step 2: Rolling the Main Field
- Attach Roller to Extension Pole
- Secure the roller cover tightly on the pole adapter.
- Load Paint
- Pour paint into the tray. Dip the roller about one‑third in, then roll off excess on the tray’s rib.
- “W” Technique
- Start in one corner, roll a large “W” shape on the ceiling—each leg around 2 ft long.
- Without reloading, fill in the “W” by rolling straight lines to smooth out.
- Maintain a Wet Edge
- Work in 4×4‑ft sections, overlapping each pass slightly to avoid lap marks.
Step 3: Blend and Touch Up
- Inspect Under Light
- Use your headlamp or work light shining across the ceiling to spot thin areas.
- Backroll if Needed
- Lightly roll over previously painted areas without adding new paint to even out texture.
- Final Touches
- Use your brush to fill any tiny gaps left near walls or fixtures.
Safety Tips and Best Practices
- Keep the Ladder Level: Place it on firm, flat ground. If using a scaffold, lock the wheels and guardrails.
- Avoid Overreaching: Move the ladder or scaffold rather than stretching beyond your center of gravity.
- Take Regular Breaks: Painting overhead is tiring—rest every 15–20 minutes to prevent fatigue.
- Use Proper Lighting: Shadows hide drips—good lighting helps catch mistakes immediately.
- Clean as You Go: Wipe drips off walls or trim before they dry to avoid extra sanding later.
Troubleshooting Common Issues
- Lap Marks: Caused by letting paint start to dry before overlapping. Keep a wet edge and work quickly.
- Drips and Spatter: Roll slowly; if drips happen, wipe them immediately with a damp cloth.
- Uneven Sheen: Different paint thicknesses can reflect light unevenly—maintain consistent roller pressure and overlap each pass.
- Streaks from Brushes: Feather out brush edges into the rolled paint before it dries to eliminate brush lines.
Clean‑Up and Maintenance
- Clean Brushes & Rollers Immediately: Warm, soapy water for latex paints; mineral spirits for oil‑based.
- Remove Tape Carefully: Pull at a 45° angle as soon as paint is dry to the touch to prevent peeling.
- Store Leftover Paint: Seal the can tightly, label it, and keep in a cool, dry place for future touch‑ups.
- Spot‑Touch as Needed: Keep a small brush on hand for any scuffs or nail holes that appear later.
Final Thoughts: Confidence at Height
With the right tools, solid preparation, and a clear step‑by‑step method, painting a high ceiling becomes much less daunting. You’ll save time by cutting in efficiently, avoid back‑breaking ladder work by using an extension pole, and achieve a beautifully uniform finish. By following these safety guidelines and techniques, you’ll bring a fresh, polished look to any lofty room—without the common headaches of overhead painting.
Ready to give your space an airy, elevated feel? Gather your equipment, protect your floors, and start at one corner—soon, you’ll be standing back to admire a flawlessly painted high ceiling that looks like the work of a seasoned pro.