A chipped or scratched wall can make your room look tired and neglected. Whether it’s a small scratch from everyday wear or a larger chip from an accidental bump, fixing these imperfections doesn’t have to cost a lot or require a professional. With a little patience and some basic tools, anyone can repair paint like a pro. This article will show you step-by-step how to clean, patch, and repaint the affected area, ensuring your space stays fresh and attractive without spending too much money.
Understanding the Problem: Scratches vs. Chips
Before you start, it’s important to understand the difference between a scratch and a chip. A scratch is usually a thin, shallow line that runs across the paint. It might be caused by a moving object or regular cleaning. On the other hand, a chip is a small piece of paint that has broken away, leaving a little gap in the surface. Both types of damage need similar techniques, but sometimes a chip requires more attention because the underlying material might be exposed.
The reason these issues occur can vary from accidents, high traffic, or even just the natural wear and tear that surfaces undergo over time. No matter how you ended up with these imperfections, the good news is that they can often be fixed easily by following the right steps.
Why DIY Paint Repair Is a Great Idea
Repairing paint yourself has several advantages. First, it saves you money. Hiring a professional can be expensive, but a few basic supplies from your local hardware store are much cheaper. Second, it gives you control over the look of the repair. You can choose the exact color and finish so that the repair blends with the rest of your wall. Third, it’s a skill that can come in handy for other home improvement projects. Learning how to repair paint can boost your confidence and even inspire you to tackle other DIY projects.
Tools and Materials You Will Need
Before beginning your DIY repair project, gather all the necessary tools and materials. Having everything ready will make the process smoother and help you avoid any interruptions once you start.
- Sandpaper (Fine Grit): Needed to smooth the edges around the scratch or chip.
- Putty Knife or Scraper: Useful for cleaning out any loose paint or debris.
- Spackle or Wood Filler: Ideal for filling in small chips or cracks.
- Primer: Helps create a uniform surface and ensures that the new paint adheres well.
- Paint: Be sure to match the color and finish of the existing wall as closely as possible.
- Paintbrush or Roller: Depending on the size of the area, you might need a small brush for detail work or a roller for bigger patches.
- Clean Cloth or Rags: For wiping down surfaces before and after sanding.
- Dust Mask and Safety Goggles (optional): To protect yourself from dust while sanding.
Once you have all these supplies, you’re ready to begin the process of repair.
Step-by-Step Guide to Fixing Scratches and Chips
Step 1: Clean the Damaged Area
The first and most important step is to clean the area. Dust, dirt, and grease can prevent new layers of paint from sticking properly. Use a clean cloth dampened with water (or a mild cleaning solution if needed) to wipe down the damaged region. Allow it to dry completely before you move on to the next step. Taking time to thoroughly clean the area will help ensure that your repair lasts longer and looks smooth.
Step 2: Sand the Area
Next, lightly sand the area with fine-grit sandpaper. For scratches, you want to smooth the edges so that the new paint will blend in better. For chips, gently sand around the perimeter to remove any ragged edges or loose particles. Always sand in a circular motion until the area feels smooth to the touch. After sanding, use a clean, dry cloth to wipe away any dust created by the sanding process. This step is key as it creates a rough surface which allows the filler and paint to adhere more firmly.
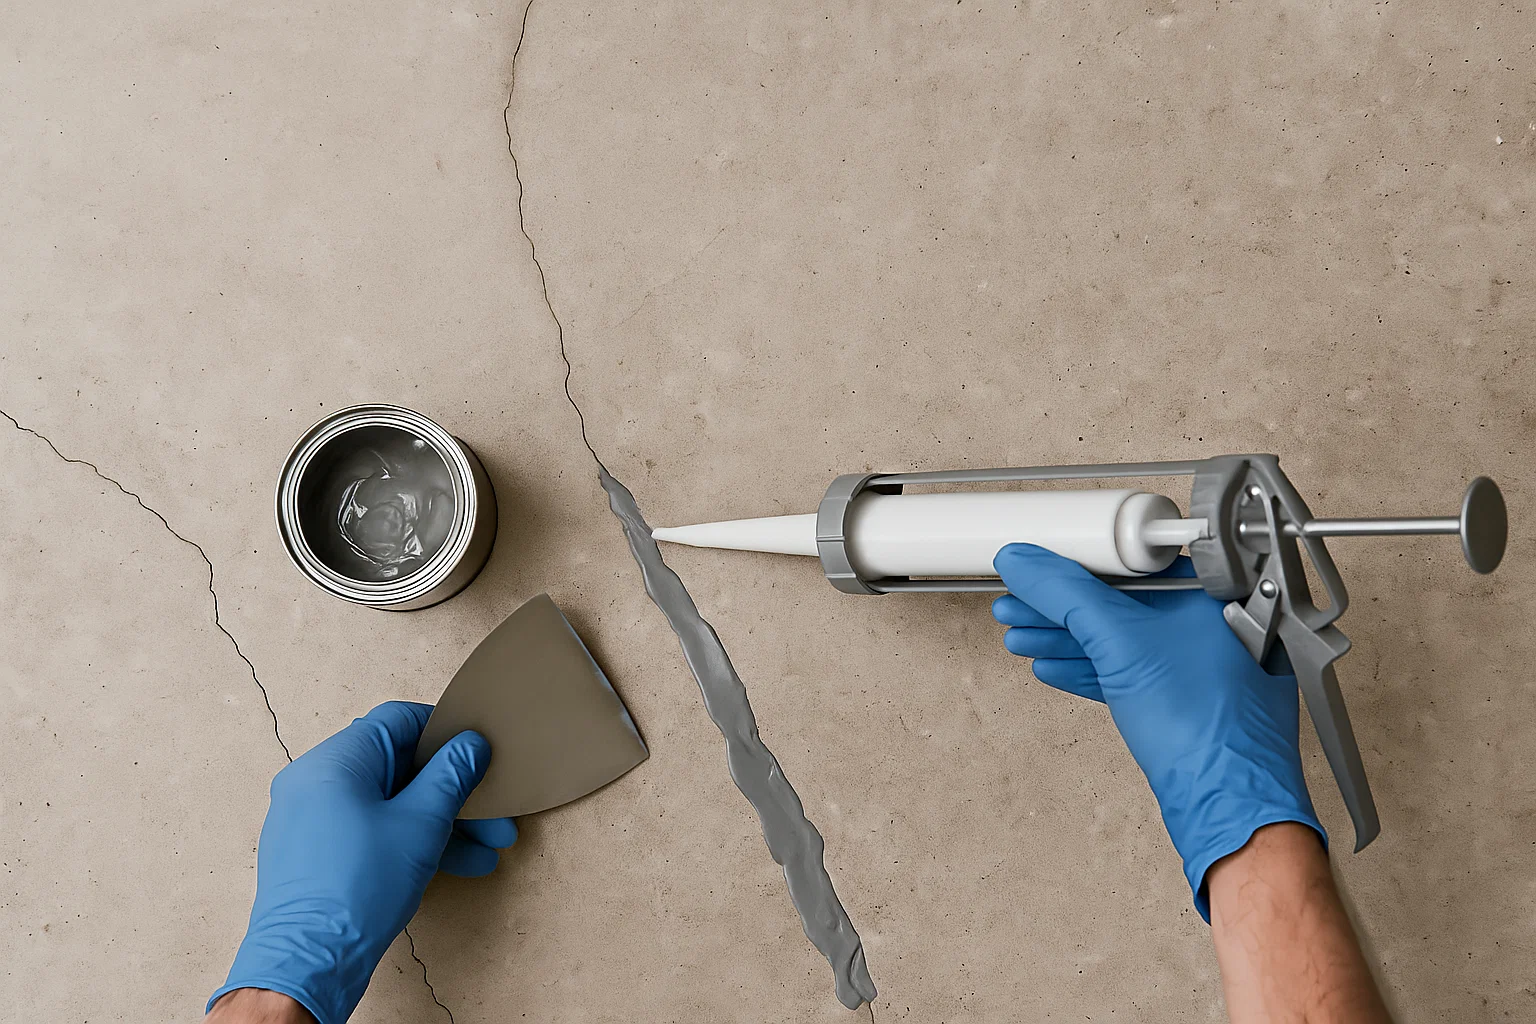
Step 3: Apply Spackle or Filler
For chips and larger scratches, apply a thin layer of spackle or wood filler using a putty knife. Spread the filler over the damaged area and press it into the chip until it fills the void completely. For smaller scratches, a light application may suffice. Make sure the filler is level with the surrounding surface by scraping off any excess gently. Let the filler dry completely, following the manufacturer’s instructions. Drying times may vary depending on the size of the repair and the product used.
Step 4: Sand Again for Smoothness
Once the filler is dry, sand the area again to ensure it is smooth and even with the rest of the wall. This step removes any excess filler and prevents any bumps once the paint is applied. It’s important that the surface feels as uniform as possible, because any unevenness might be noticeable when painted.
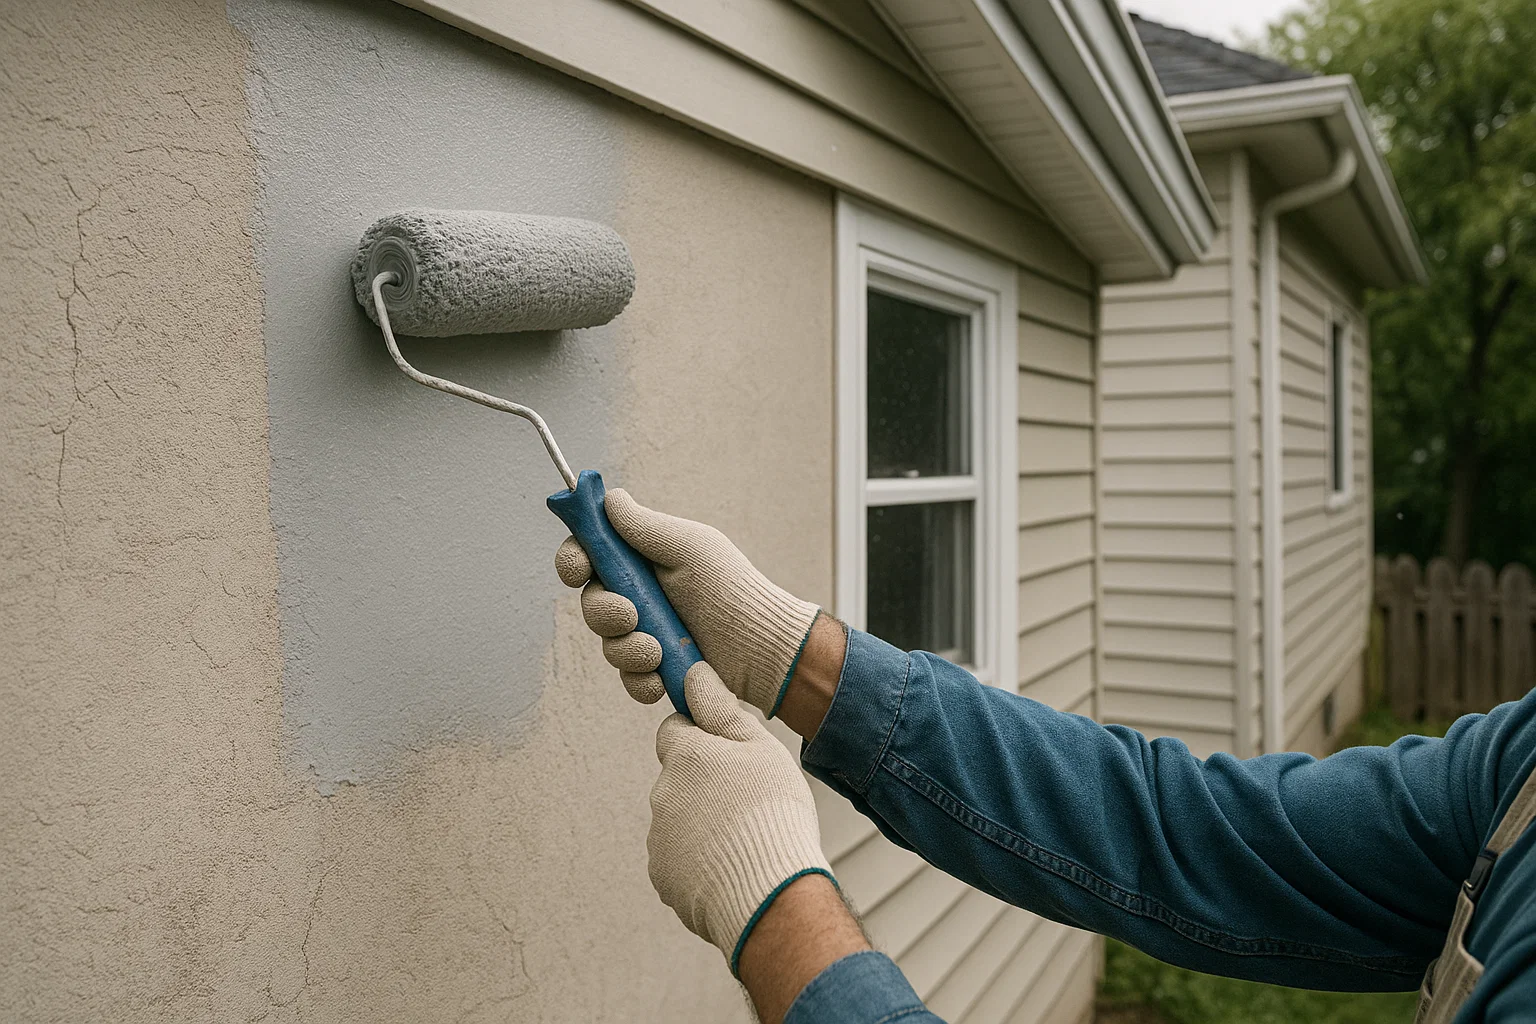
Step 5: Prime the Surface
After sanding, it is a good idea to apply a primer to the repaired area. Primer is especially important if the repaired spot is larger or if you had to use a filler. The primer will seal the filler and create a uniform base for the new paint. Using a small brush, carefully apply primer to the damaged area, blending it gently into the surrounding wall. Allow the primer to dry completely before moving on to painting.
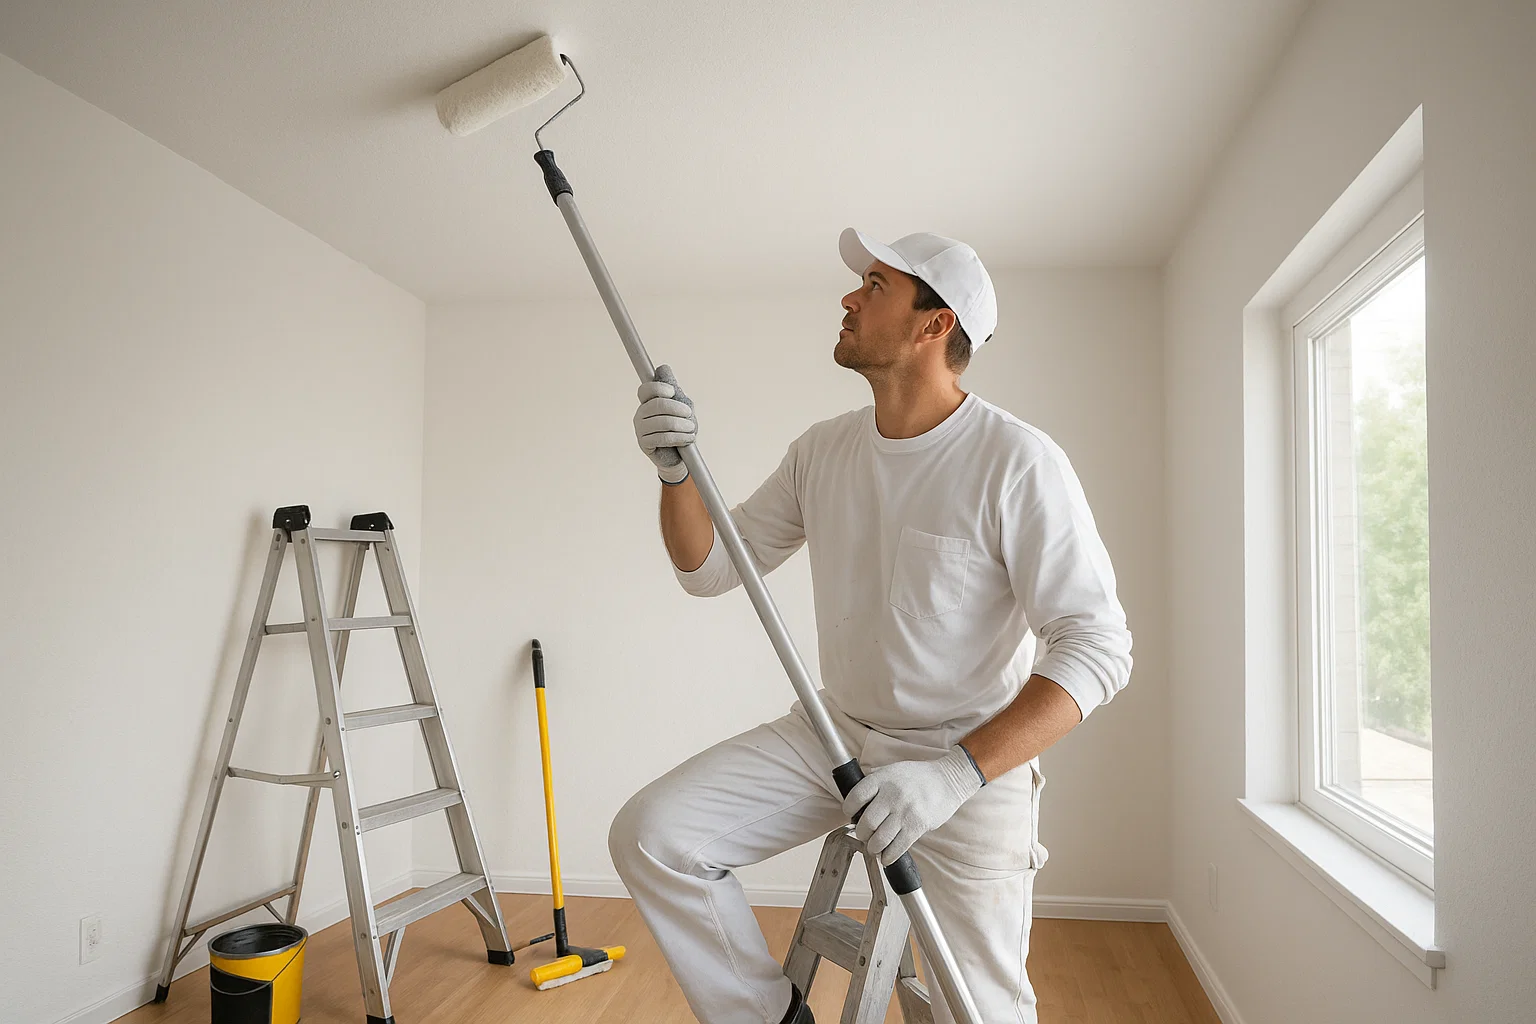
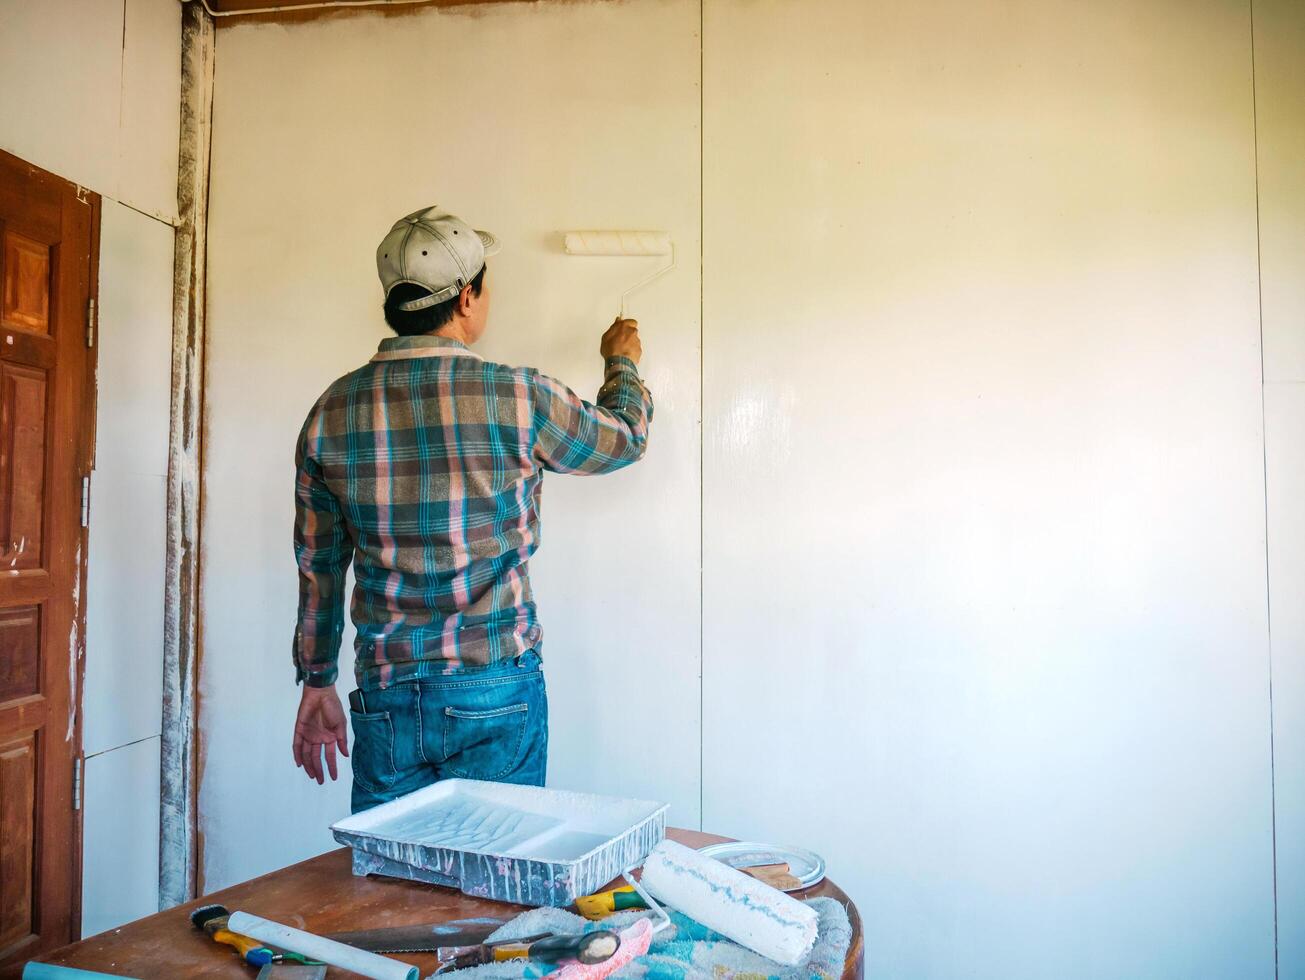
Step 6: Paint the Repaired Area
Now it’s time to match and apply the new paint. Choose a paint that closely matches the existing wall color and finish. Using a small brush, apply the paint over the primed area. Try to blend the new paint into the old by feathering the edges out slightly. Depending on the size and depth of the damage, you may need to apply two or more coats. Allow each coat to dry before applying the next. Patience here will ensure that the color match is seamless and the texture appears uniform.
Step 7: Evaluate and Add a Final Touch
Once the final coat is dry, step back and evaluate your work. The repaired area should be smooth, the color should match, and the damage should be unnoticeable. If the repair is too obvious, you can try lightly sanding the edges to soften the transition. If necessary, you might add another thin layer of paint or even a clear protective topcoat to help blend the finish better with the surrounding wall.
Troubleshooting and Useful Tips
Even though the steps are straightforward, a few common challenges can arise during DIY paint repair. Here are some tips to handle them:
- Mismatch in Color or Finish: Sometimes it can be tough to find the perfect match. If the new paint looks different, try blending it with a little bit of the old paint on a palette until you get closer to the right shade. Test your mix on a hidden area first.
- Bubbling or Peeling: If you notice bubbles forming or the new paint peeling off, it could be due to incomplete cleaning or insufficient sanding. Make sure to prepare the surface properly before applying any new layers.
- Uneven Texture: Should you find that the repaired area has an uneven texture, a light sanding after the final coat (once fully dried) can help smooth it out. Always be gentle, so you don’t remove too much paint.
- Timing is Key: Allow each layer—whether it’s filler, primer, or paint—to fully dry before proceeding to the next step. Rushing through the process can result in a patchy finish that will not hold up well over time.
- Keep a Well-Ventilated Space: Painting works best in a well-ventilated area. Good air circulation will help each layer dry properly and reduce any odors from paints and primers.
Real-Life Examples: DIY Repairs in Action
Imagine you have a kitchen where a large chip has formed near the counter from accidentally bumping the wall. By following these steps, you can quickly clean, sand, and patch up the area. After the repair, the new paint blends so well with the rest of the wall that it’s hard to tell there was ever any damage. In another case, a family found scratches on their living room door frame due to everyday use. A quick fix with spackle and a touch of matching paint brought back the smooth, uniform look of the door—saving them from a costly replacement or professional repair call.
These examples show how a few simple steps can restore beauty and function to your home. DIY paint repair isn’t just a cost-saving technique—it’s a way to maintain your space, improve your skills, and feel a sense of pride in your home projects.
Benefits of Learning DIY Paint Repair
Learning to repair paint by yourself has benefits that go beyond a single project. It gives you the confidence to tackle small repairs before they become bigger problems and can even save you from the hassle of hiring professionals for minor issues. In addition, when you know how to fix these imperfections, you’ll be more mindful of how you take care of your walls and furniture, leading to a longer lifespan for your décor.
Embracing the DIY spirit can also inspire other creative projects around the house. Whether you’re fixing a scratched table, repairing a chipped door, or adding a custom accent to a wall, the skills learned in paint repair can be applied to many areas of home improvement.
Final Thoughts: Becoming Your Own “Paint Pro”
DIY paint repair is an accessible, cost-effective way to keep your home looking its best. Even if you’ve never touched a paintbrush before, the steps discussed in this article show that with a little preparation and care, you can fix scratches and chips like a pro.
Remember, every project is a chance to learn and improve. The more you practice, the better you’ll get at matching colors, applying smooth coats, and blending repairs seamlessly with your existing paintwork. It’s a rewarding process that not only enhances your living environment but also builds self-confidence and resourcefulness.
So next time you notice a scratch or a chip on your wall, don’t panic. Gather your supplies, take your time, and fix it yourself. With a steady hand and a bit of creativity, you can restore the beauty of your space—proving that sometimes the best solutions are right at your fingertips.
If you have questions or need more guidance on DIY paint repair techniques, many online communities and local hardware stores can offer advice. Remember, your home is your canvas, and with the right care, you can keep it looking vibrant and inviting for years to come.