Painting metal surfaces may seem straightforward, but it requires special preparation and techniques to achieve a flawless, durable finish. Unlike wood or drywall, metal has unique properties that make it both a rewarding and challenging material to paint. From rust issues to ensuring proper adhesion, every step matters. Whether you’re refreshing old furniture, enhancing decorative items, or giving a new look to fences or appliances, taking the right approach can ensure that your efforts yield professional and long-lasting results.
Before grabbing your paintbrush or spray can, it’s important to understand the surface you’re working on, the tools you’ll need, and the techniques to apply. Many metal items are exposed to environmental elements like moisture and heat, making them prone to rust or wear and tear. Without proper preparation, even the best paint may chip, flake, or peel prematurely. To avoid these pitfalls and create a finish that stands the test of time, follow these six essential tips for painting metal surfaces.
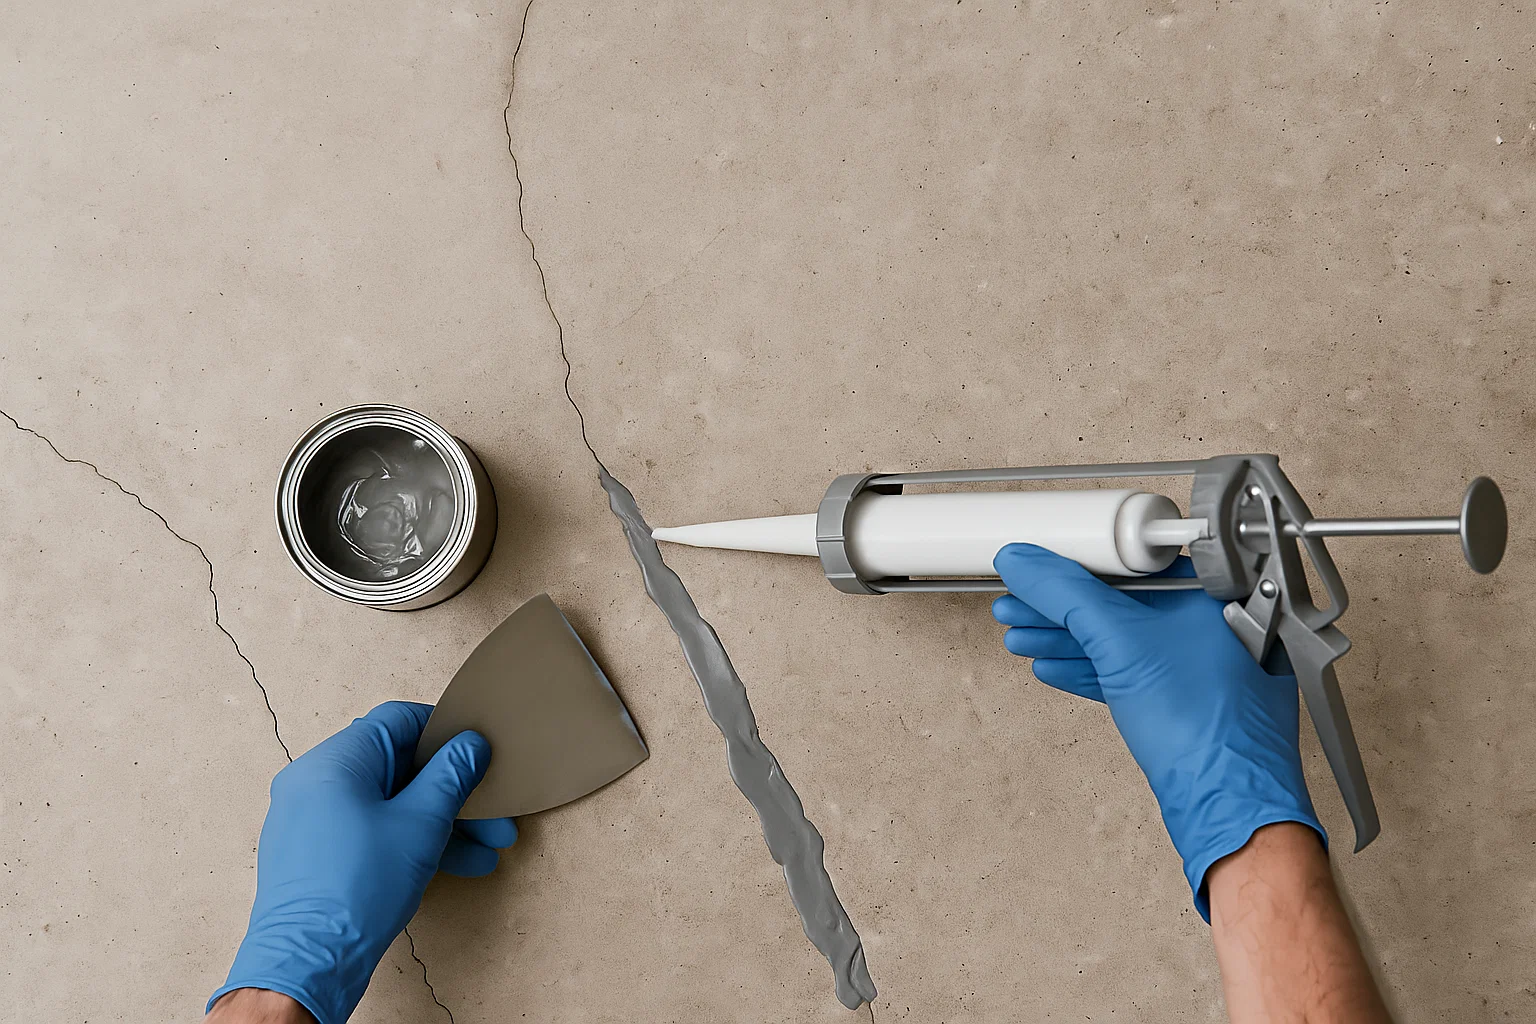
1. Remove Rust Thoroughly
Rust is one of the most common challenges when dealing with metal surfaces. Not only does it ruin the appearance of the object, but it can also spread and weaken the material if left untreated. To start, inspect the surface for rust patches. Surface rust can be removed using sandpaper, a wire brush, or a grinder for larger areas.
For heavily rusted items, consider applying a rust remover or rust converter. These products neutralize the rust, turning it into a stable surface suitable for painting. Once the rust is removed or treated, clean the area thoroughly and apply a rust-inhibiting primer. This primer acts as a barrier, protecting the surface from future corrosion and ensuring the paint adheres properly.
2. Clean the Surface Thoroughly
Even if there’s no visible rust, dirt, grease, or oil residue on the metal can prevent paint from sticking effectively. Before painting, it’s crucial to clean the surface properly. Use a damp cloth to wipe away dust and loose particles. For greasy or oily surfaces, clean with a degreaser or warm, soapy water. After cleaning, rinse the surface thoroughly and let it dry completely.
Skipping this step can lead to uneven paint application or peeling over time. A clean surface ensures that both the primer and paint adhere firmly, resulting in a smooth and professional finish.
3. Prepare Galvanized Metal with Care
Galvanized metal surfaces, such as pipes or gutters, come with a protective zinc coating that can prevent paint from sticking properly. To prepare such surfaces, start by removing the oily residue using warm water mixed with mild detergent. Scrub gently with a soft brush or sponge, rinse thoroughly, and let the surface dry.
In some cases, you may need to lightly sand the surface to create a rough texture for better adhesion. Once the preparation is complete, apply a primer specifically designed for galvanized metal to ensure the paint bonds effectively and stays in place.
4. Choose the Right Paint and Primer
Not all paints are created equal, and using the wrong type on metal can lead to disappointing results. For metal surfaces, choose paint labeled as “metal-specific” or formulated for durability on metallic materials. These paints are designed to withstand environmental exposure, resist chipping, and provide a long-lasting finish.
A high-quality primer is equally important, especially for metals prone to rust. Look for primers designed to block rust and enhance adhesion. The primer provides a smooth base for the paint and ensures that it doesn’t flake off over time. Skipping this step can lead to poor results, even with the best paint.
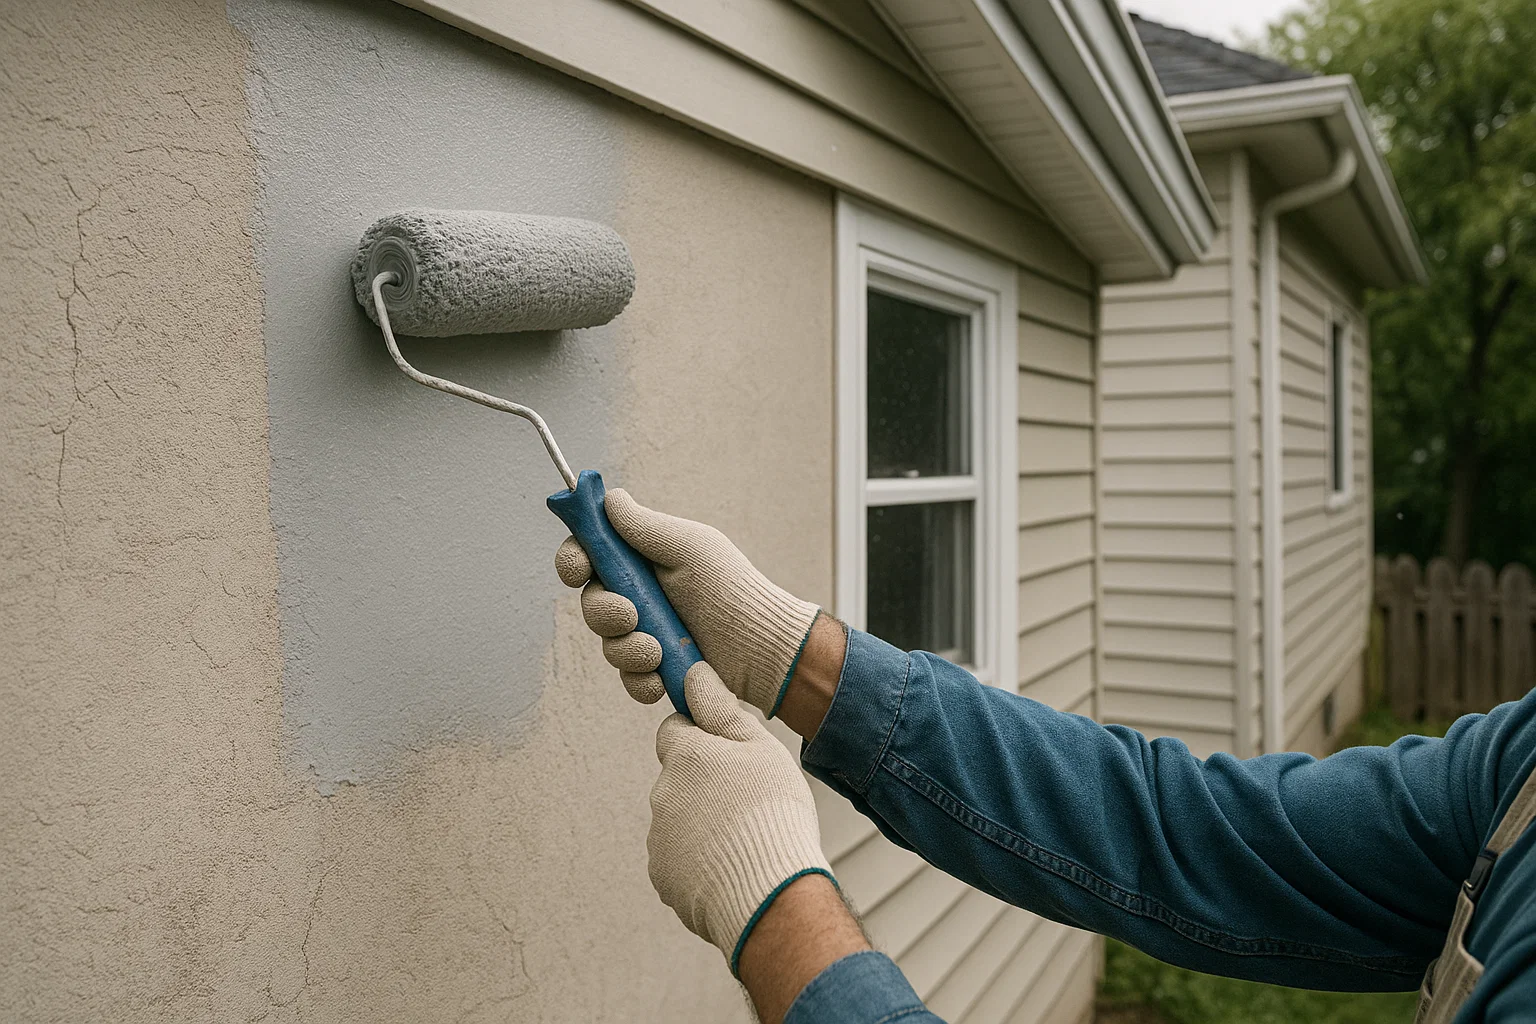
5. Pick the Right Application Method
The method of applying paint plays a significant role in achieving a smooth and professional finish. Spray painting is a popular choice for metal surfaces because it provides an even coat and reaches crevices or intricate details. It’s ideal for larger surfaces, like fences, or objects with complex shapes, such as metal chairs or grills.
If you prefer using a brush, select one with synthetic bristles designed for smooth application on metal. Apply the paint in thin layers, moving in a consistent direction to avoid visible brush strokes. For large projects, consider using a paint sprayer for faster application and a smoother finish.
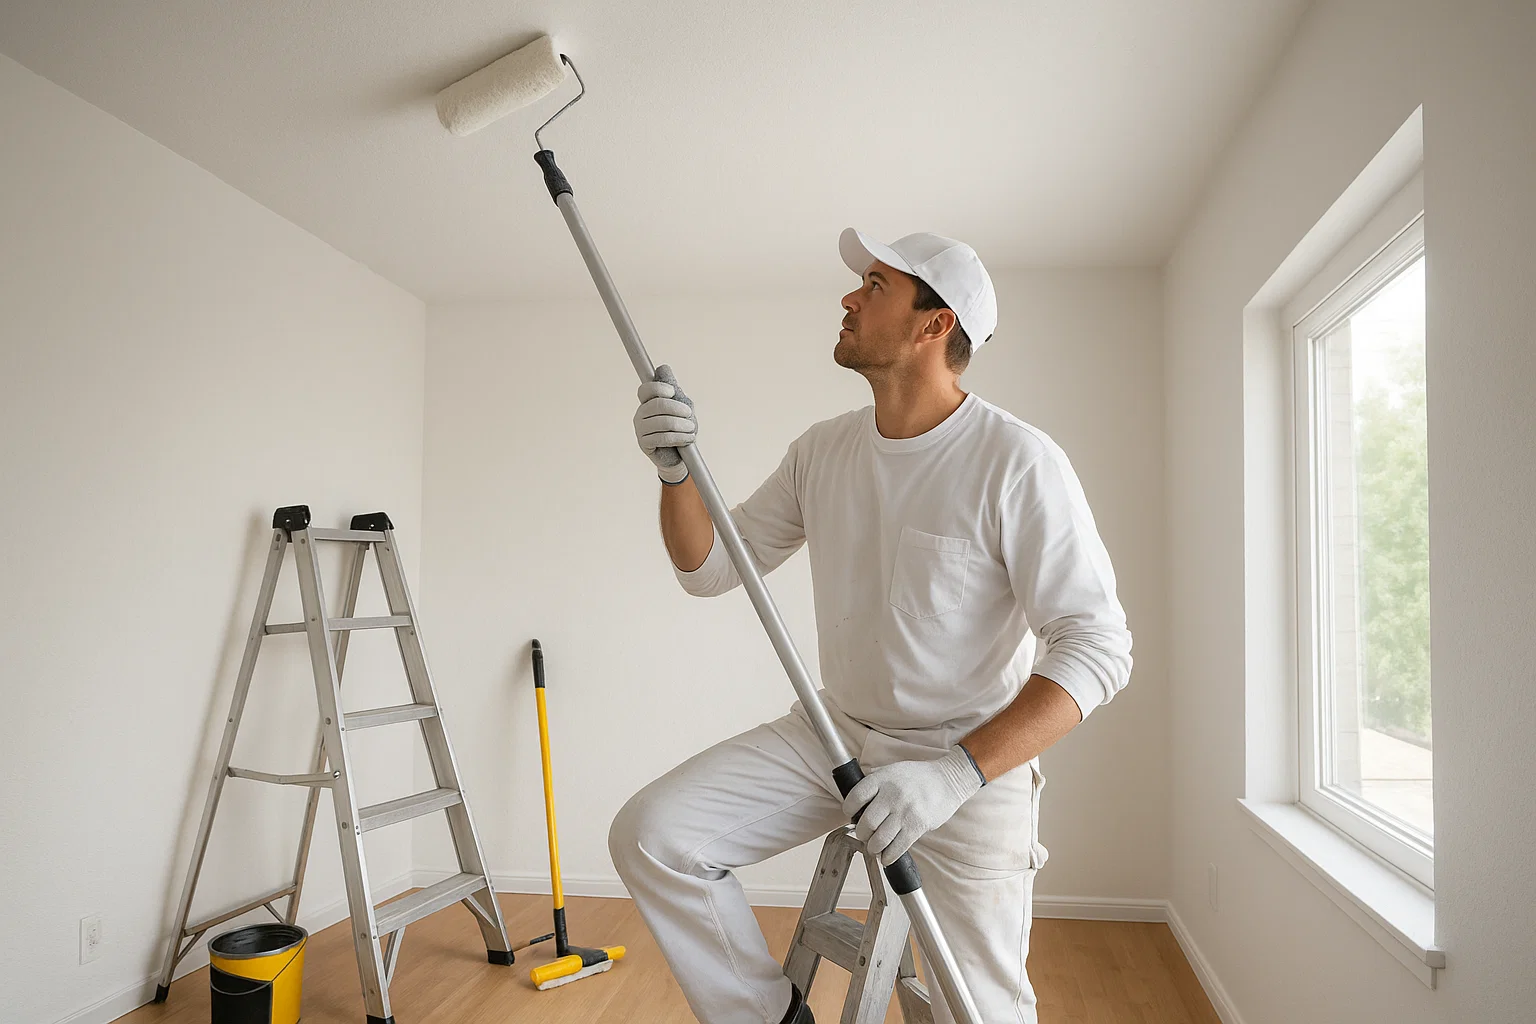
6. Apply Thin, Even Coats of Paint
One of the biggest mistakes people make when painting metal is applying thick coats in a single attempt. This often leads to unsightly drips, uneven textures, and a longer drying time. Instead, apply thin, even coats of paint, allowing each layer to dry completely before adding the next.
This approach not only prevents drips but also ensures a smoother, more polished finish. Thin layers of paint dry more effectively, reducing the risk of smudges or imperfections. Patience is key when working with metal—rushing the process can compromise the durability and appearance of your project.
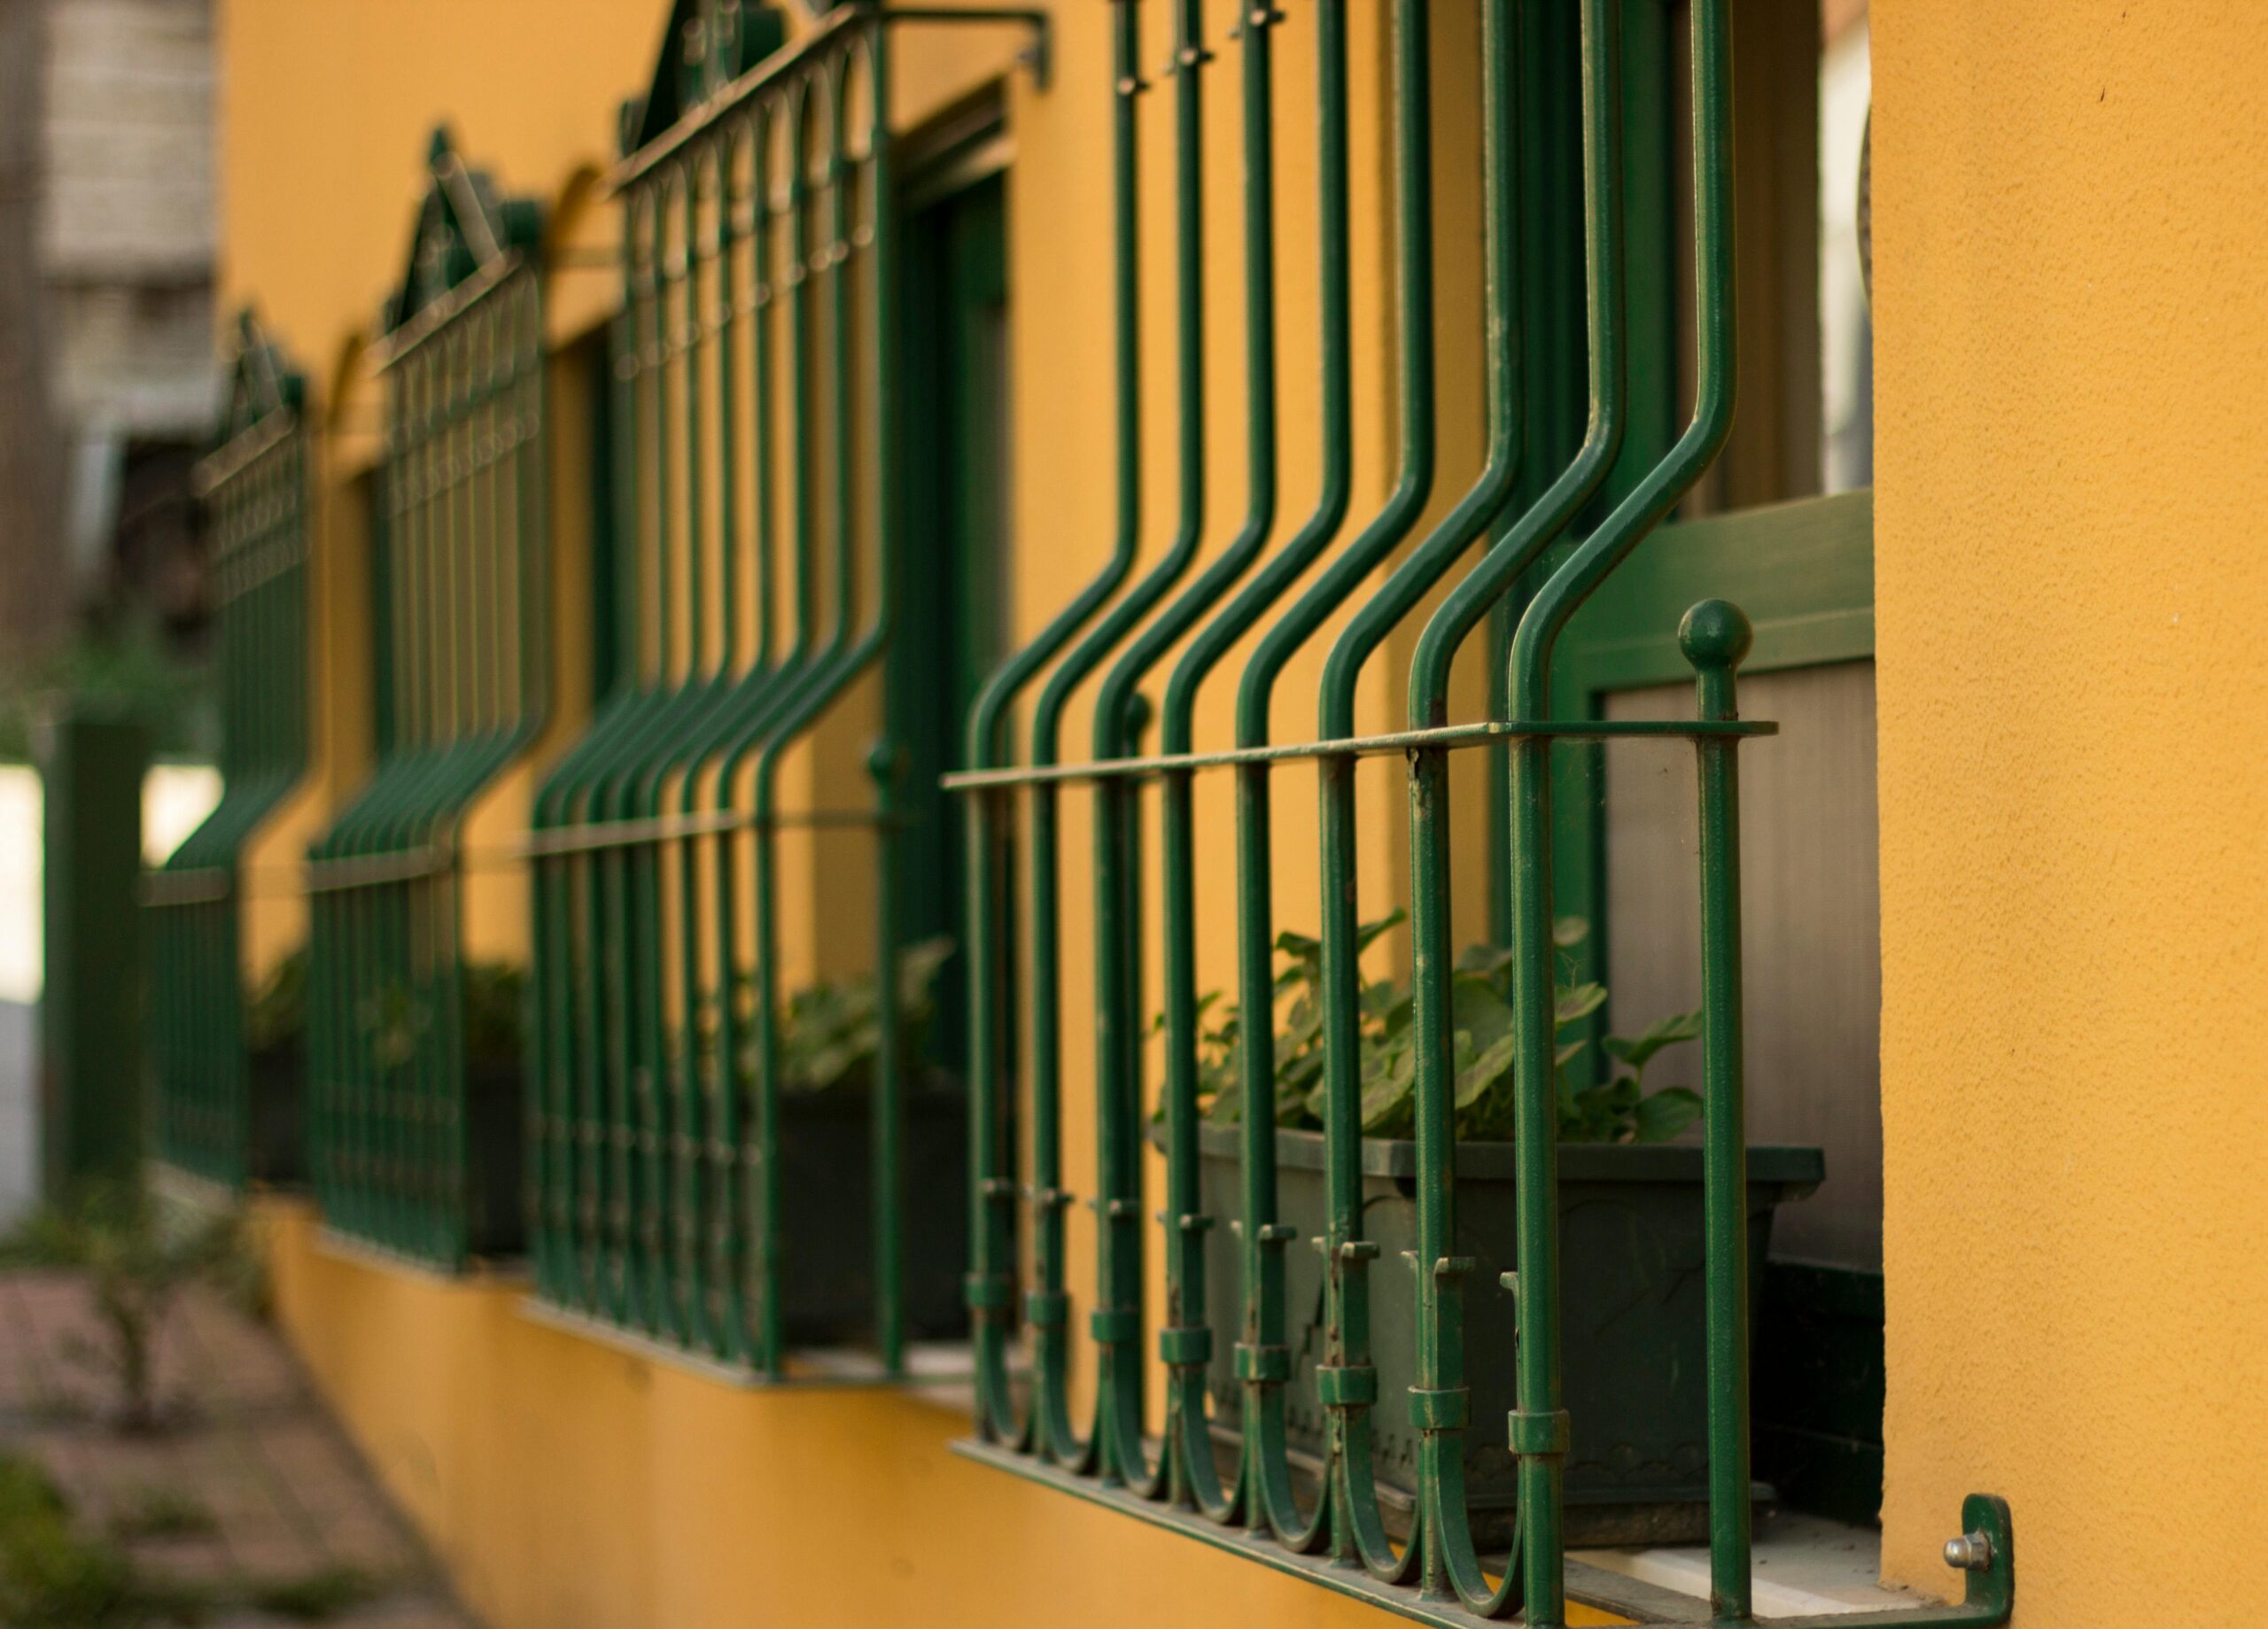
Conclusion
Painting metal surfaces can transform old, dull objects into fresh, vibrant pieces that look as good as new. Whether you’re tackling rusted fences, outdated furniture, or decorative accents, following the right steps ensures a professional-grade finish. Proper preparation, the right tools, and careful application are essential to achieving a result that is both visually appealing and long-lasting.
By thoroughly cleaning the surface, removing rust, using the right primer and paint, and applying thin, even coats, you’ll not only enhance the appearance of the metal but also protect it from wear and tear for years to come. Take your time, invest in quality materials, and enjoy the satisfaction of creating something beautiful and durable.